If you’re anything like me, you probably have empty wine bottles stashed somewhere with intentions of making something with them. Or maybe you need to go buy some full wine bottles with intentions of making something with them. 😉
I’ve had several empty ones that I’ve been keeping and had plans to make something with them for quite a while, but it never made it to the top of my priority list – until now.
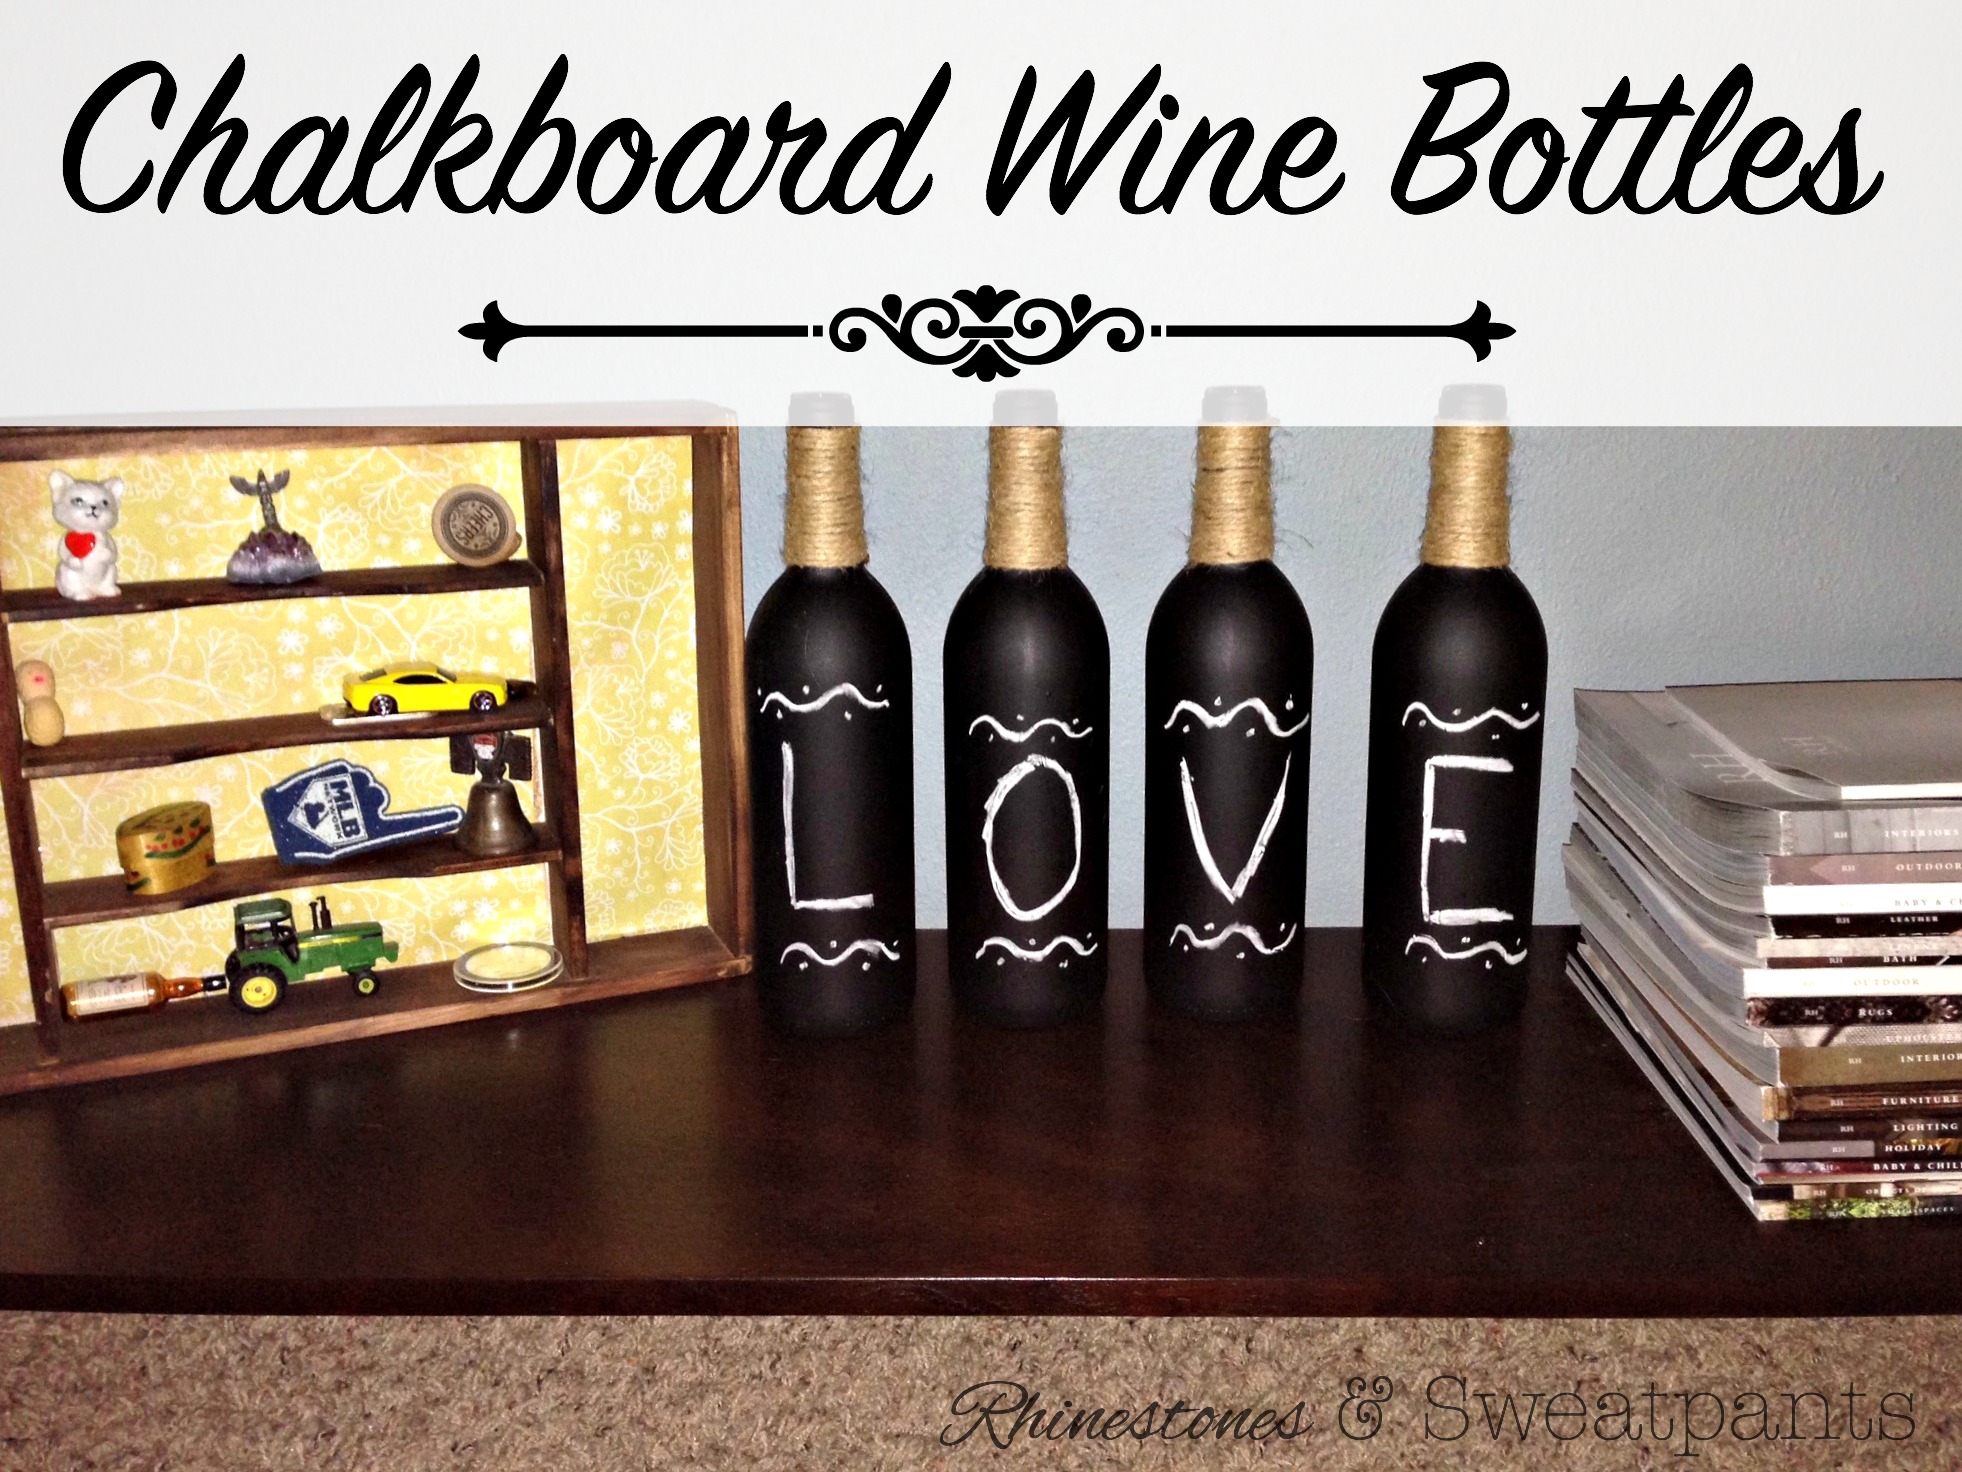
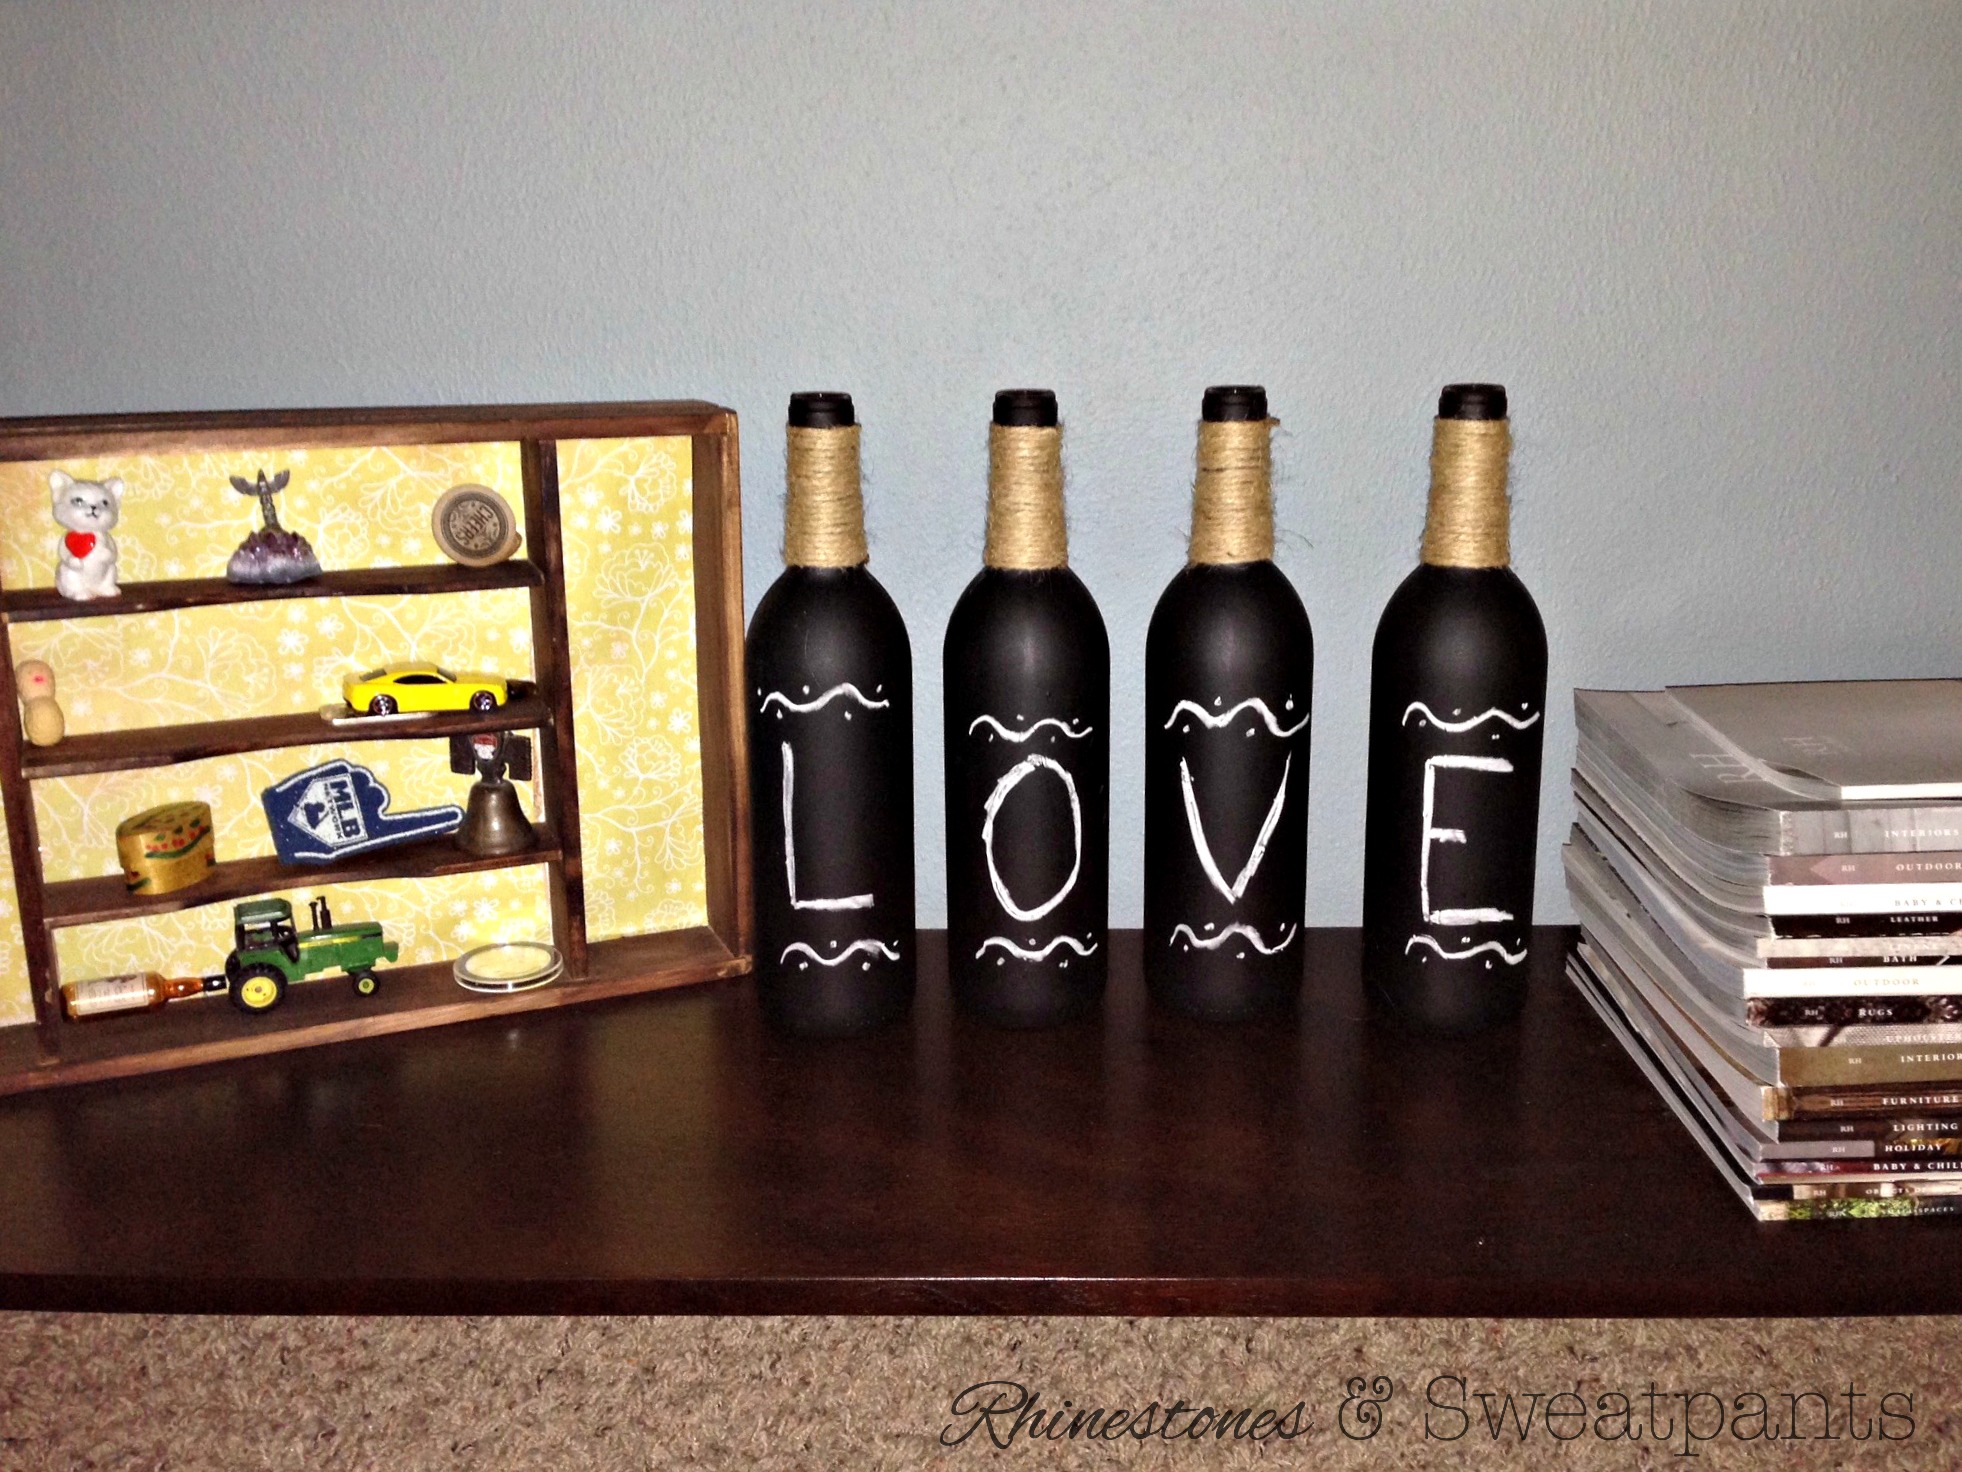
I had some free time and had all the supplies I needed to make some chalkboard wine bottles to add to my living room decor. They’re nothing fancy necessarily, but because they’re chalkboard, I can use them for multiple rooms and occasions and just change my message.
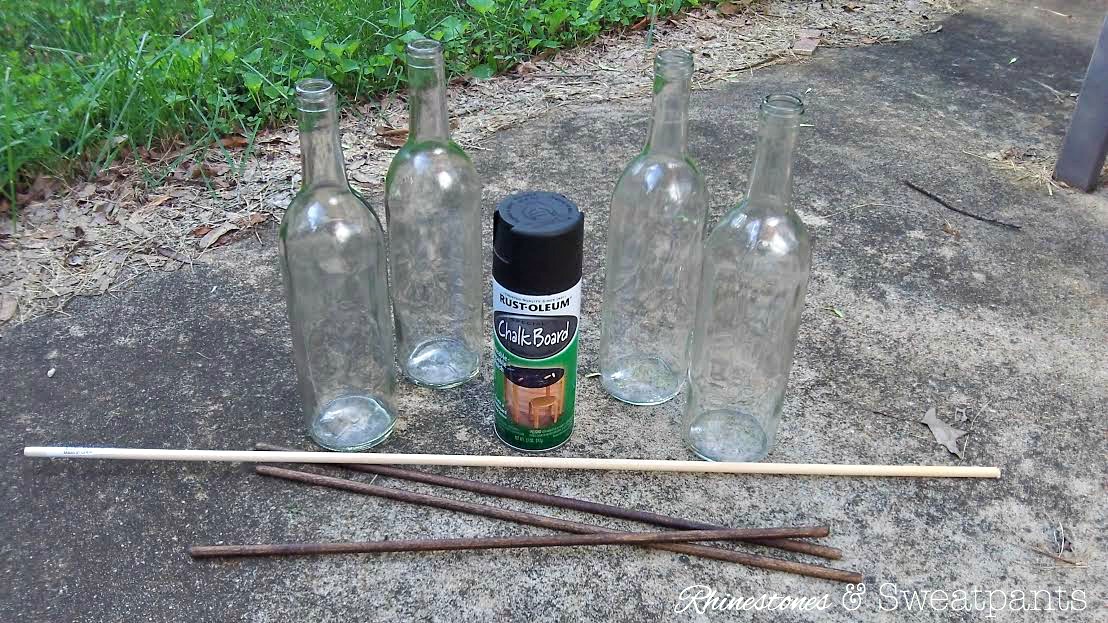
For this project, I needed:
- 4 wine bottles
- 4 dowel rods (just makes it easier to spray paint them)
- chalkboard spray paint
- twine
- glue (I used E-6000)
- chalk
The first thing you need to do is to remove the label and clean the bottle. Because I’ve had these bottles stashed away for some time, I don’t have pics of this step. However, a few tips I can share – soak the bottles in warm, soapy water for an hour or more then the label will come right off. And if it doesn’t easily come off, some Goo Gone will do the trick for sure!
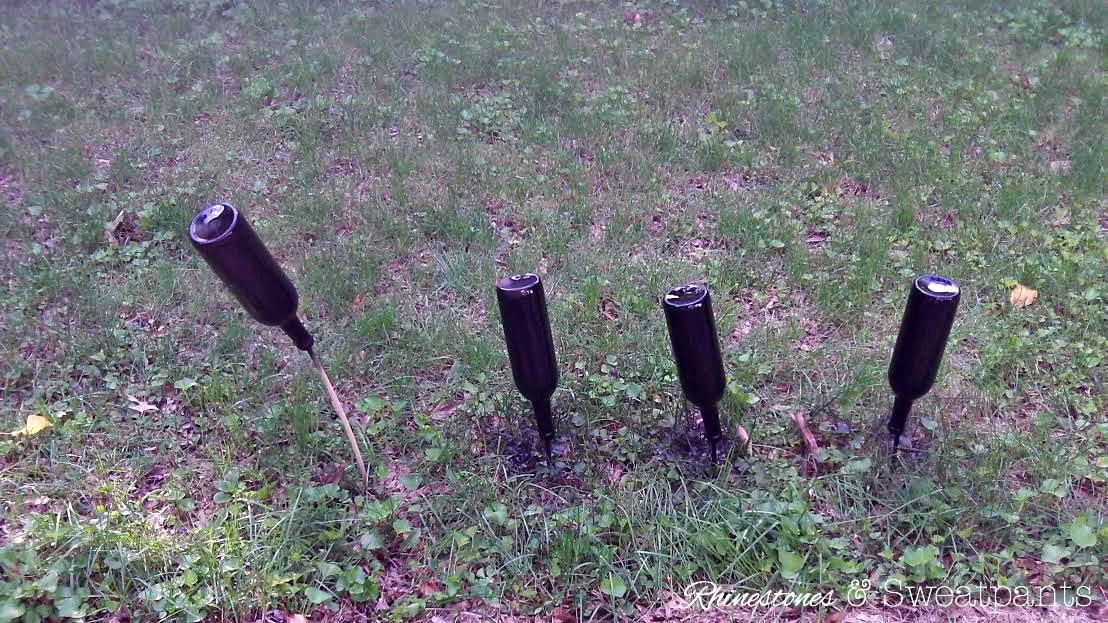
Once the bottles are clean and dry, take them outside with the dowel rods and spray paint and set up shop.
I stuck the dowel rods in the ground then placed the bottles on them upside down to make sure I could get the bottles fully covered.

Once they’re completely covered, let them dry then repeat the process. I’ve found two coats of chalkboard spray paint is best for a project like this.
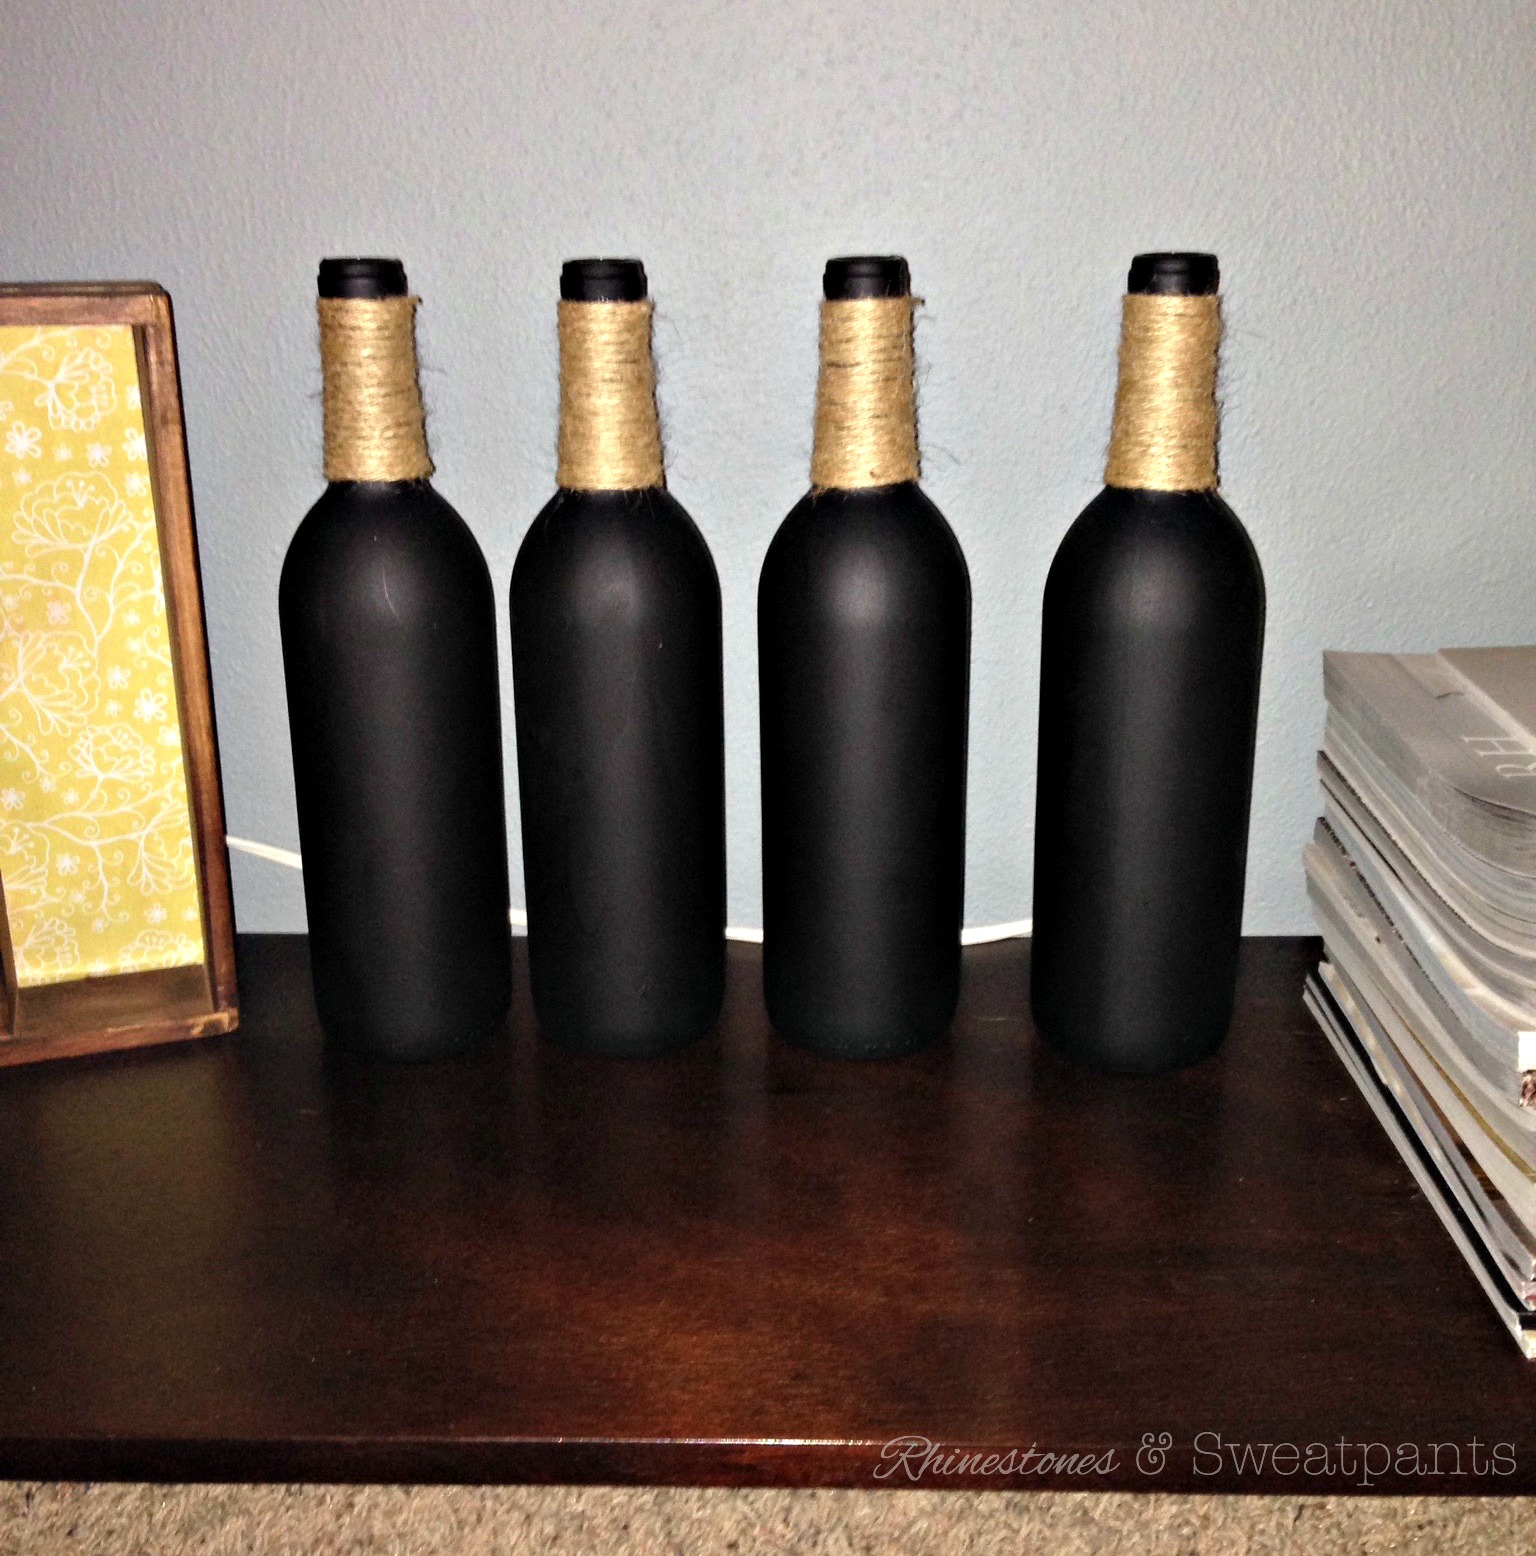
After they have dried for the second time, you can bring them back in and begin the next phase of the project which will use your twine and glue.

Place a dab of glue right under the lip of the bottle at the opening and stick the end of your twine to that. Then start wrapping the twine around the neck of the bottle until you start to reach the wider portion of the bottle. At this point, cut the twine and place another dab of glue where the end of the twine will meet the bottle. You may need to wrap a rubber band around the twine where it’s glued on just to make sure it stays on securely while you move on the other bottles.
Once you have completed all 4 bottles, you’re done! Simply place the bottles in whatever room makes sense at the time and use your chalk to coordinate with your decor or season! I used basic white chalk for this, but I would suspect any chalk would suffice.
So that’s it – now you have a reason to go drink some wine! 🙂
See this post linked up at: