

Valentine’s day is coming up as we all know, so I thought I’d take the opportunity to make a quick Valentine’s Day Craft. As much as I love red and pink, I decided to go with a non-traditional color scheme of black, white, and gold because I actually plan on moving this to my office after the big day for some extra decor.
For this project, you’ll need:
- blank canvas
- black paint
- tape (I used electrical tape, painters tape would be better though)
- paintbrush
- glue (I used glitter glue)
- glitter
- heart template
- sharpie (or pencil)


The first step for this project is to tape off lines on the canvas. Someone I couldn’t find any painter’s tape anywhere in the house, so I just used electrical tape. Word of caution – electrical tape doesn’t stick to the canvas super well, so I used an old posterboard to put under the canvas to give the electrical tape something better to stick to. When taping the lines, go with a width that is the most visually appealing to you. I seriously just eyeballed the whole thing, so the fact that the lines weren’t a slanted mess made me over-the-moon excited!
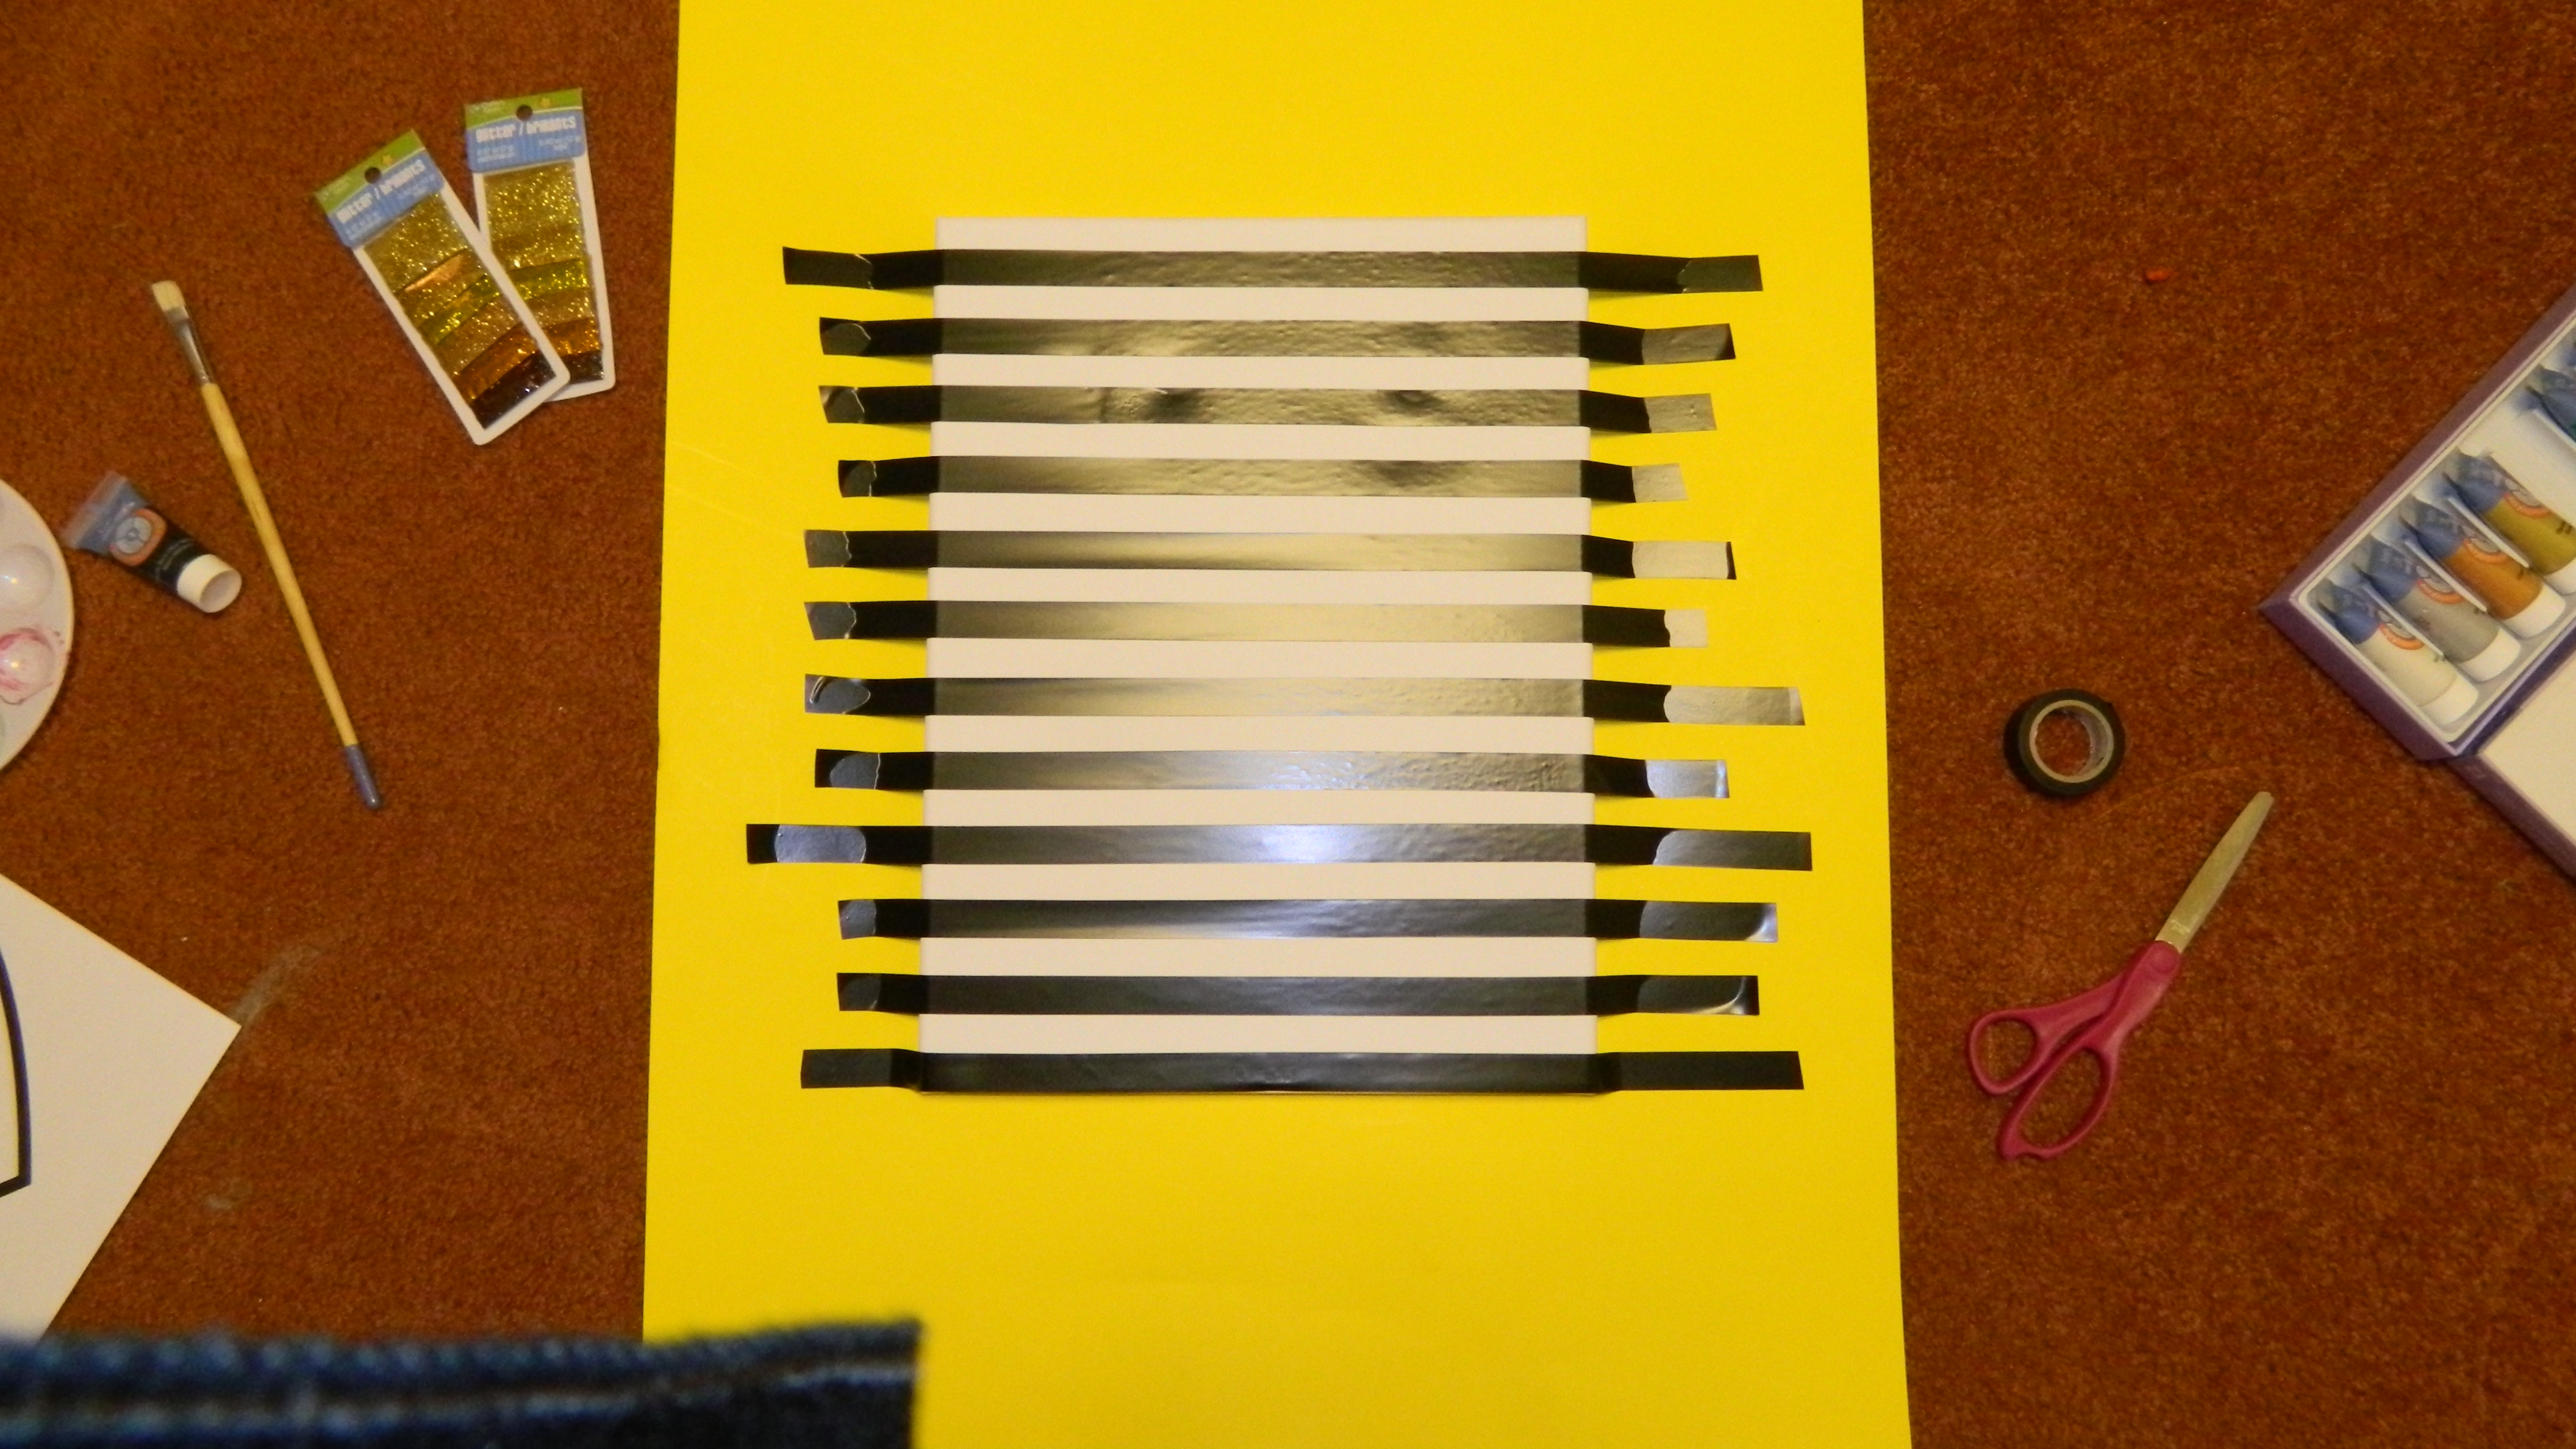
After taping off all the lines, just start painting! I used the first paint brush I could find and only had a slightly pearlescent black paint on hand, so that’s what I used. I’m not gonna lie – I was just so excited to make this that I just used whatever I could find (obviously)! 😉 As you’re painting your lines, try not to get too excited and rush through it – it’s worth it to go slow to make sure you don’t color outside the lines than to have to spend a bunch of time fixing things (trust me on this one). When the lines are all done, remove the tape.
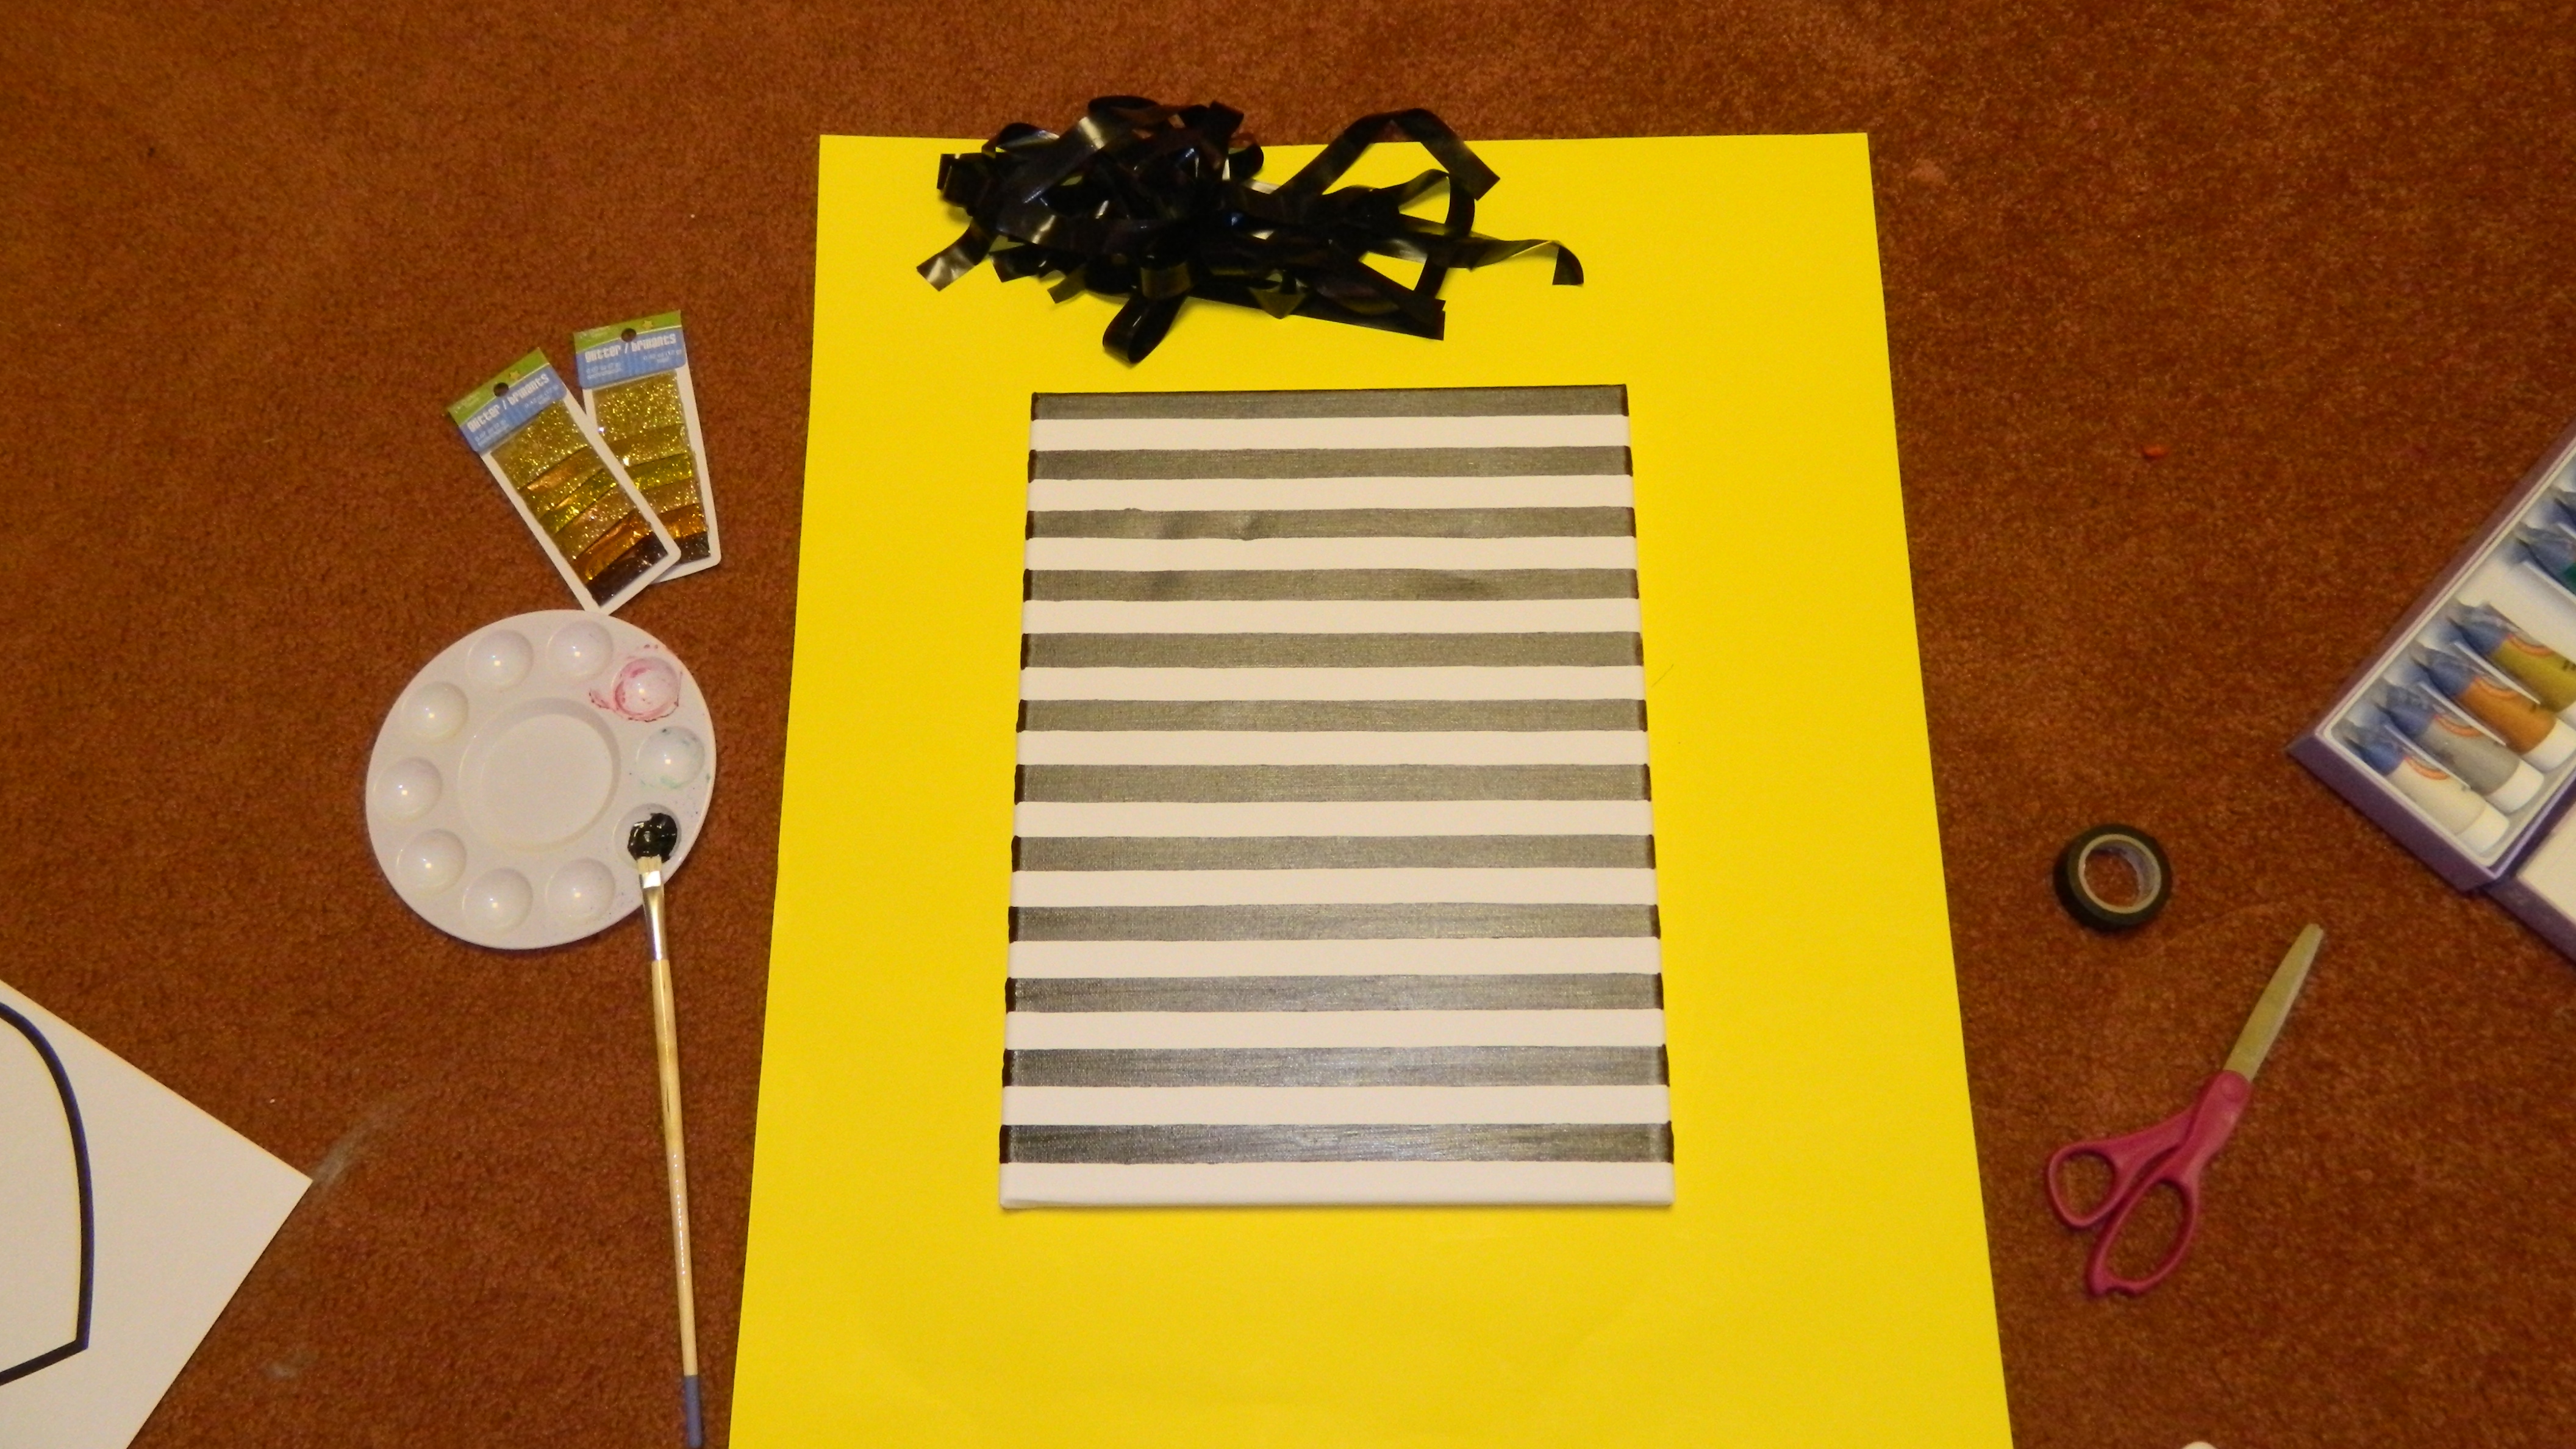
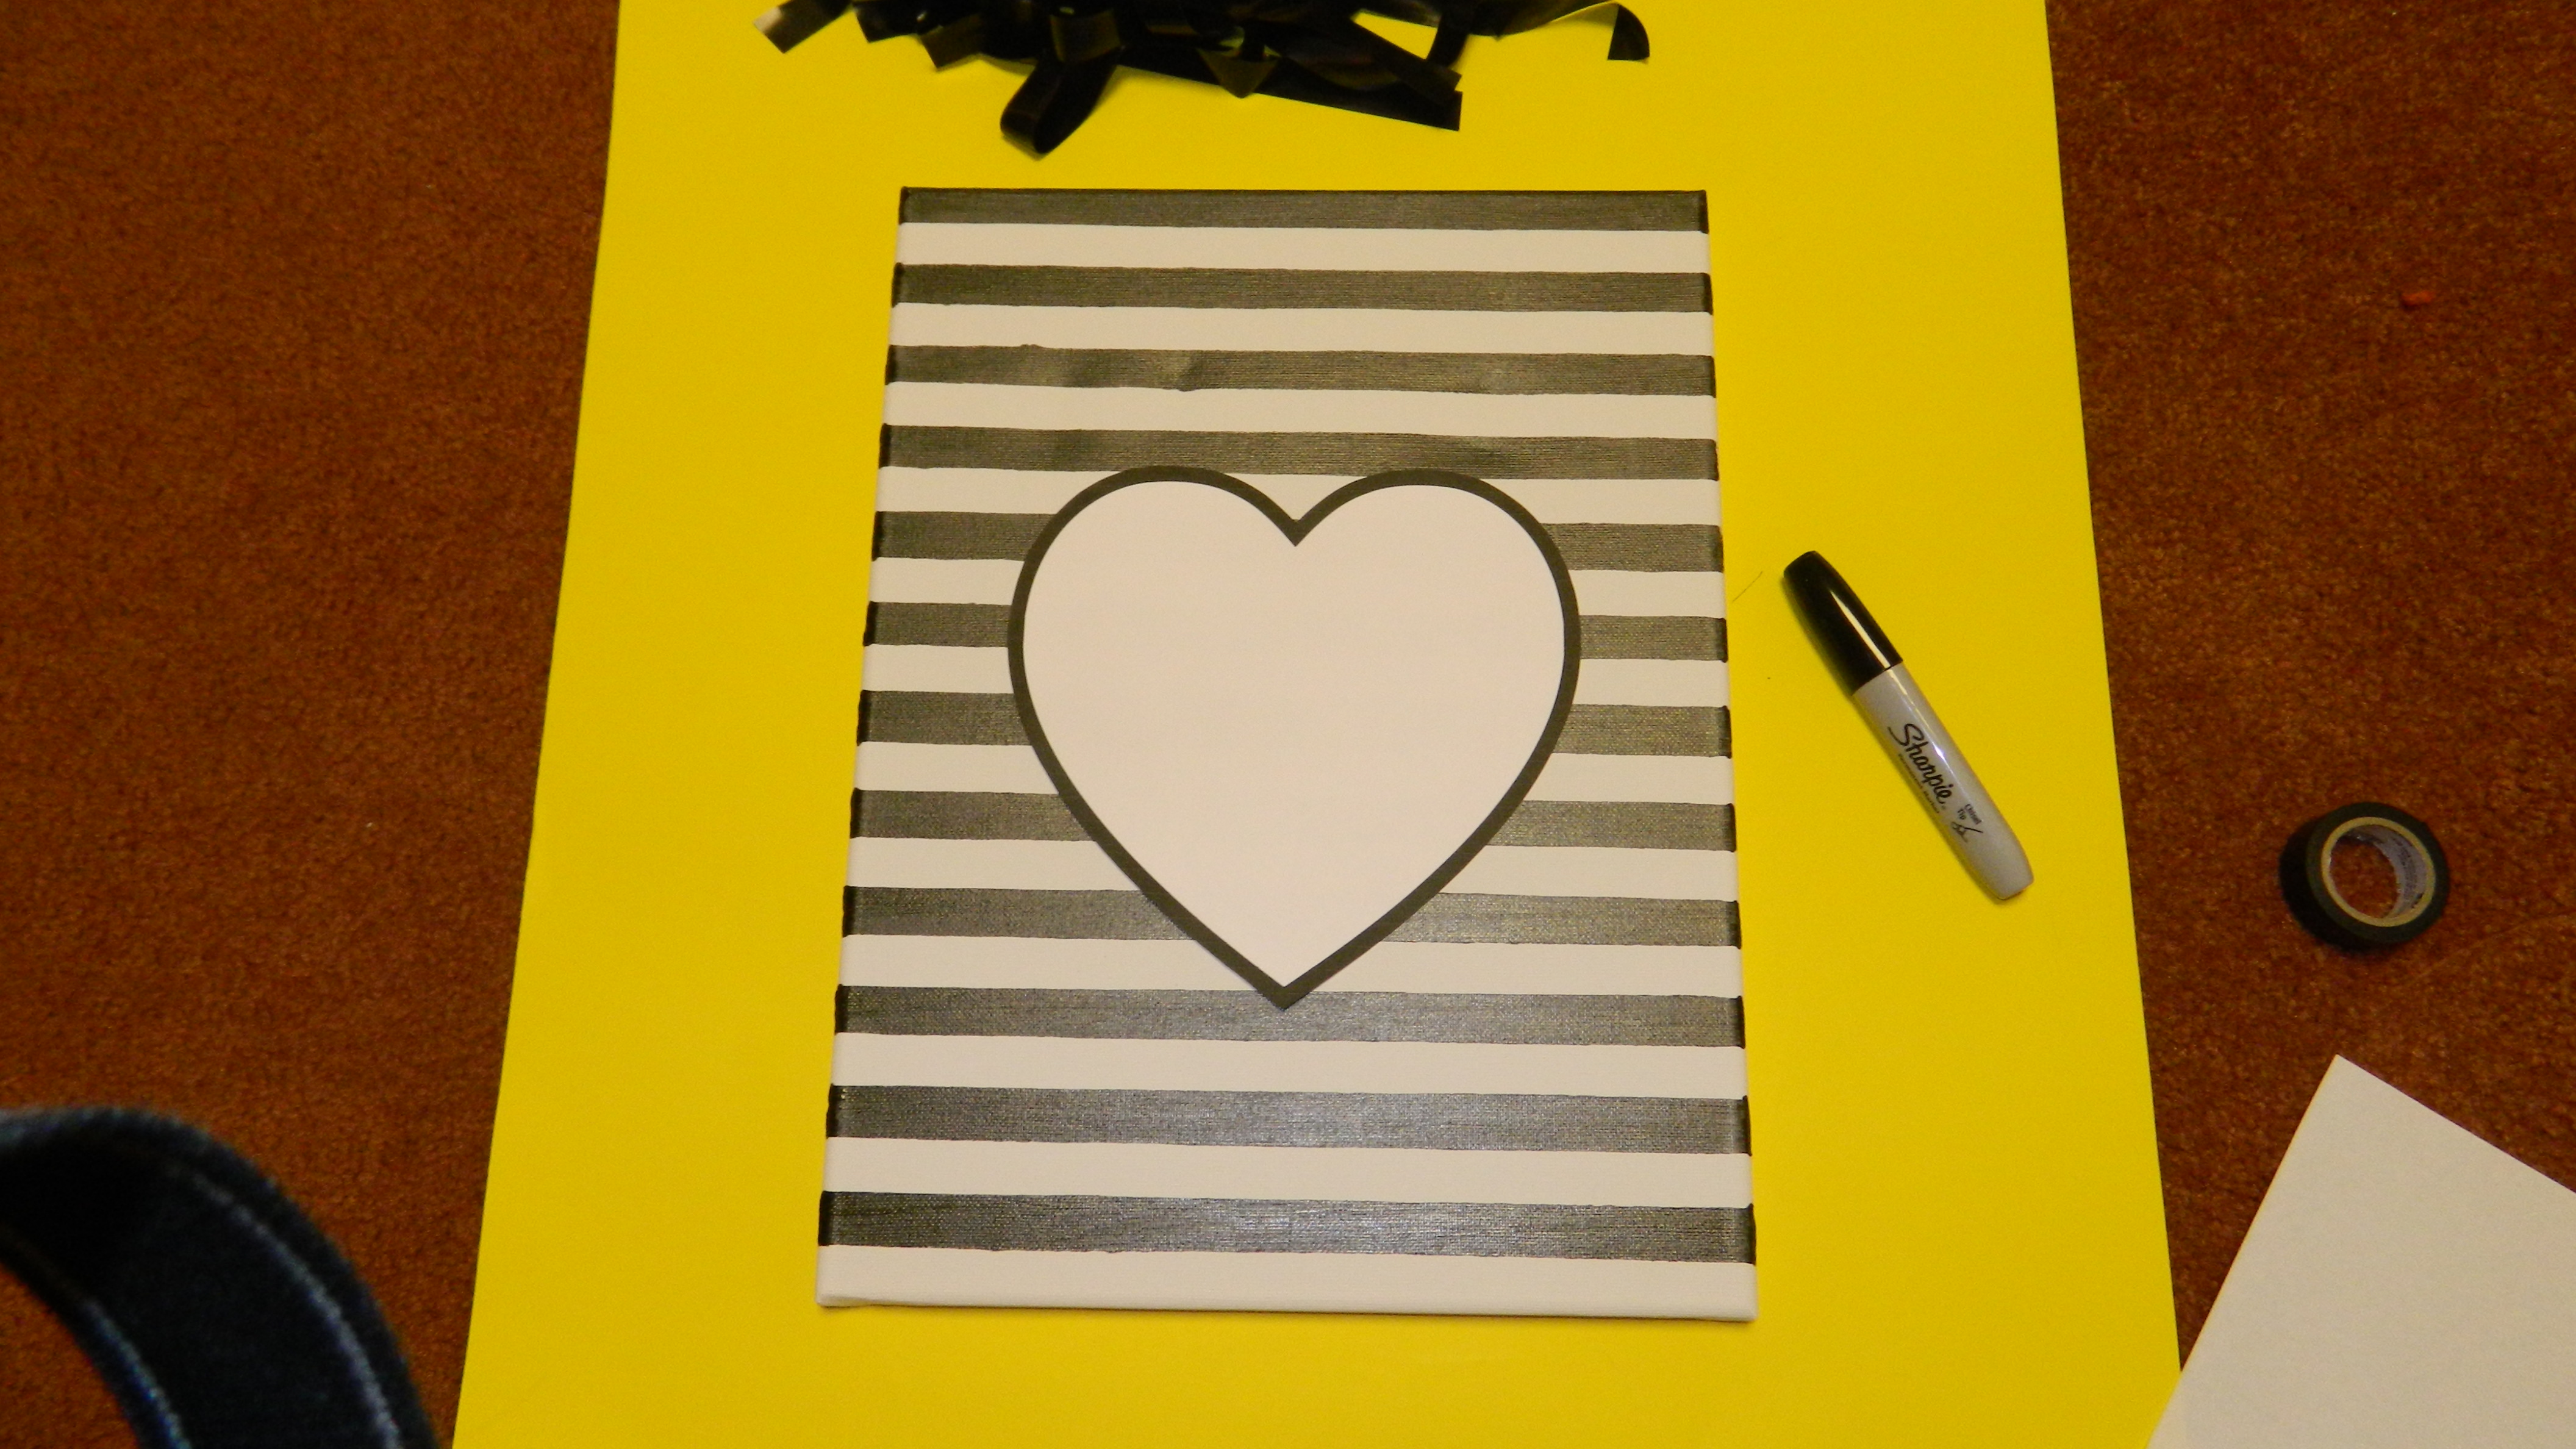
While you’re waiting for your paint to dry – seriously the most thrilling thing on the planet (ha!) – take the time to clean up your paint and paintbrush and cut out your heart template. This definitely helps to speed up the cleaning process after the fact…we all know this is the worst part of crafting! For the heart template, I used cardstock and a simple outline that I made on Picmonkey. Once the paint dried, I placed the heart in the middle of the canvas and traced it with a sharpie.
Now the fun and messy part can start! To get the glitter to stick to the canvas, you’ll need some kind of glue to trace and fill in the heart. I wanted a little extra sparkle, so I used some glitter glue that I found at the Dollar Tree, but any glue will work. Then I went crazy filling in the heart and got a terrible mess that looked like this…
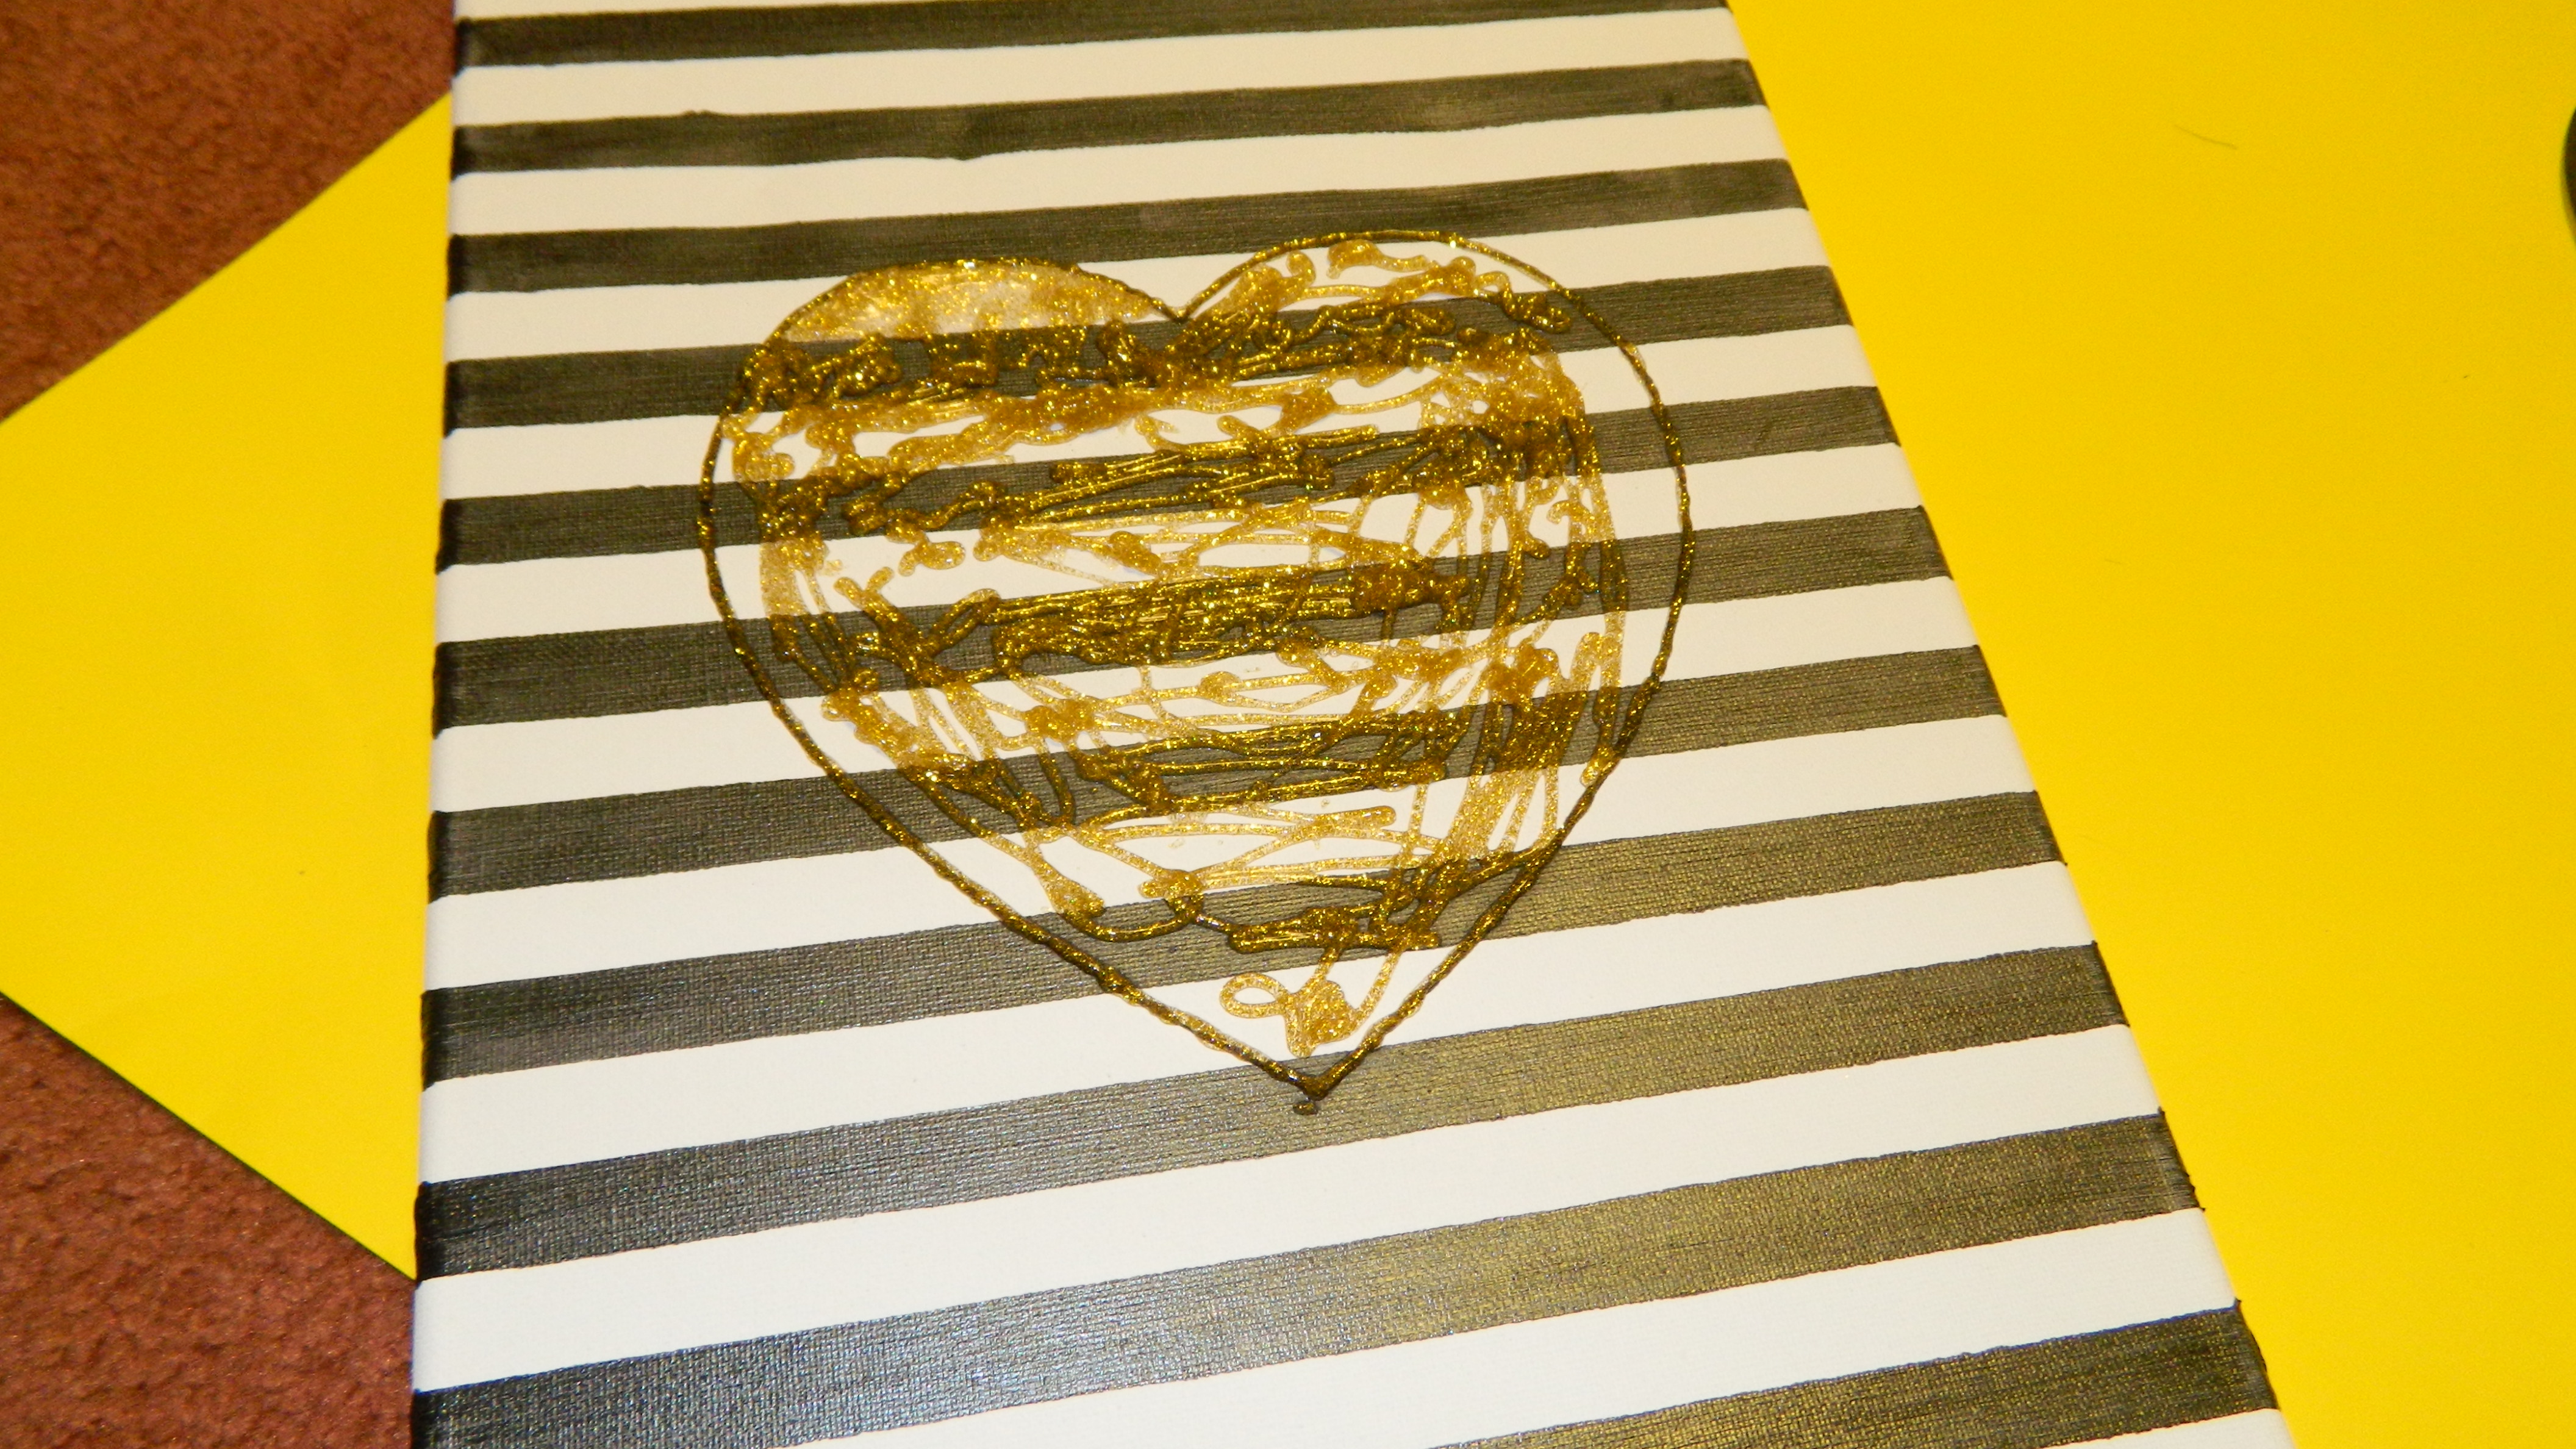
Because I couldn’t get the glitter glue to spread evenly over the canvas straight from the bottle, I used my (clean) paintbrush to paint the glue in all of the uncovered areas. Then I got to play with glitter….lots of glitter! I mixed together all of the gold glitter from my glitter package (also from the Dollar Tree) and dumped it all over the glue until it was fully covered. To be totally honest, I’m not sure how long it took to dry – I went a little (a lot) crazy with the glitter glue, so to be safe I just let my canvas dry over night. However, if you’re a tad conservative with your glue, you can probably get away with waiting less time for your finished product. So after all the waiting, I dumped the excess glitter and ta-da! My finished glittery gold Valentine’s Day canvas!!!
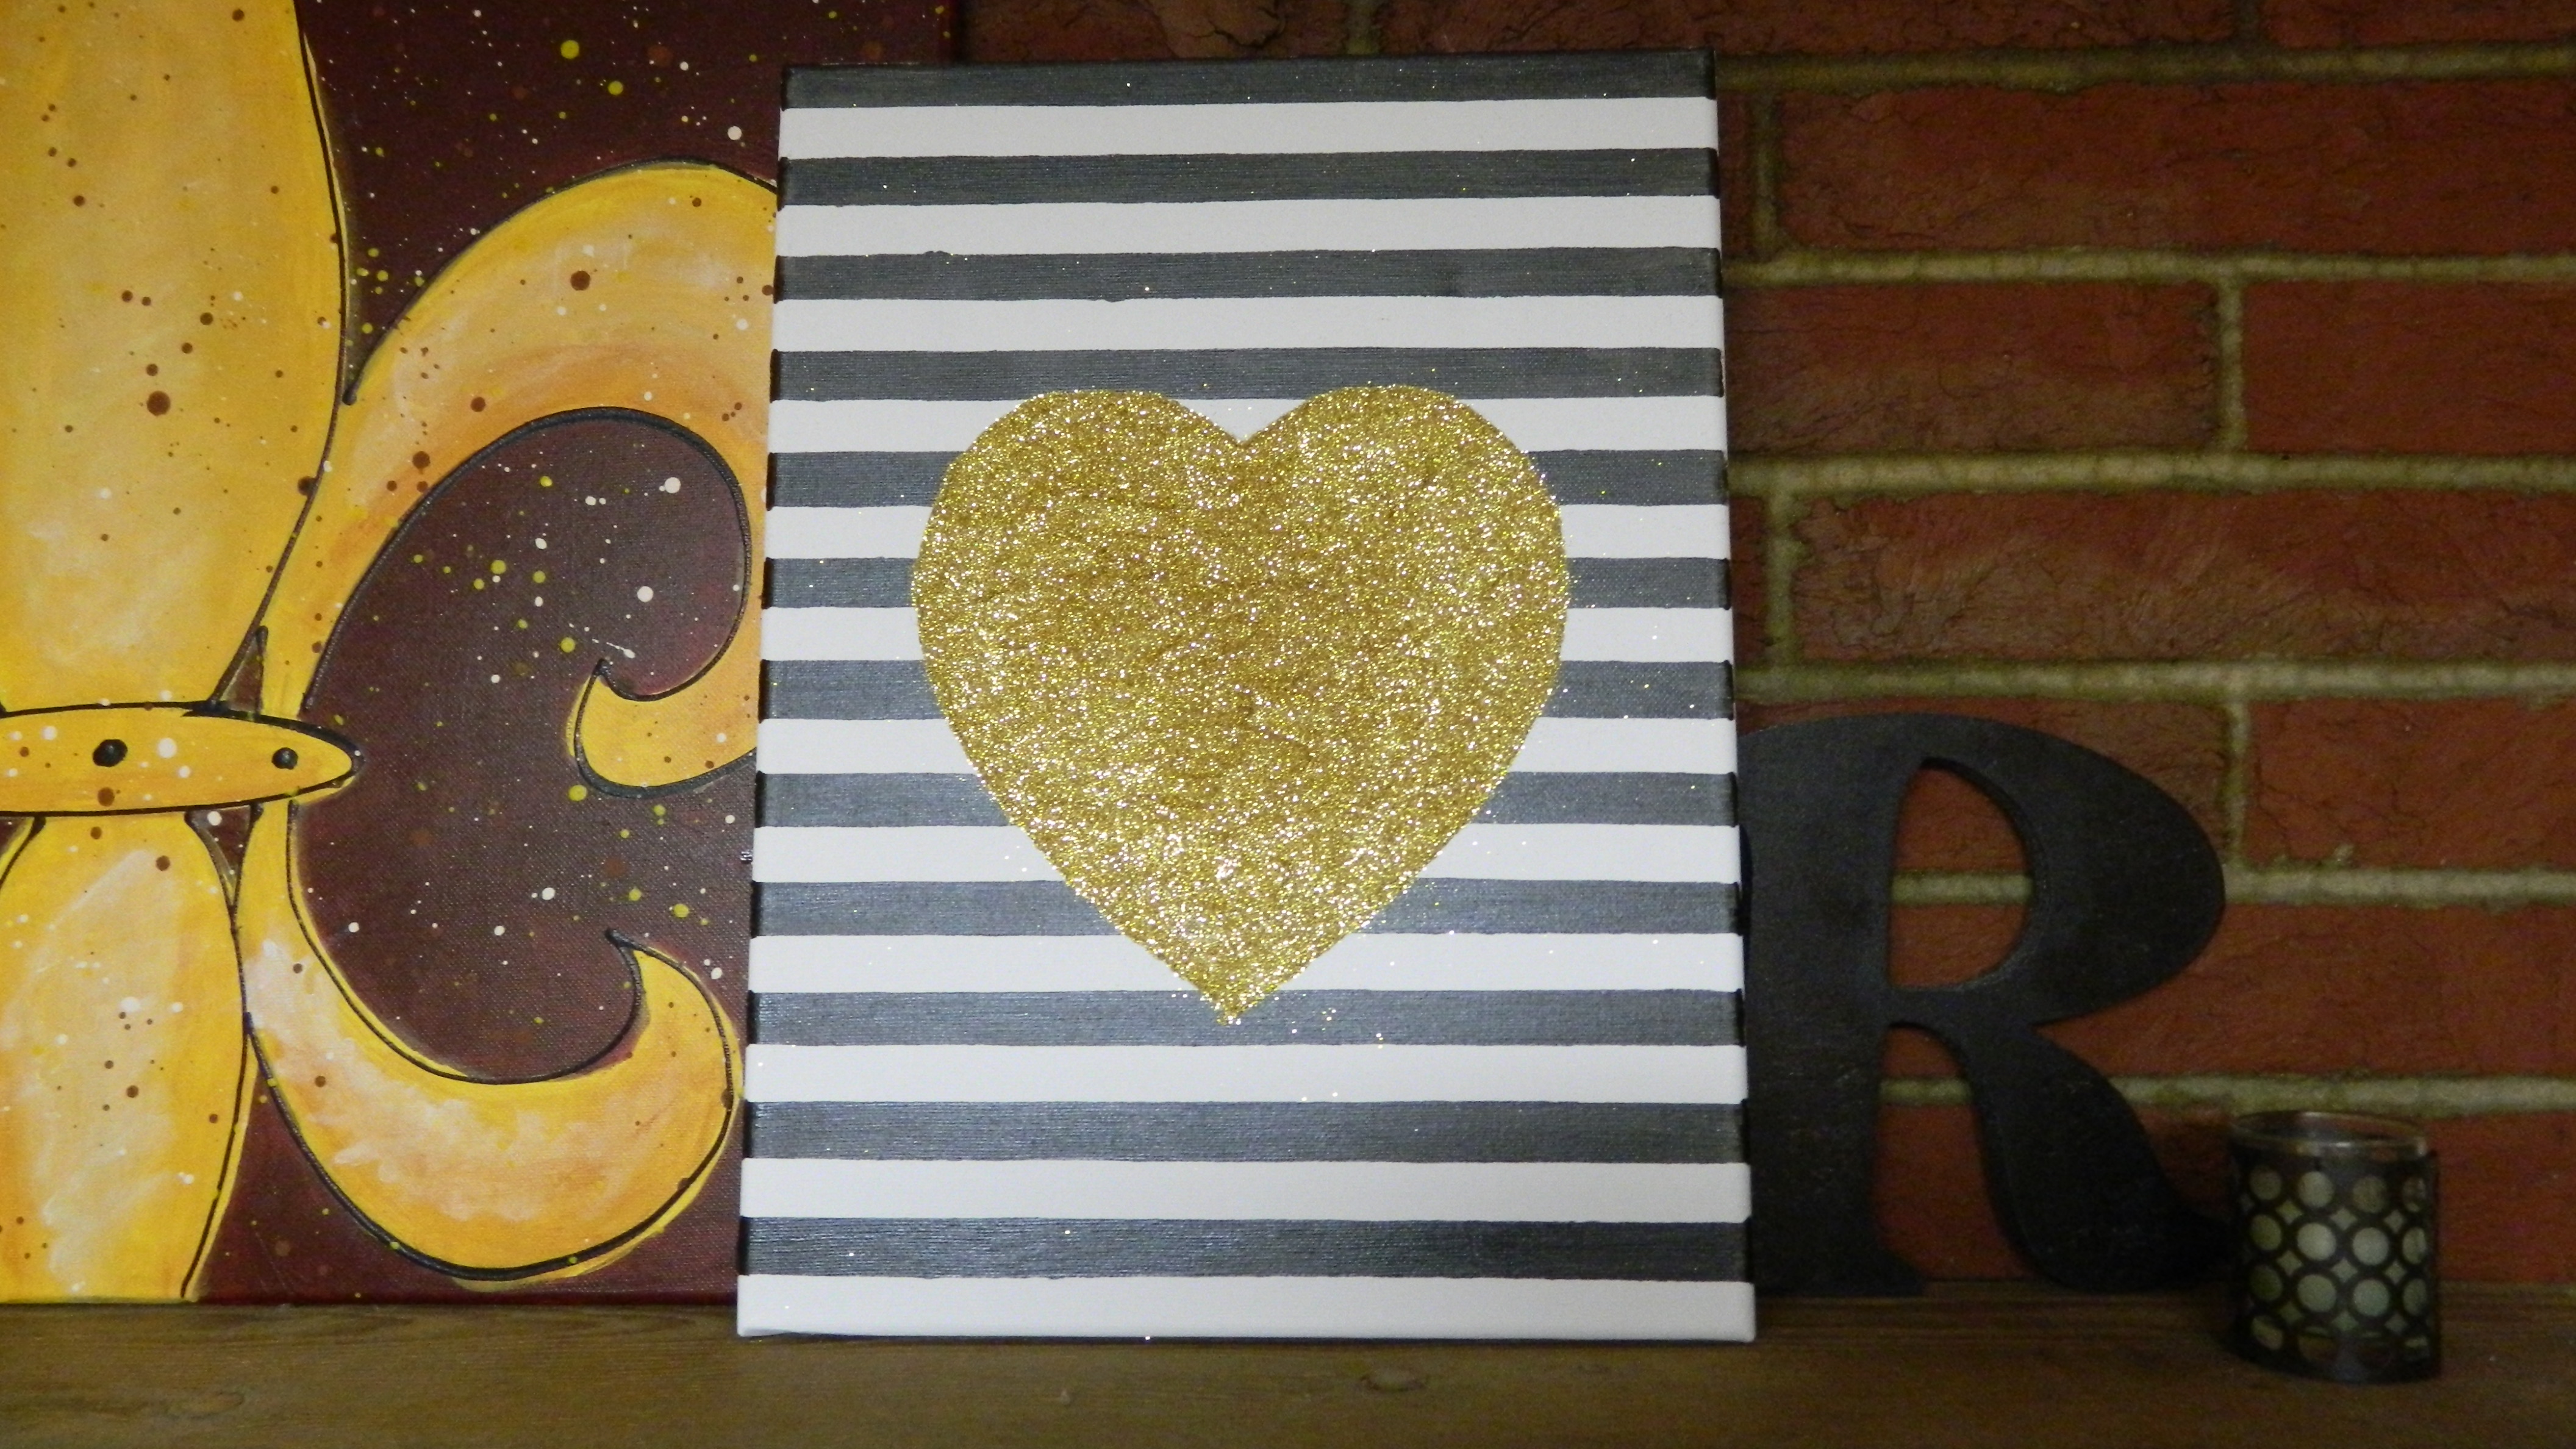
I’m so happy with how it turned out and can’t wait to put it in my office when V-day is over! Let’s be real – you can never have too much glitter around! 😉