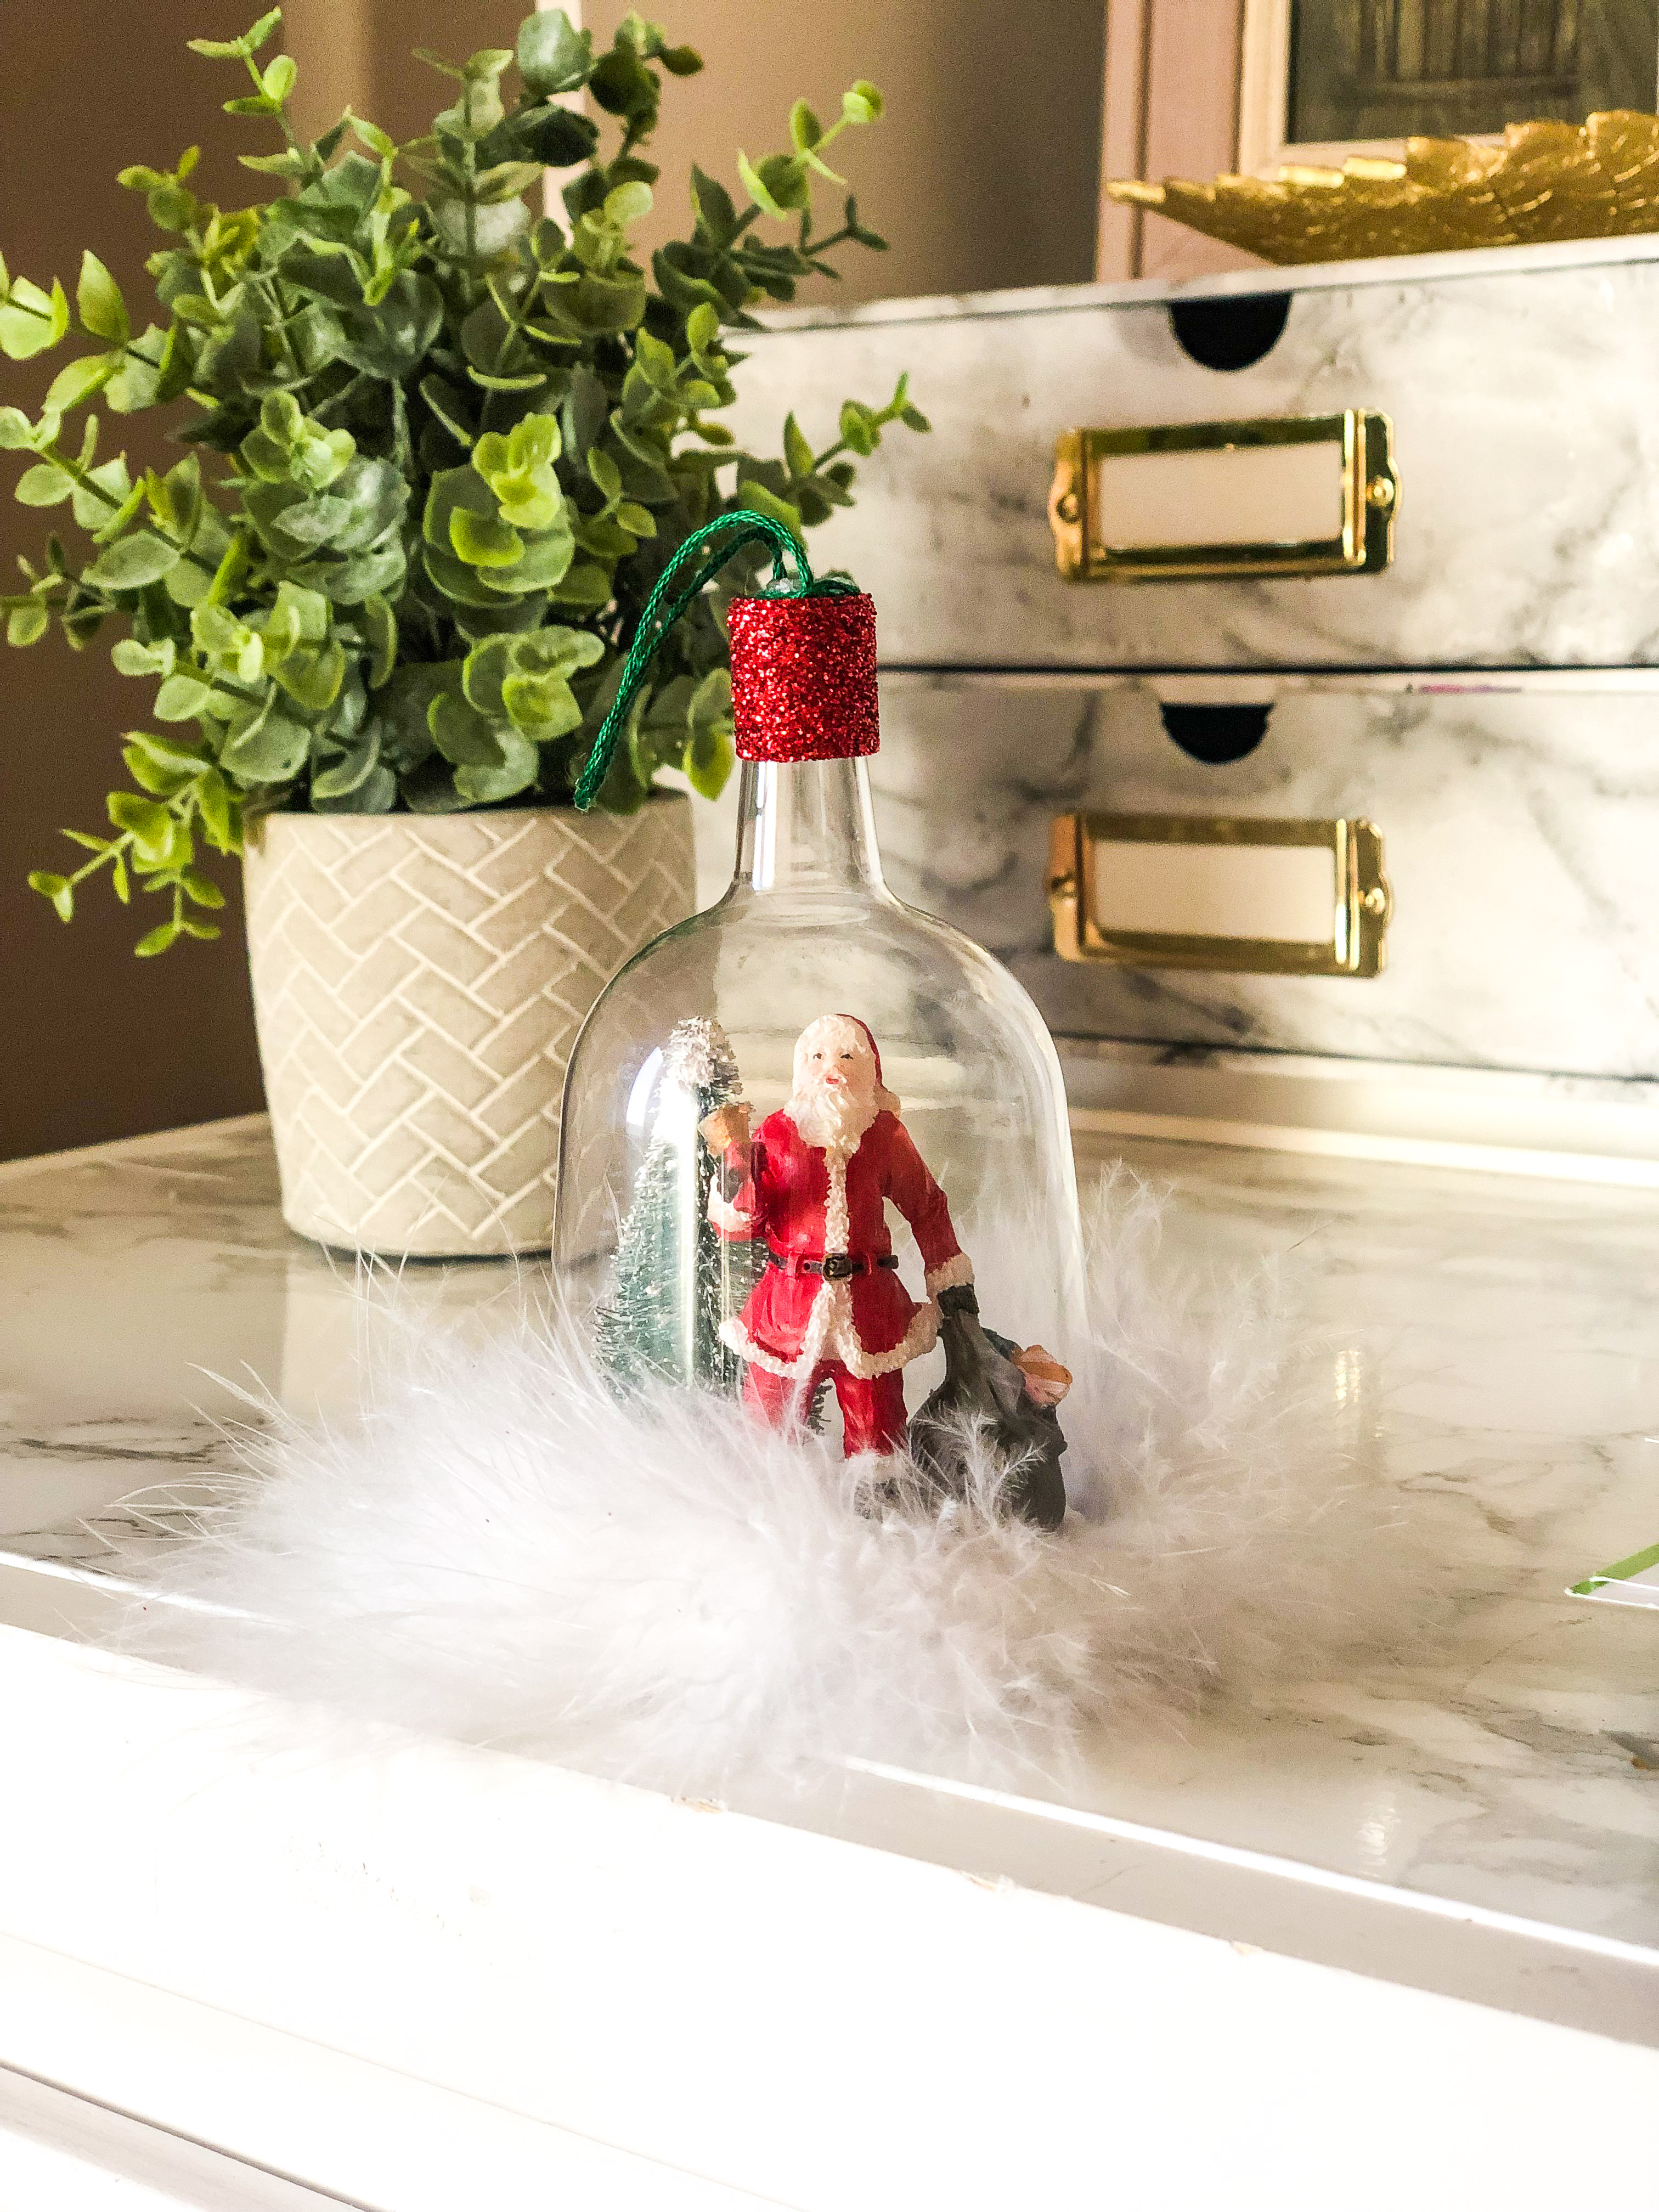
Easy DIY “Glass” Dome Christmas Ornament
There is nothing I love more about the holidays than making things. Crafts, cookies, dinners, cards, gifts…I love it all! So I was especially excited to try my hand at making this DIY “Glass” Dome Christmas Ornament. I have always loved the look of glass dome ornaments, but I hate spending much money on ornaments. So, I figured out how to make my own for about $10!
What you’ll need:
- Glue
- Hot glue gun & glue sticks
- Fake snow
- Plastic Wine Glass (with removable stem)
- Small bottle brush tree
- Miniature Santa Figurine (or other adorable Christmas figurine)
- Ribbon
- Embroidery Floss, bakers twine, or other string for hanging
- Cardboard circle cut to size of glass opening
- Garland (I used feather garland)


Let’s do this!
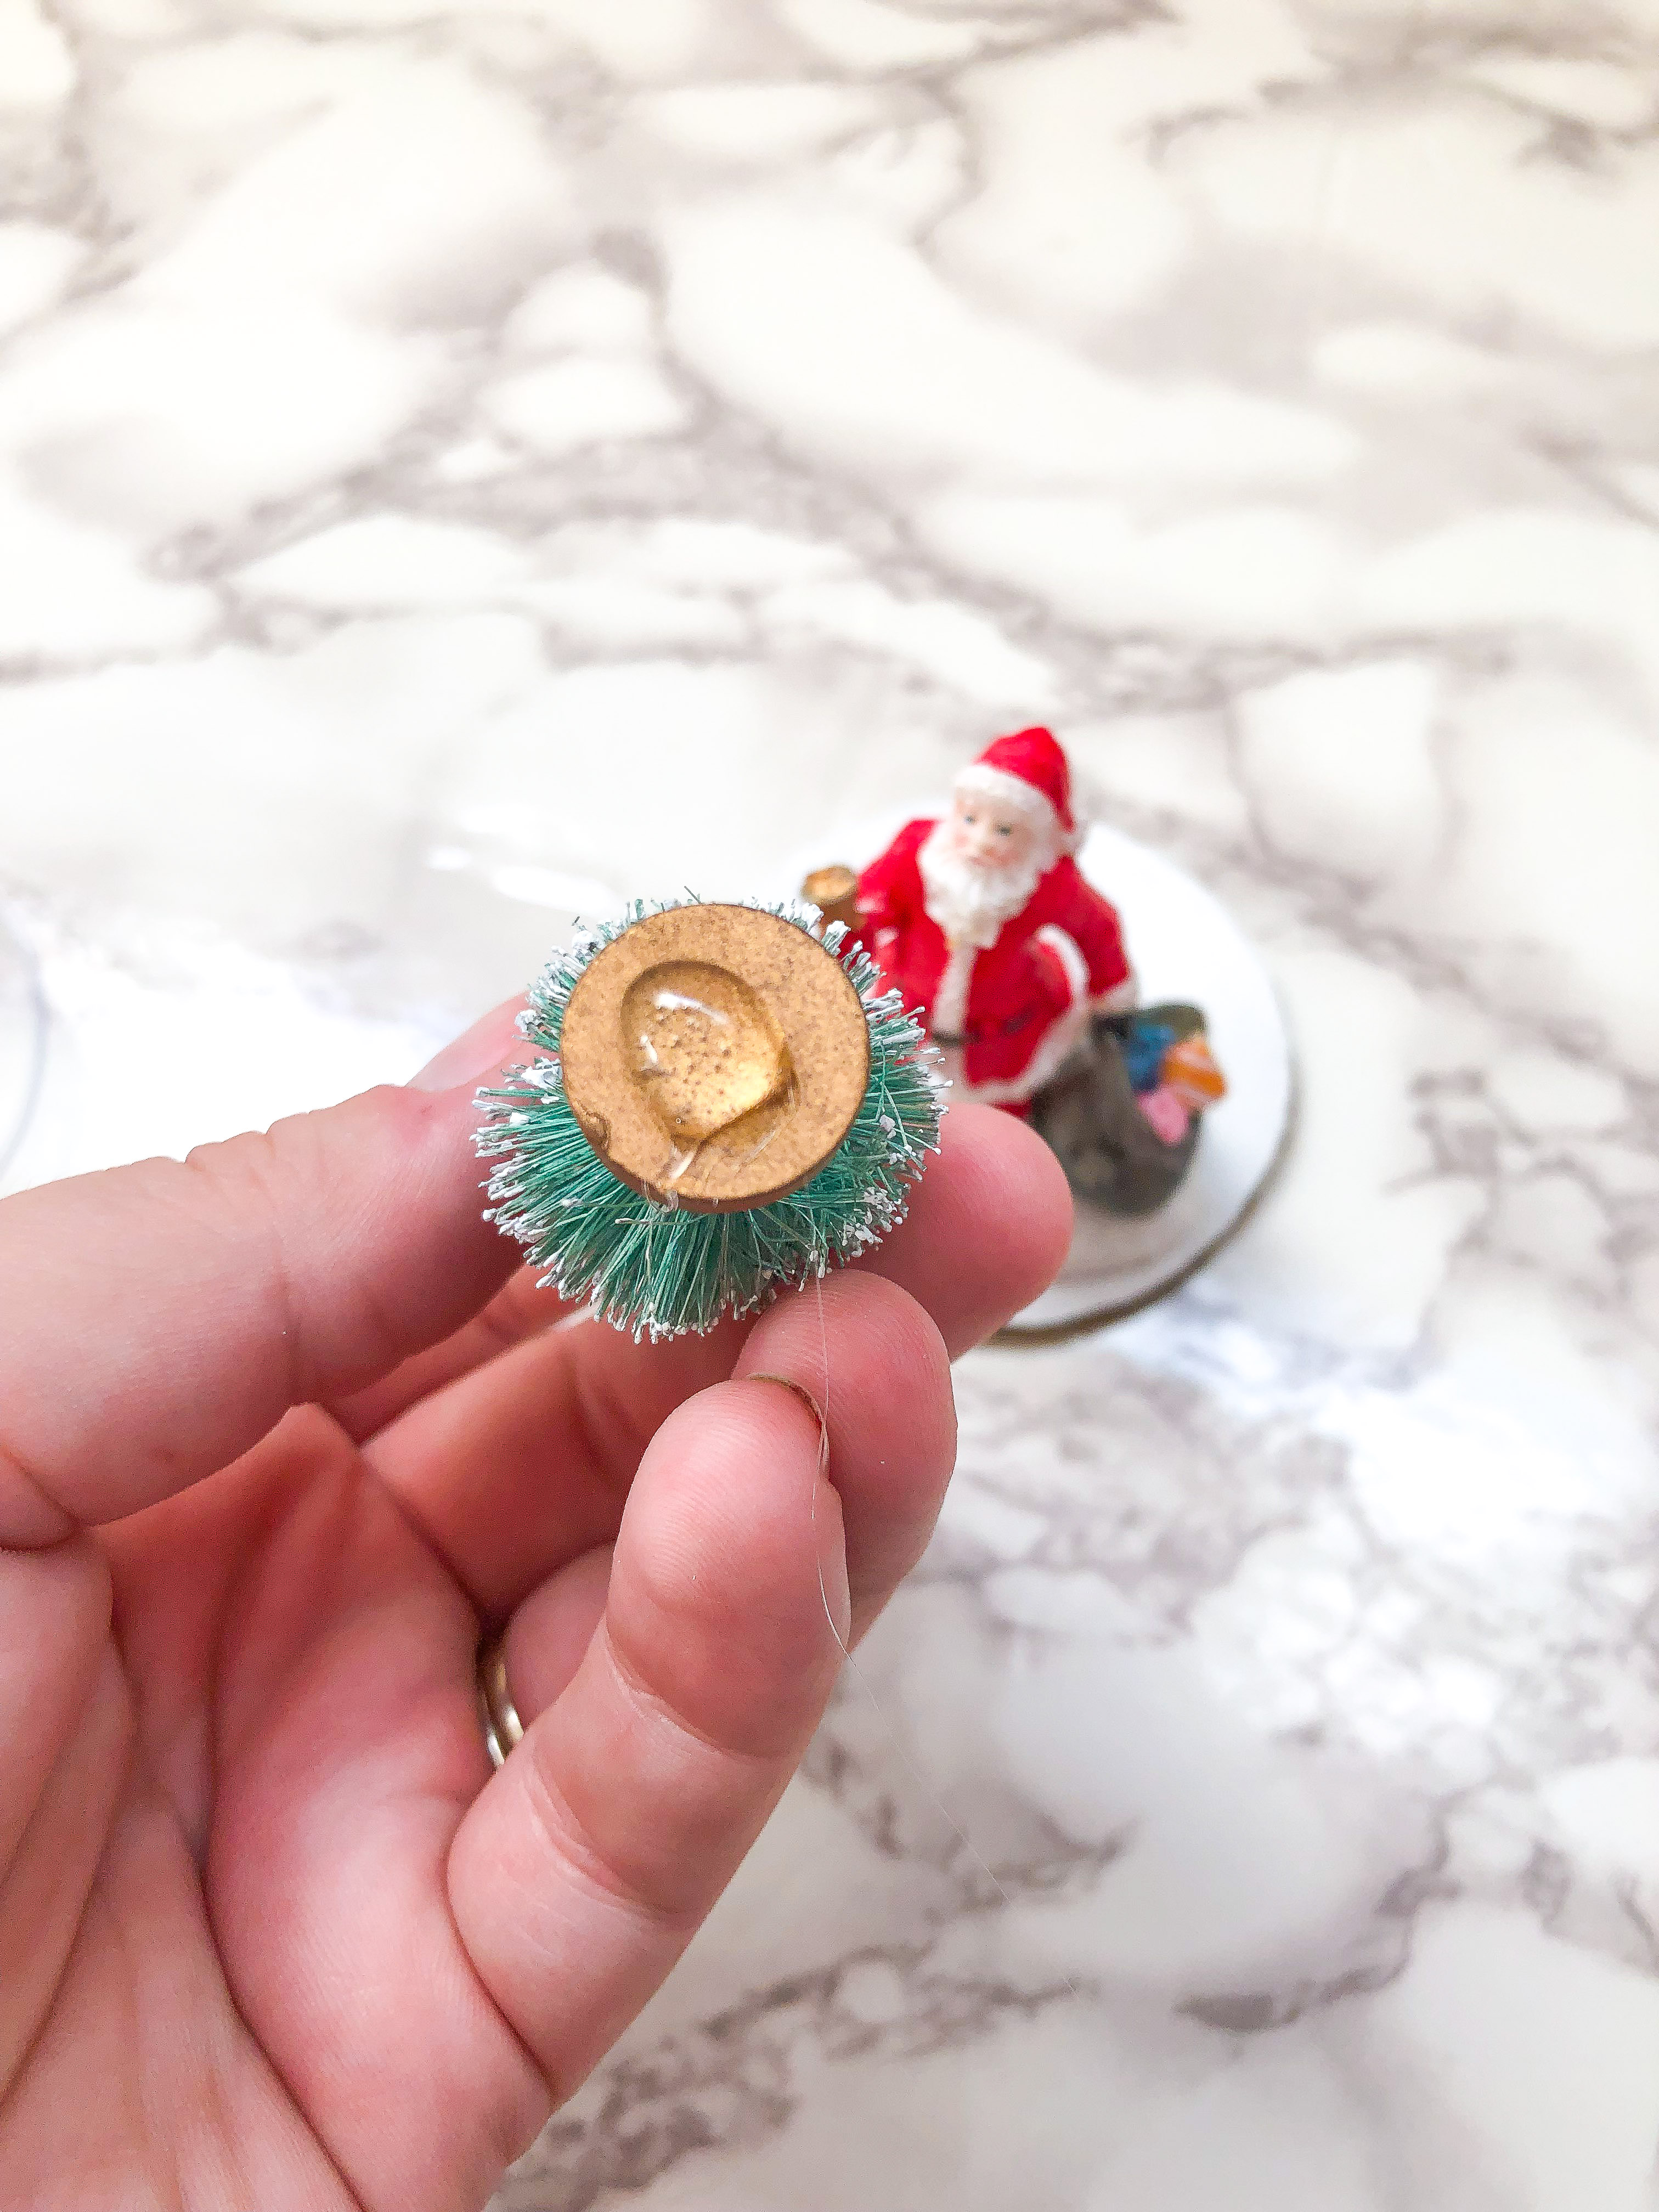
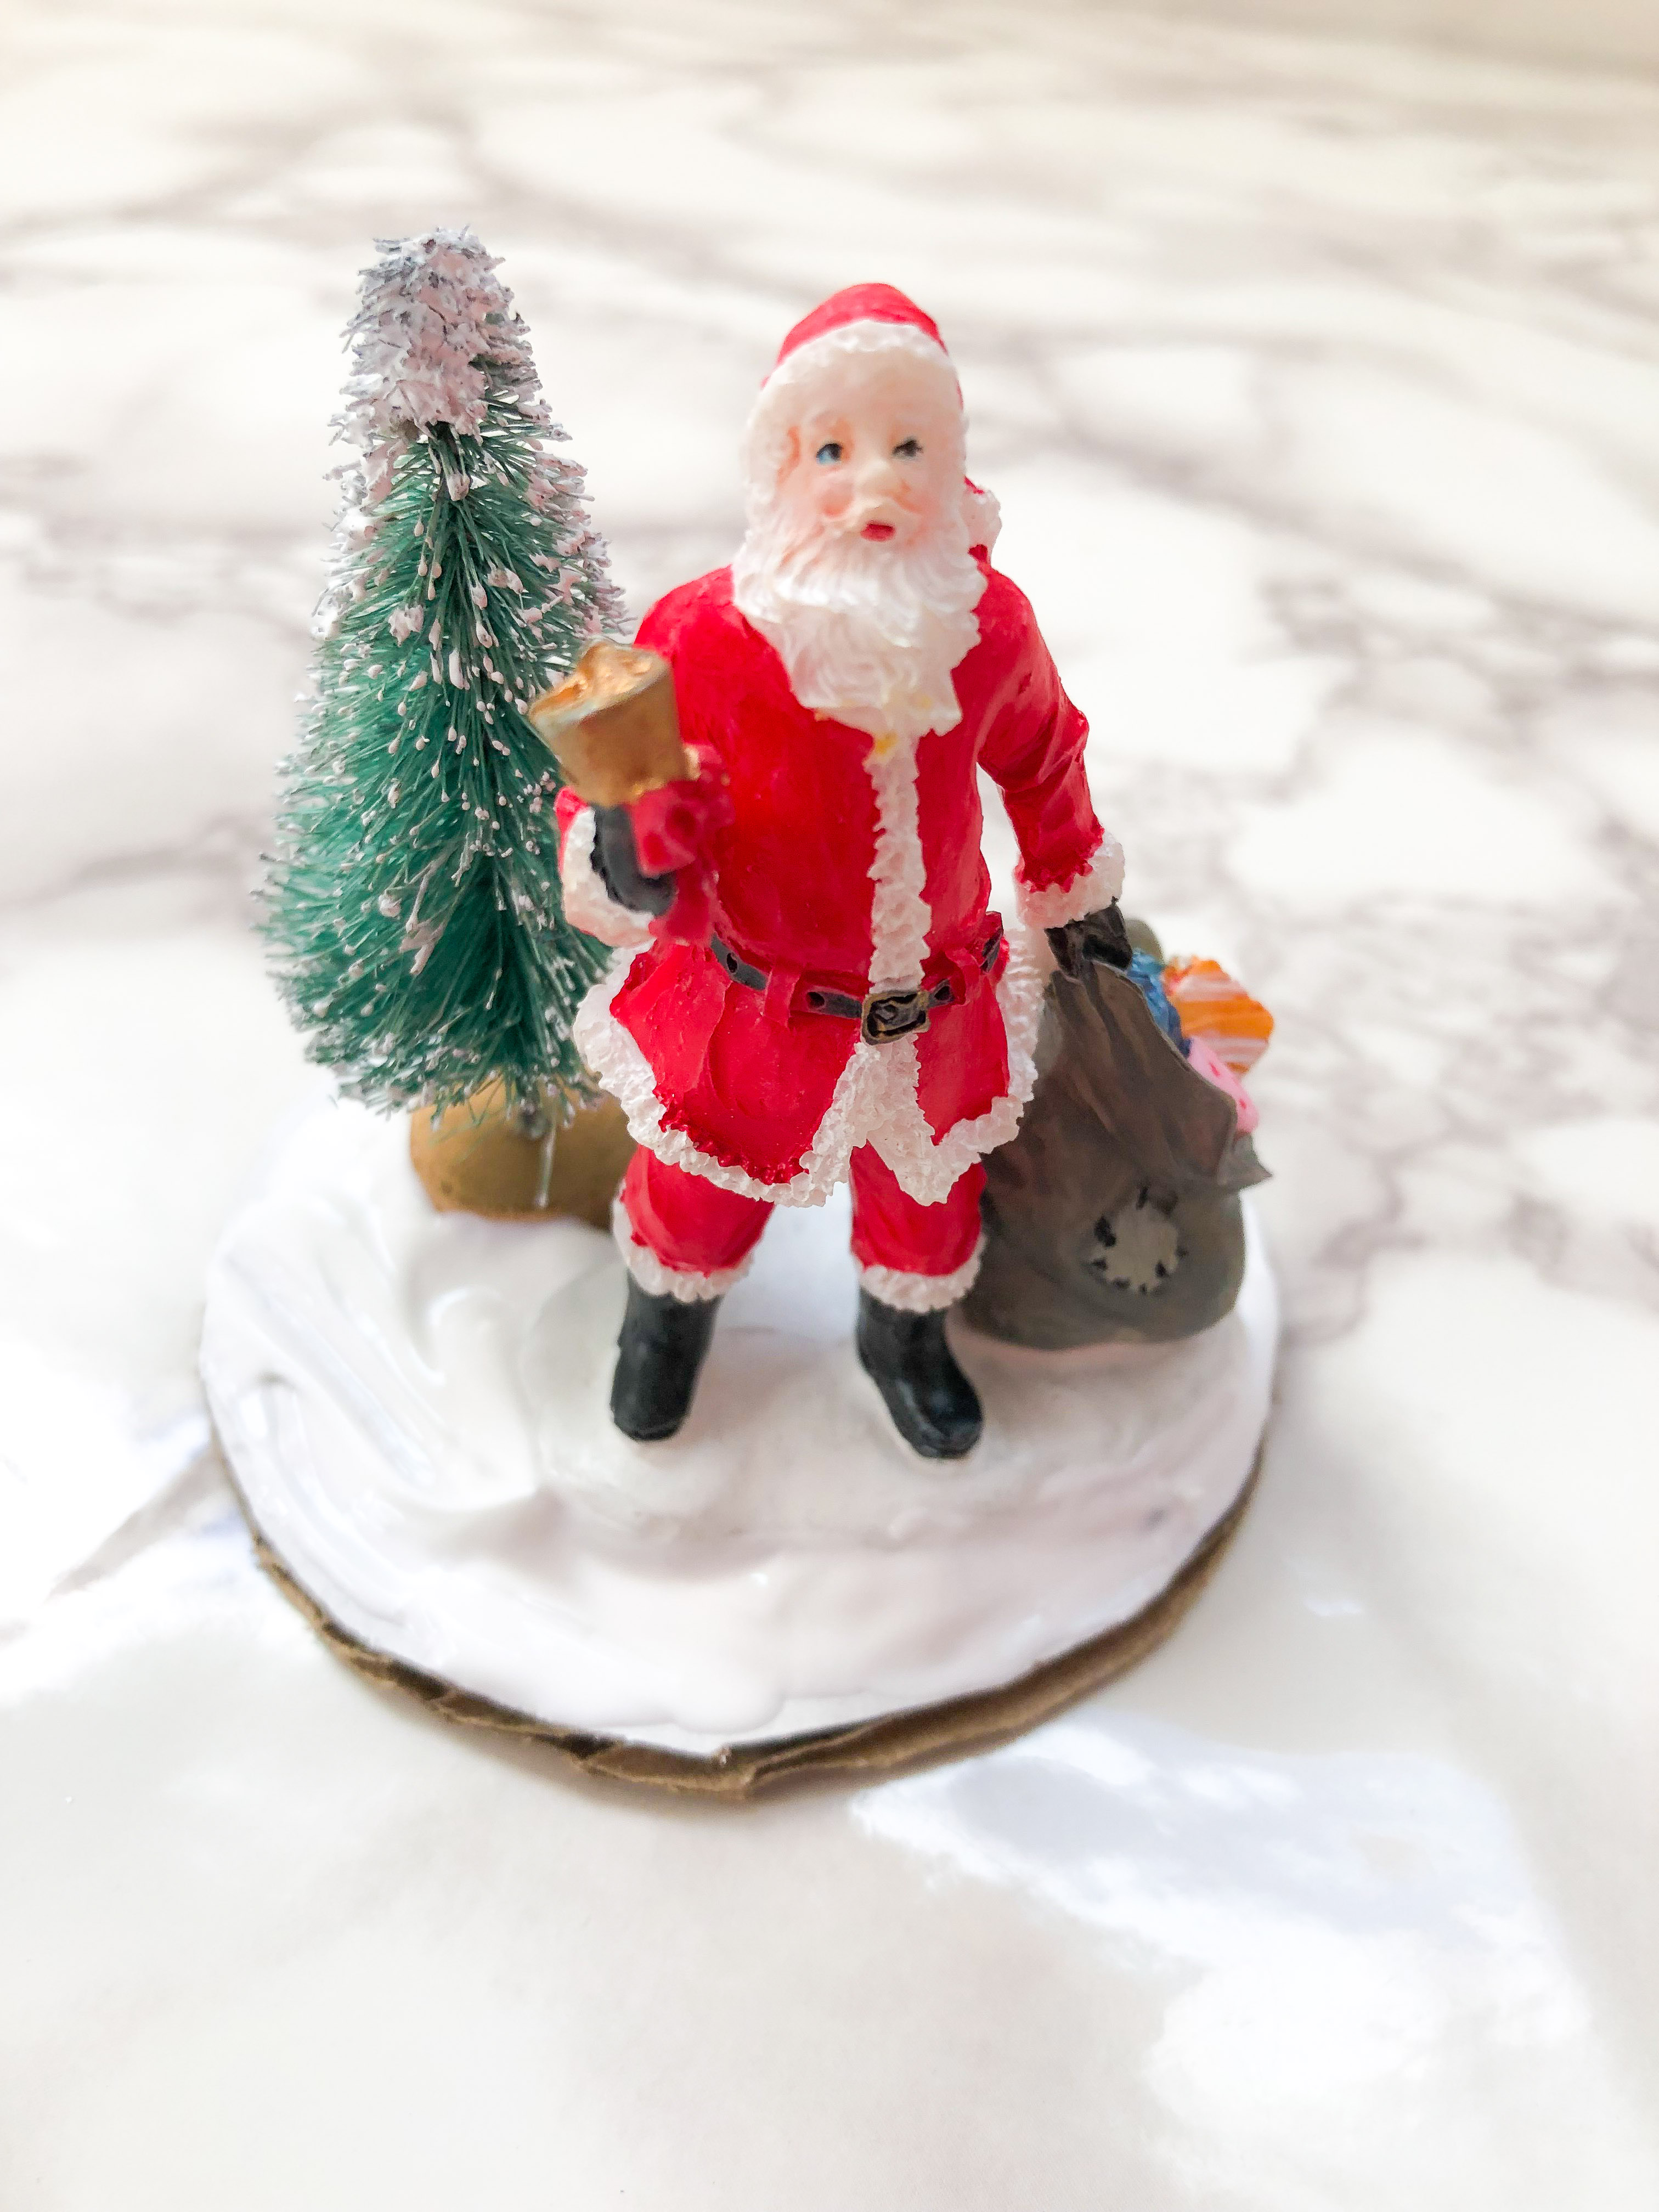
- The first thing you’ll need to do is determine where you want your bottle brush tree and figurine to be placed within the glass dome. Since the wine glass is taller in the middle and shorter near the outside, you may need to arrange your figurines differently than I have below, especially if you have a slightly taller bottle brush tree.
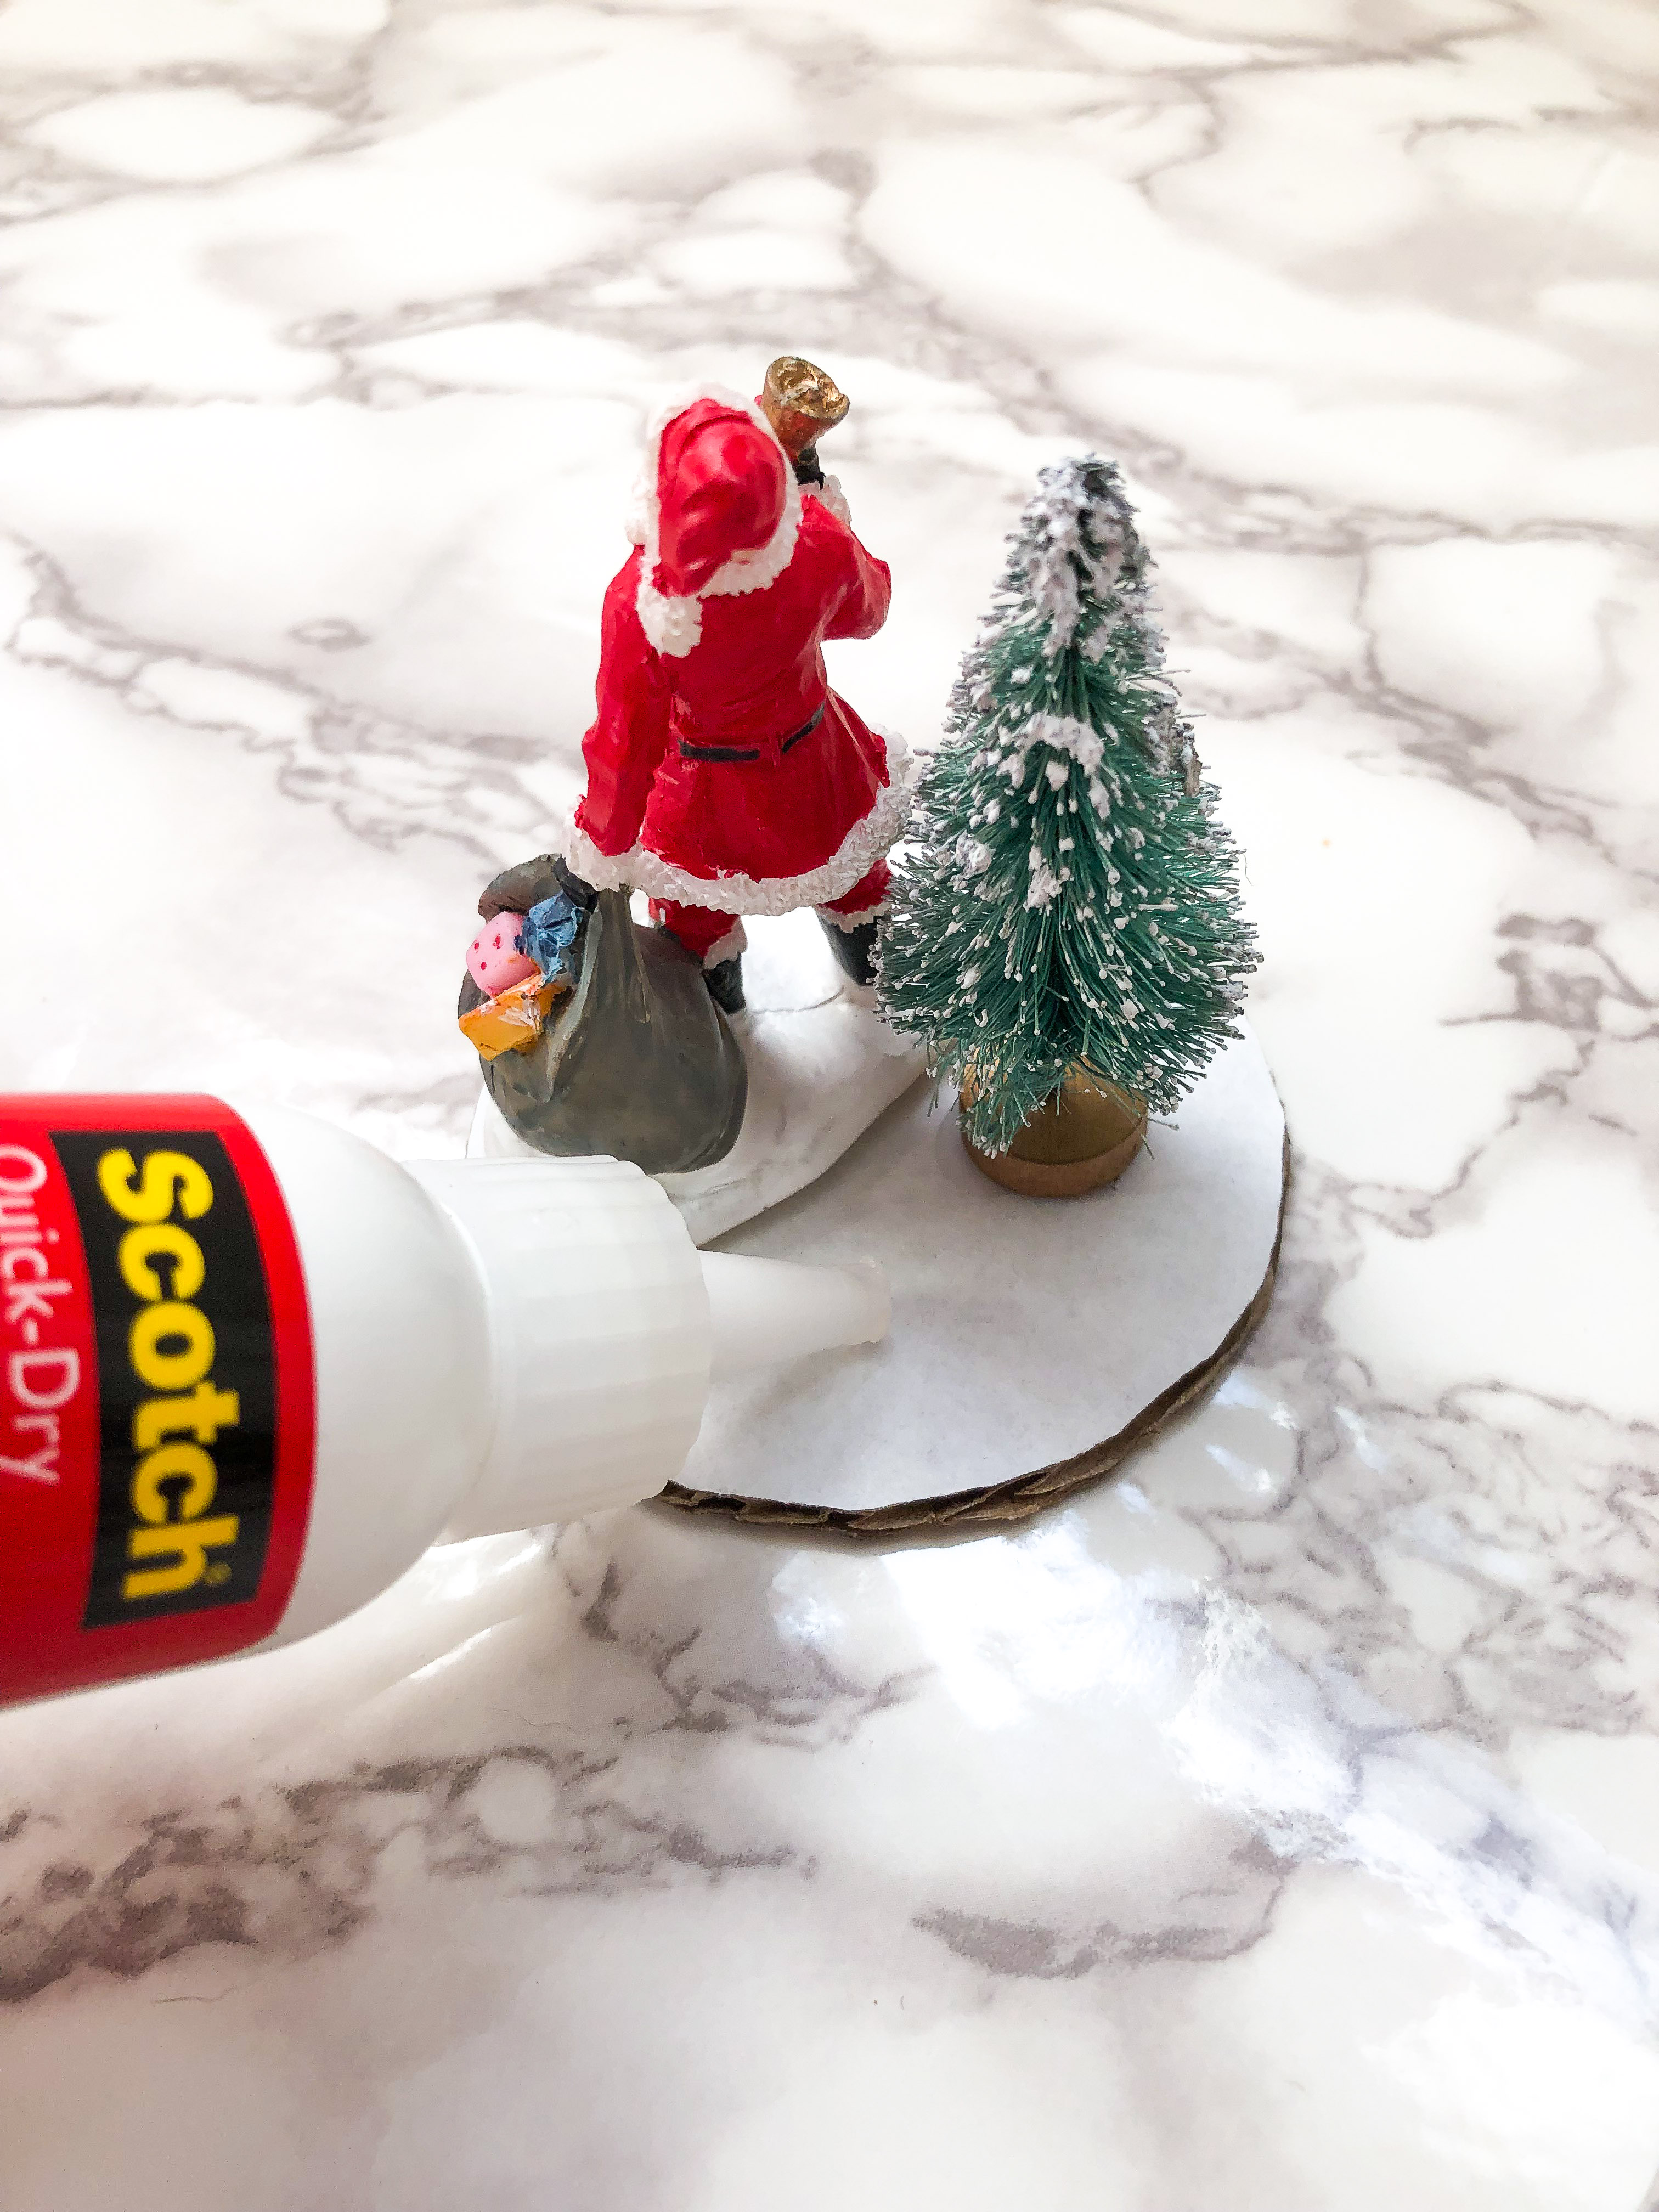
Once you have figured out where you want to place your tree and figurine, you’ll place a little dab of hot glue on the bottom of each and press it onto the cardboard circle.
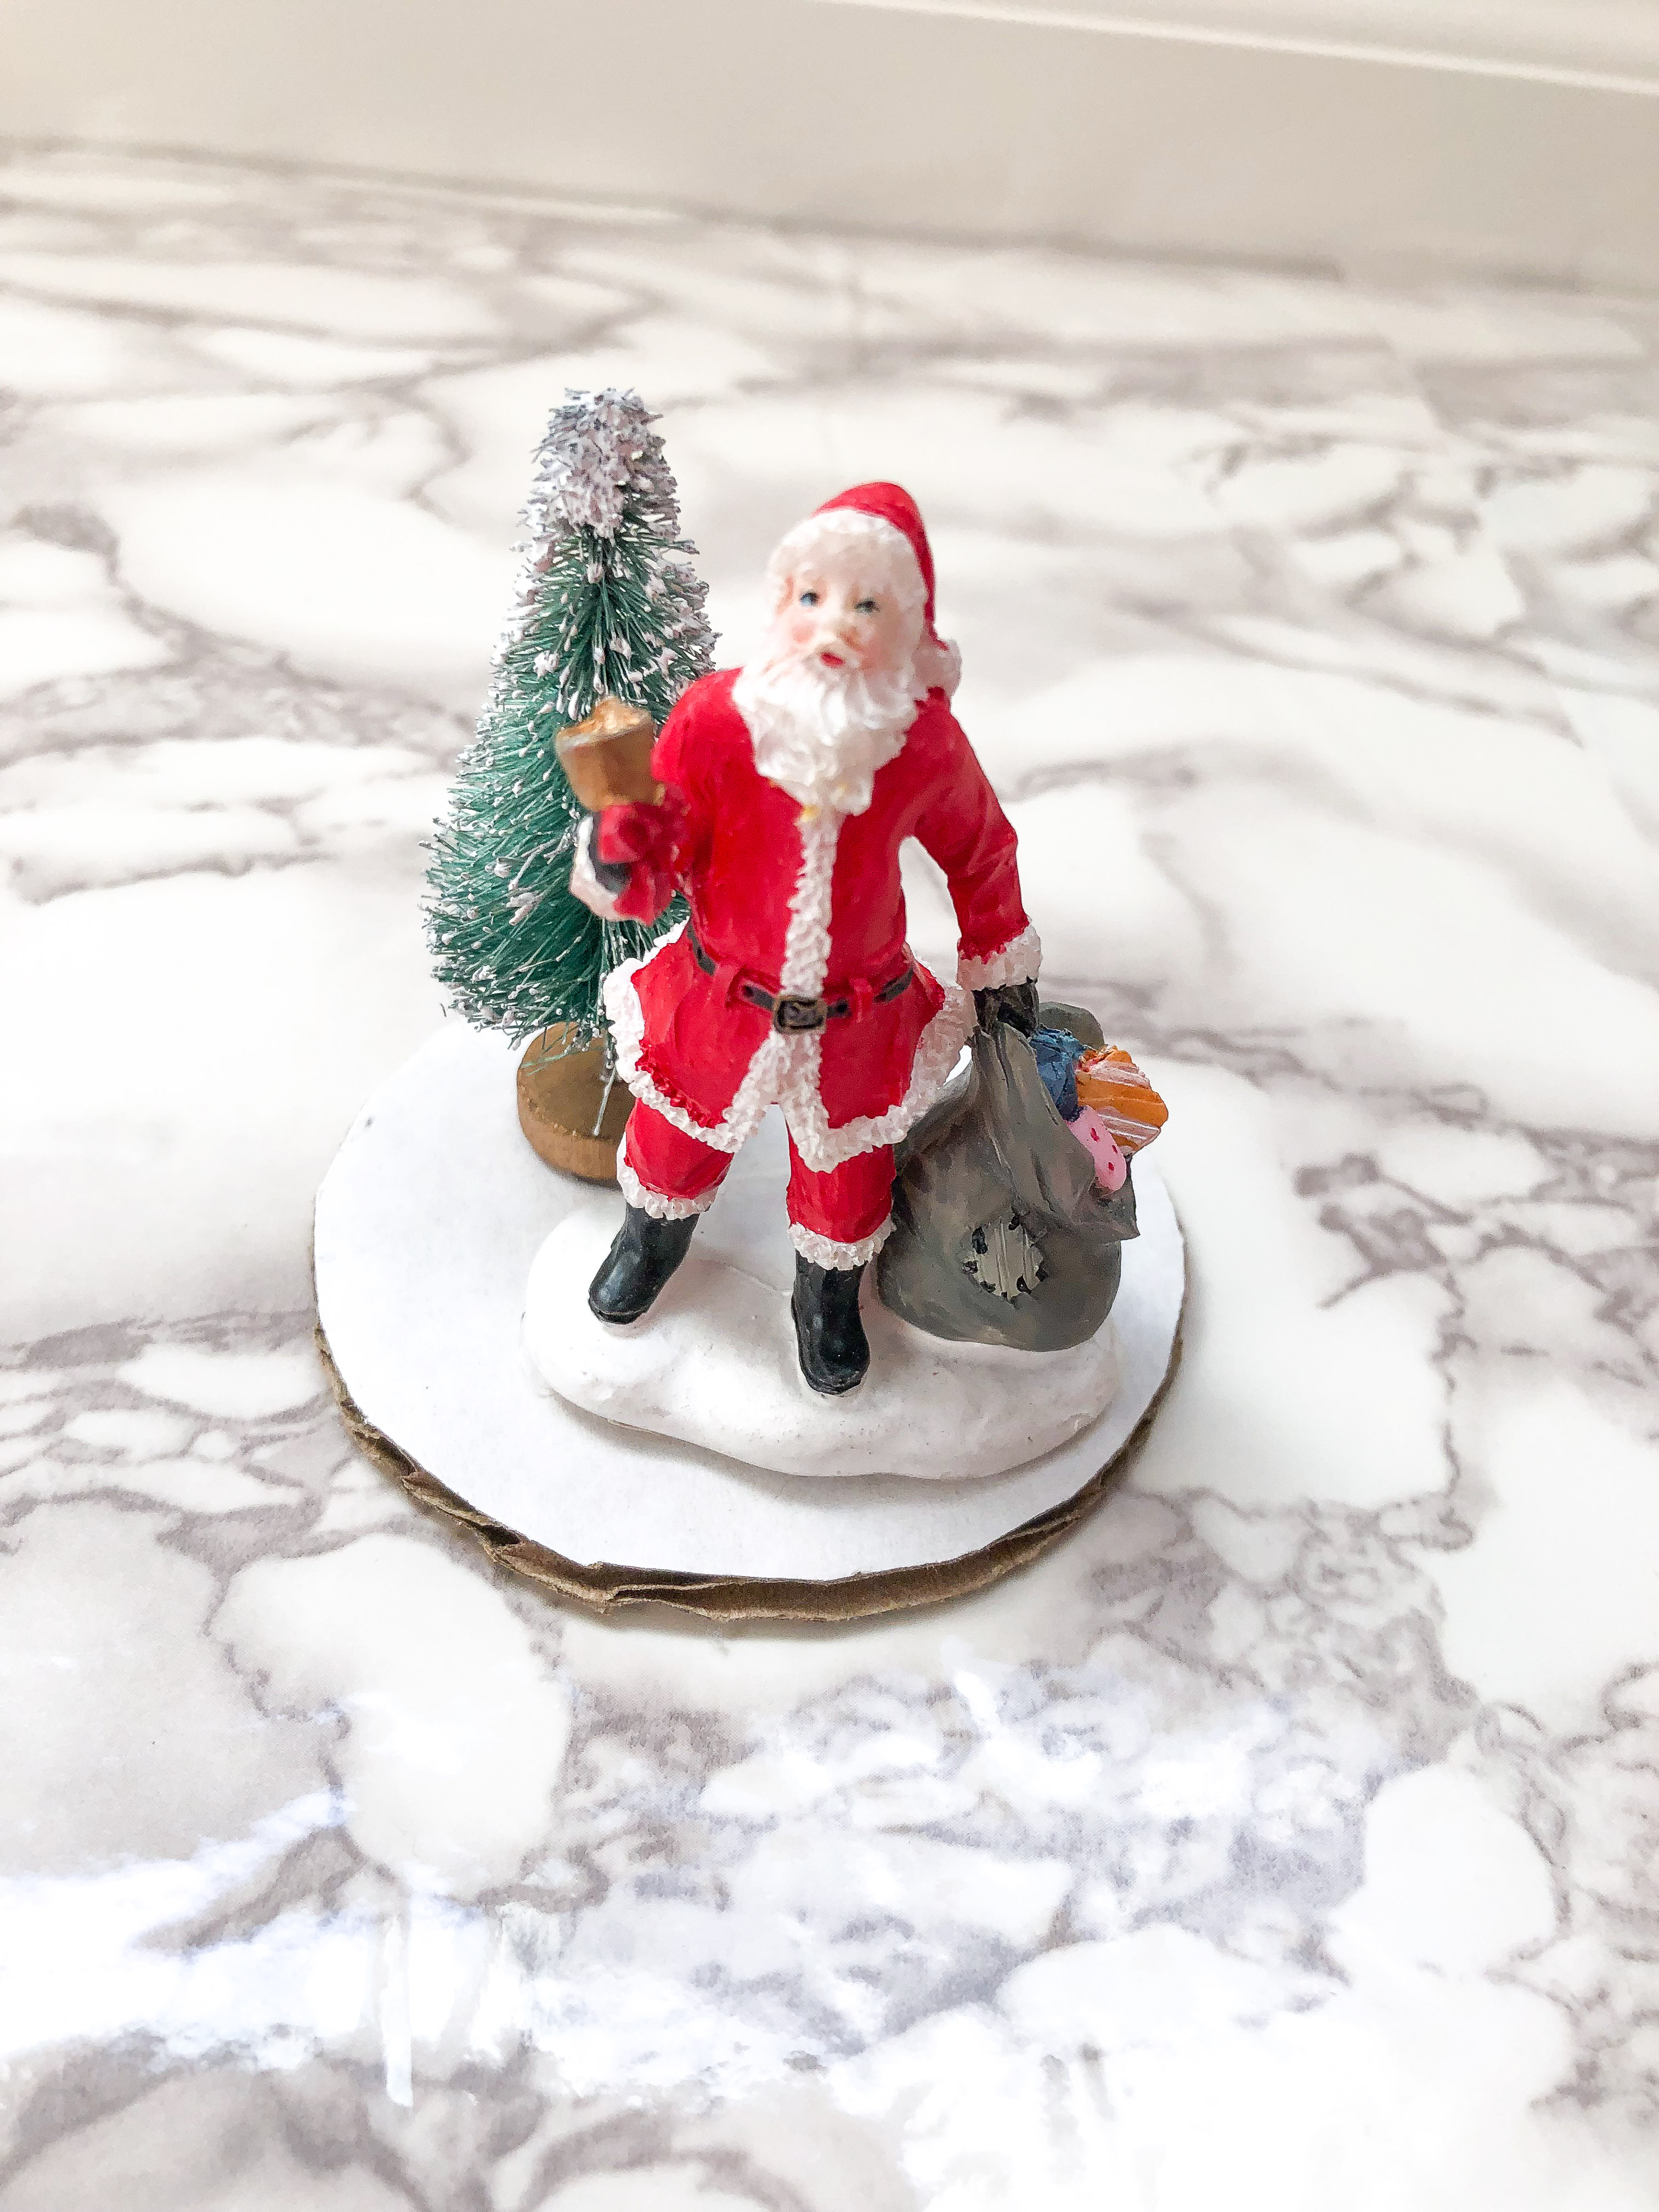
3. Once both have been glued down with hot glue, you’ll switch to regular glue to apply your fake snow. There are so many different glue types out there, so really you can use whatever you have on hand; I would just suggest not using hot glue for this as it sets too quickly.
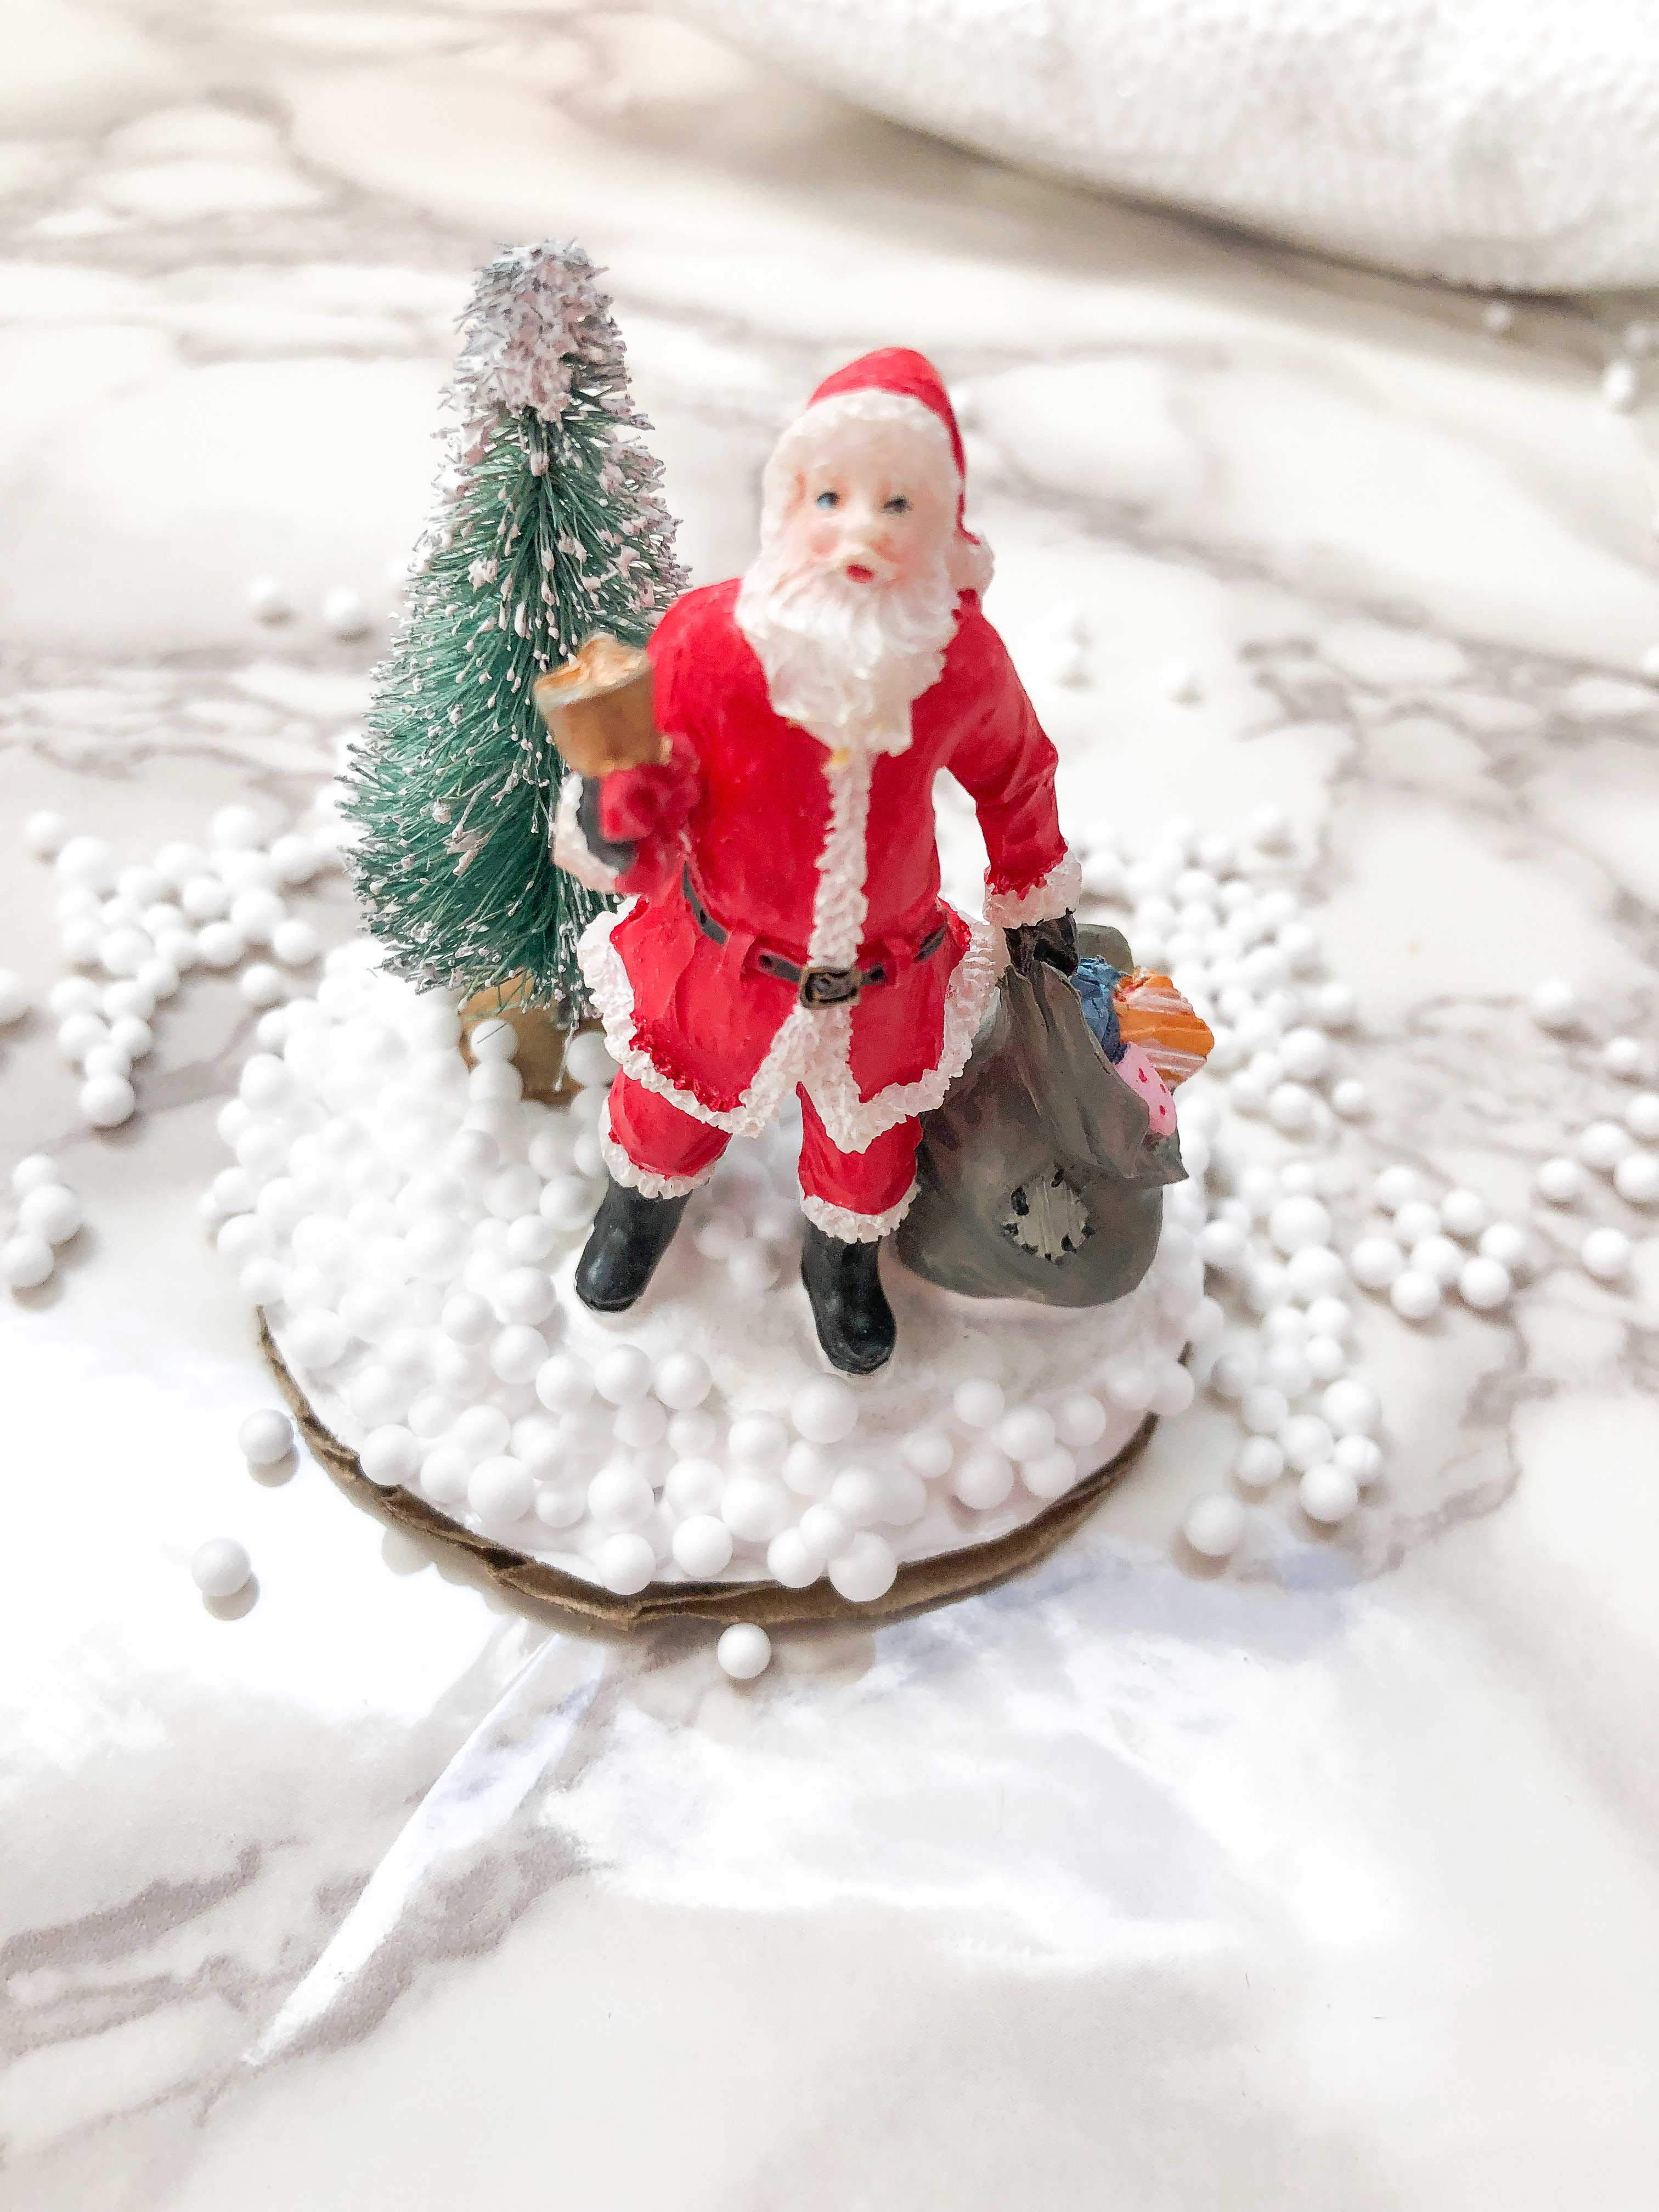
You’ll coat the entire visible portion of the cardboard circle with glue, then cover with fake snow. I used the small foam ball type of fake snow, but any kind will work for this project.
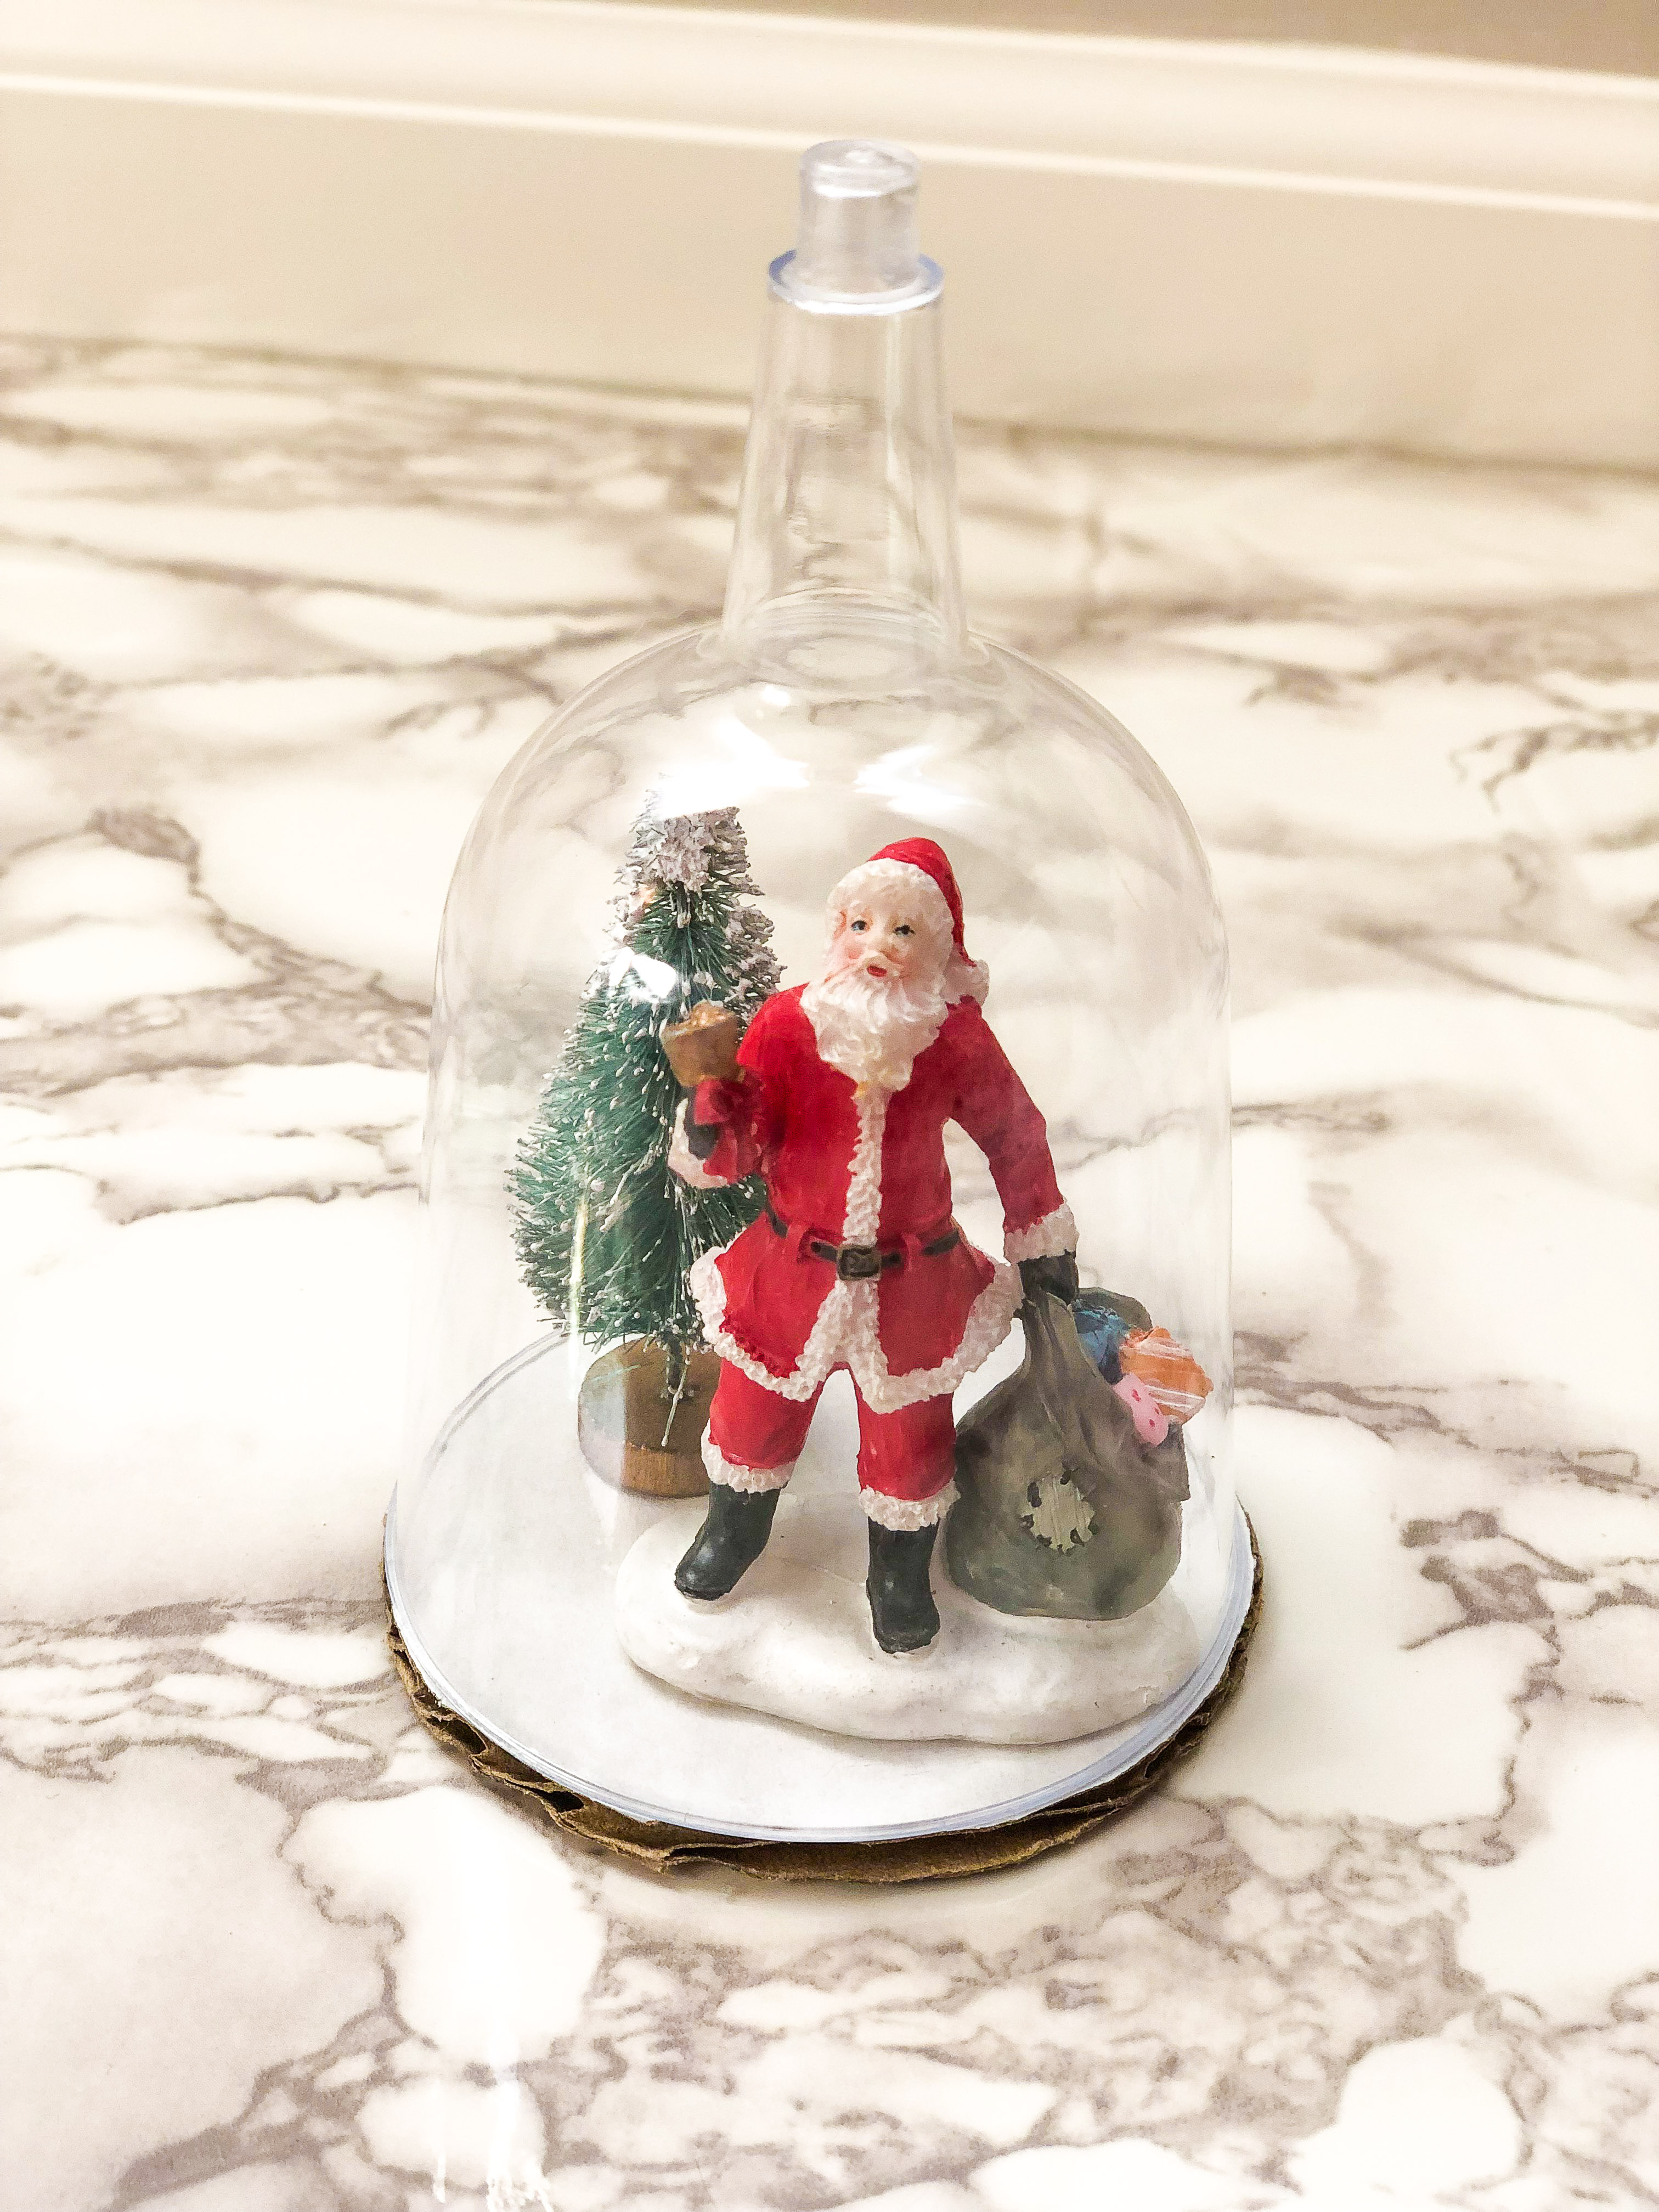
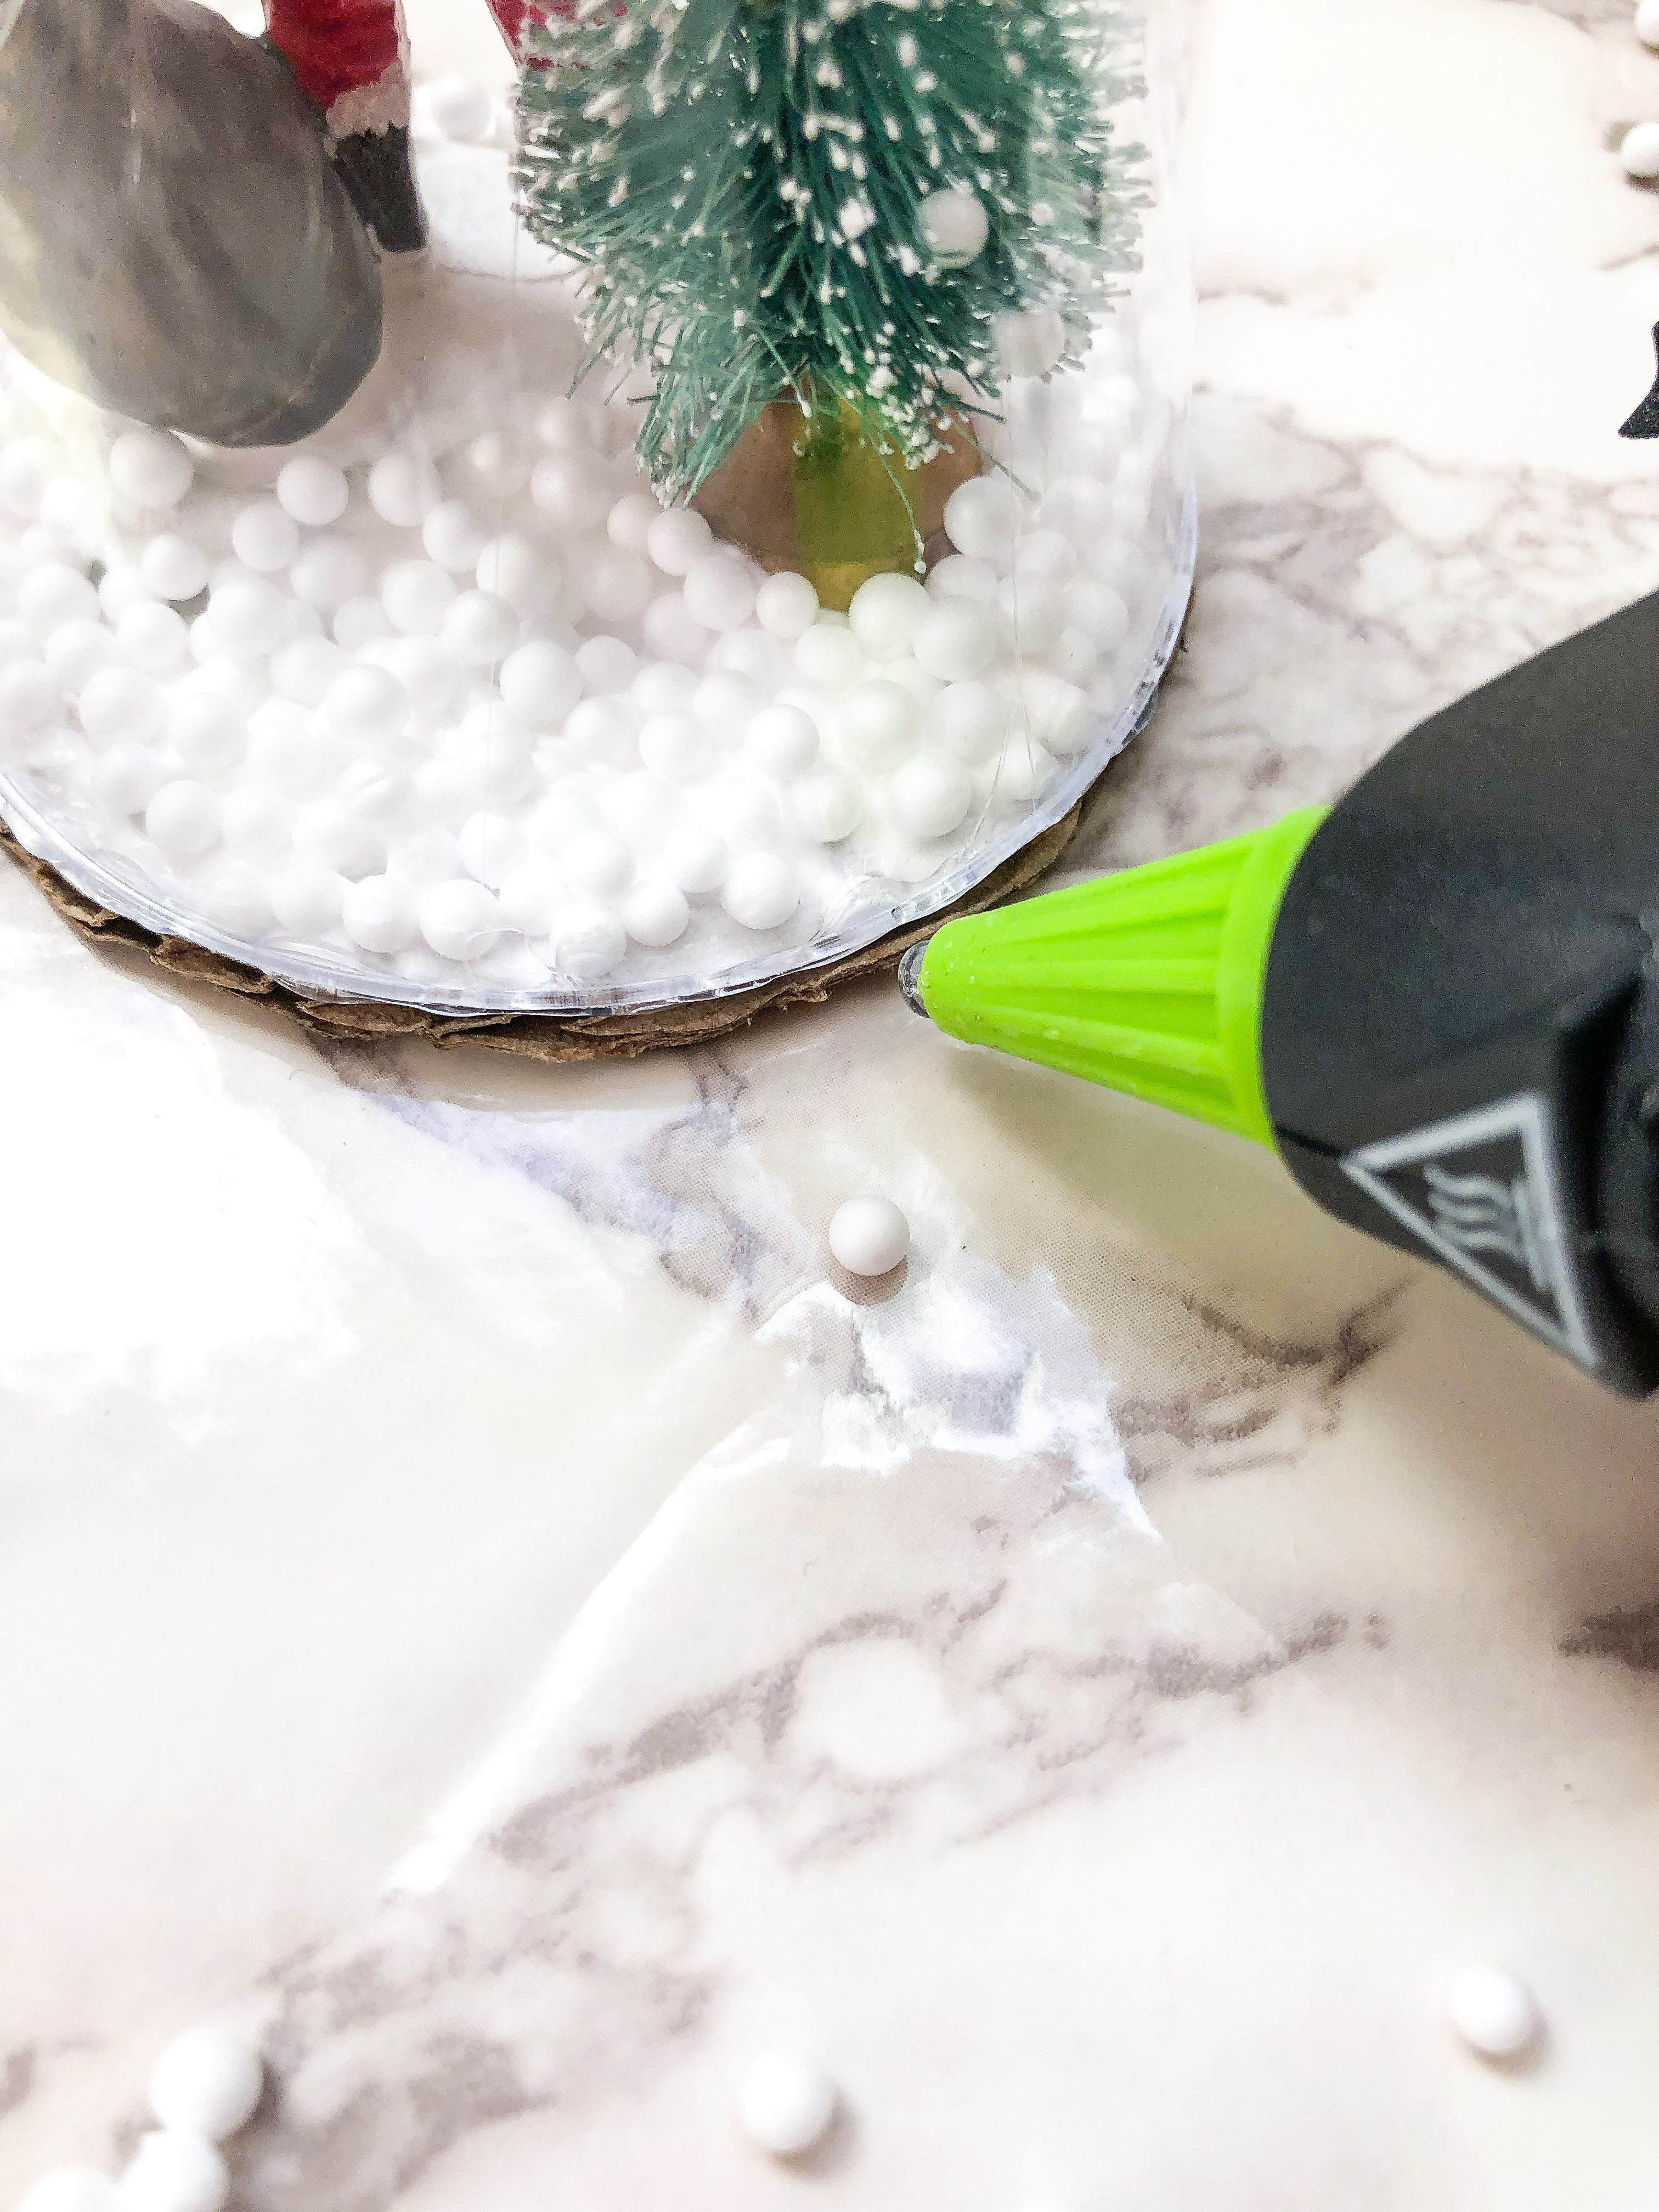
4. Once your snow is on, it’s time to put the dome on. The great thing about this step is that you don’t have to wait for the glue holding your snow to dry because it’s going to be protected by the “glass” dome, so there’s no chance that you’ll bump it or accidentally mess anything up.
To put the dome on, I applied a small amount of hot glue to the rim of the wine glass, then pressed it onto the cardboard circle. You’ll want to be sure that if you’re using the same kind of fake snow that I used here, that you make sure that all of the little foam balls are out of the way of the rim of the glass or the dome won’t fit securely.

5. Once the dome is on, it’s time to hide the cardboard! To do this, I used a small piece of white feather garland and simple hot glued it to the edge of the cardboard. The white feather garland continued the feeling of snow, but you could use a metallic garland as well for a pretty effect.

6. For the final step, I wrapped embroidery floss around the stem and left one loop exposed in order to hang the ornament from the tree. Again, I used my trusty hot glue gun to secure the embroidery floss to the glass. Then, I wrapped a small piece of ribbon around the floss to give it a cleaner look.

That’s it! Just a few easy steps and less than $10 to make this adorable DIY “Glass” Dome Christmas Ornament!