

Hello!! I’ve been MIA for the past few days thanks to some sickness in the house, busy times at work, and some blog-related issues as well, but I’m back and everything’s running smoothly!
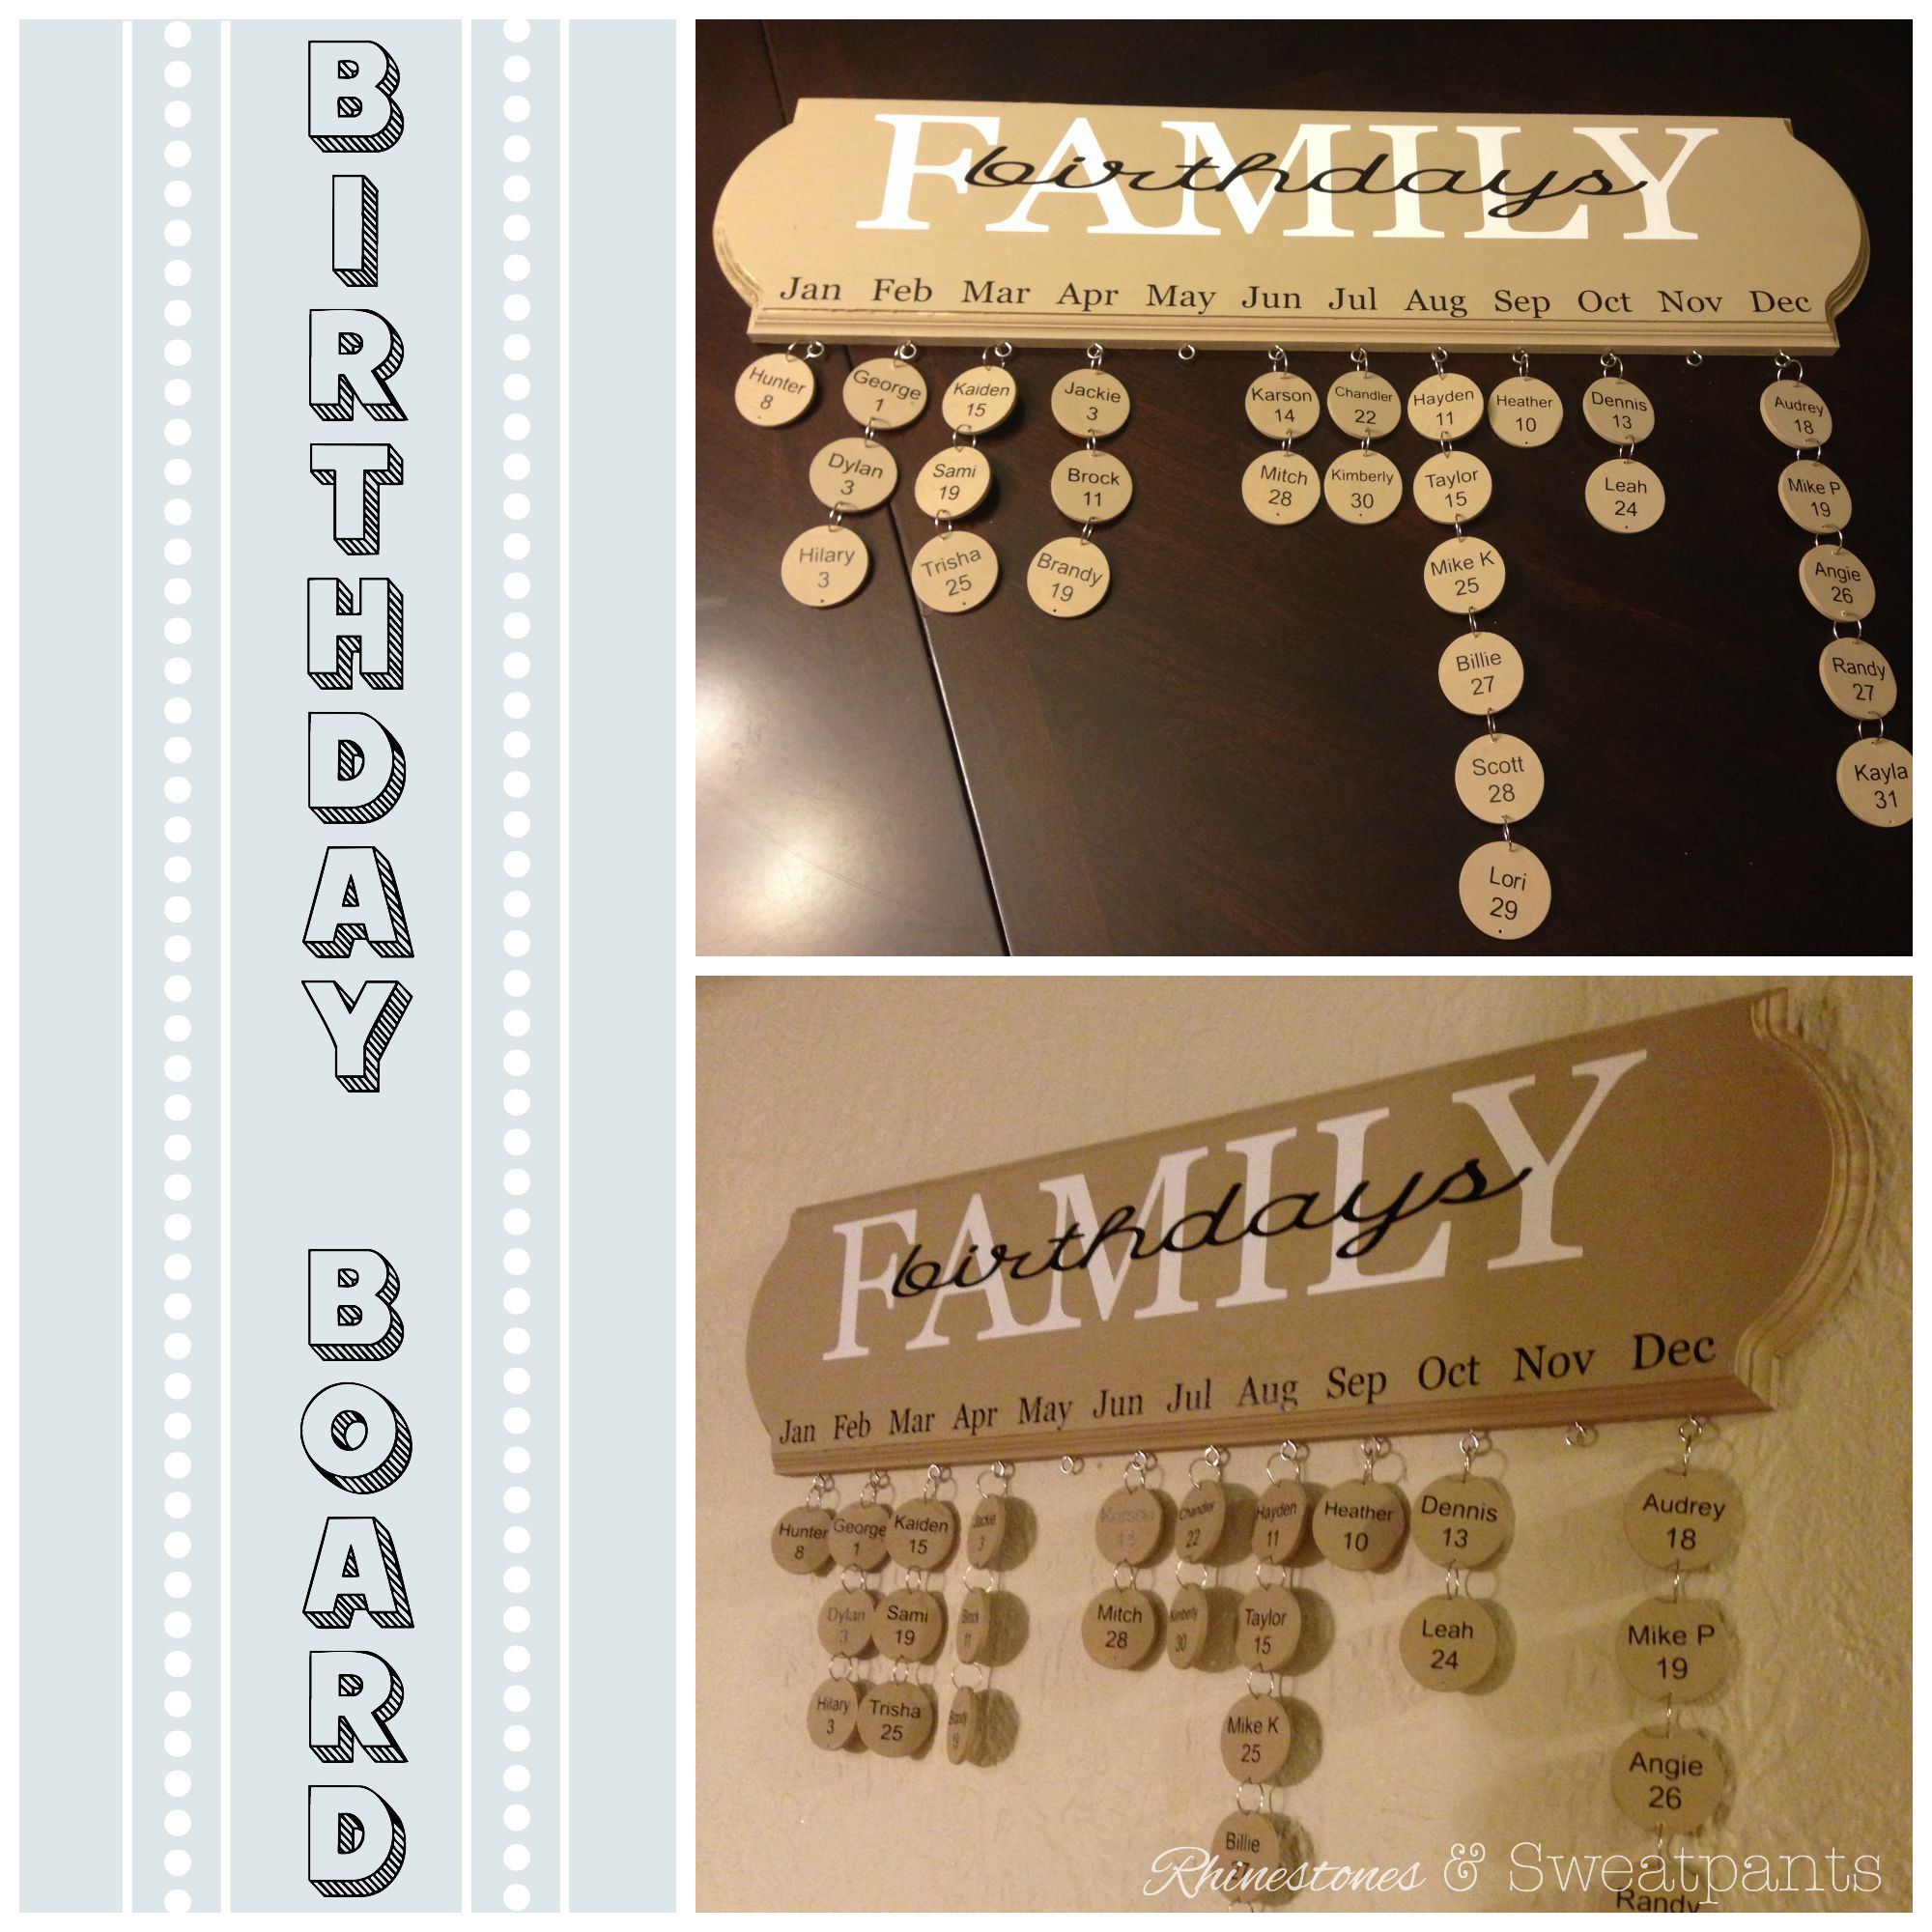
I’m super excited about my latest project that I completed. Not gonna lie, I didn’t really have the time for this project, but I had been planning it for weeks and I couldn’t NOT do it! My mother-in-law’s birthday is this week and my husband was going to visit his mom today and I had been talking about making a birthday board for her. I’ve known for weeks what I wanted to do and obviously I knew when her birthday was, but I put it off thinking it wouldn’t take that long to do and I’d have time closer to her birthday to do it. Spoken like a true procrastinator, right? Well clearly I should’ve known better because of course as the time grew closer, my time was spread thinner and thinner. Nonetheless, I worked it out and got it all done and I couldn’t be happier with it!
I was in such a rush that I didn’t get to take step-by-step pictures of the process, but the good news is that I have plans to make one for myself soon, so I’ll be sure to document the process with pictures! 🙂 In the meantime however, let me break down what you need for the project and some pretty basic step-by-step instructions to get you started!
What you’ll need:
- (1) 24″ wood project board
- 1.5″ wooden nickels (1 for each family member)
- 15mm jump rings (1 for each wooden nickel)
- (1) 1/2″ screw eyes
- paint & paintbrush
- vinyl
- 1/16″ drill bit & drill
- (1) sawtooth picture hanger
How to make your first birthday board:
- Paint the board and the wooden nickels. I chose to paint them all the same color, but I think my next one I may mix it up a bit. I’m thinking of using 2-3 different colors and rotating the colors for all of the different wooden nickels.
- While the paint is drying, it’s a good time to get all of your vinyl cut. I used my Silhouette Cameo to cut everything for me. I simply chose the fonts that I wanted to work with and got started! Word of caution – the little letters will probably drive you nuts when weeding. Be patient! 🙂
- Next, I applied the “Family Birthdays” vinyl first, followed by the months once the paint was dry. I saved the names and birthdays for later.
- Using the months as a guideline, mark holes for where the screw eyes will go and use the 1/16″ drill bit to make holes for the screw eyes.
- Flip the board over and attach the sawtooth picture hanger. Then, set aside the board. Time for all those wooden nickels!
- On the back of each wooden nickel, mark the spots where you’ll drill the two holes and begin drilling! Another word of caution on this one too – don’t drill too close to the edge or you risk cracking the wooden nickel. (Sad to say, I learned this the hard way.)
- Once all of the holes are drilled, it’s time to place the names and numbers on each wooden nickel. If you’ve already got it all cut, this part really won’t take you too long at all. Hang in there – you’re almost done!
- Make sure your pieces are all in the correct order and begin connecting with your jump rings! Just separate the ends of the jump rings and slip through the top hole in the first wooden nickel and through the screw eye, then close the jump ring and you’ve just added your first birthday! Continue doing this for all remaining birthdays, then sit back and admire your work! 😛
Good luck on your first birthday board! Please feel free to stop back by to share the one you made!
See this post linked up at: