Spring 2018 ORC: Week 4
Hi Friends! Today I’m going to be sharing my One Room Challenge Week 4 update with you! But first, what happened to Weeks 2 & 3 you ask? Well, they were basically non-existent for me. Week 2 I had a bad cold and 0 energy, so nothing got done. The weekend between Weeks 2 & 3 my best friend came to visit. I was so excited because I was finally feeling better and I thought for sure I could knock out some projects with my friend’s help. Instead we just spent the time hanging out and catching up. We did get a bit of shopping in, so I’ll count that as a bit of progress for the ORC. 🙂 Week 3 started and I was feeling good….until I wasn’t. The stomach flu hit and I could barely move. It was so bad that I had to call in sick for my real job….and I work from HOME!
If you’ve forgotten what I’m working on for the One Room Challenge, you can see pics here, but in short, I’m working on my guest room/office. My plan for this room is to make it a relaxing and functional space so I can easily work throughout the day, but guests will still be able to feel relaxed and get a good night’s sleep when spending time with our family. More specifically though, my original plans included:
- Painting the entire room and closet
- Wallpapering one wall
- Board & Batten one wall
- Make curtains and pillow covers
- New headboard
- New bedding
- “Built-In” desk, cabinets, bookcases
- DIY Console Table
- New Wall Art
- Repaint existing desk and move to closet
- Convert closet into craft room
- Add storage in closet for craft supplies
Update
For my week 4 update, here’s the progress I’ve made so far:
- Painting the bedroom – I went with my trusty Behr Doeskin Grey. I use this color a lot because it’s so versatile. And once again, I love how it turned out!


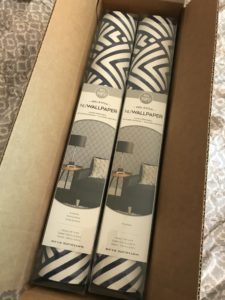
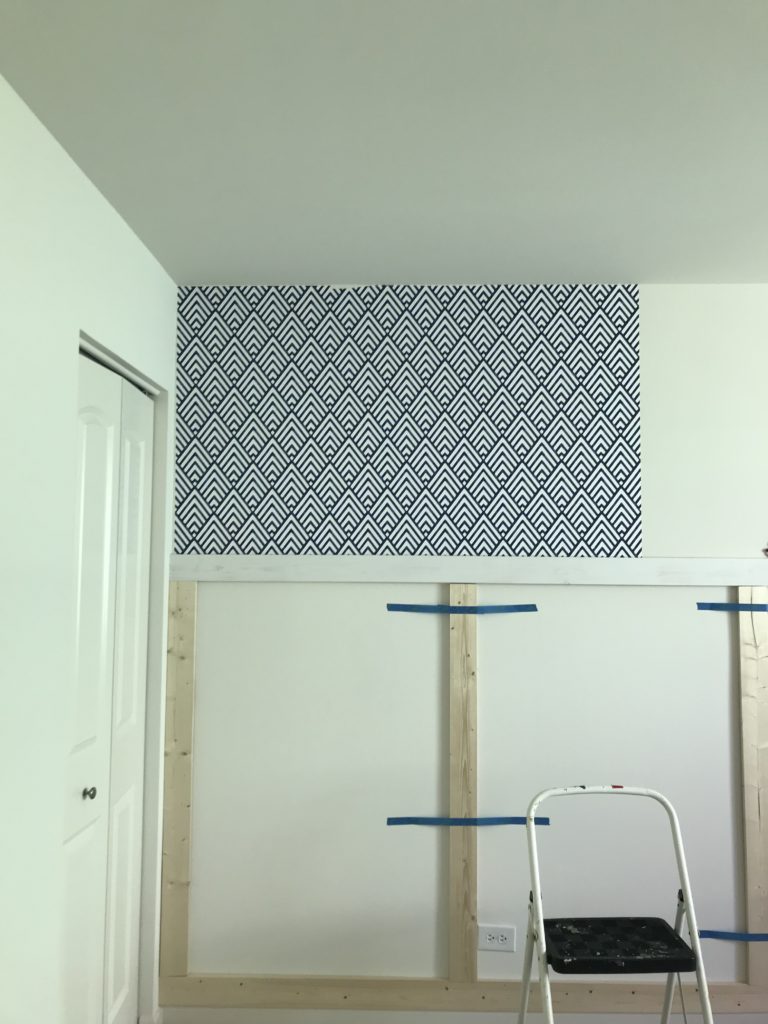
- Wallpapering one wall – I successfully wallpapered one wall in the guest room/office. Ok, part of a wall, but that was the plan! I used some amazing peel & stick removable wallpaper because I just wasn’t quite ready to take the plunge of going full-on permanent glued wallpaper. I have to say, I’m pretty pleased with how it turned out!

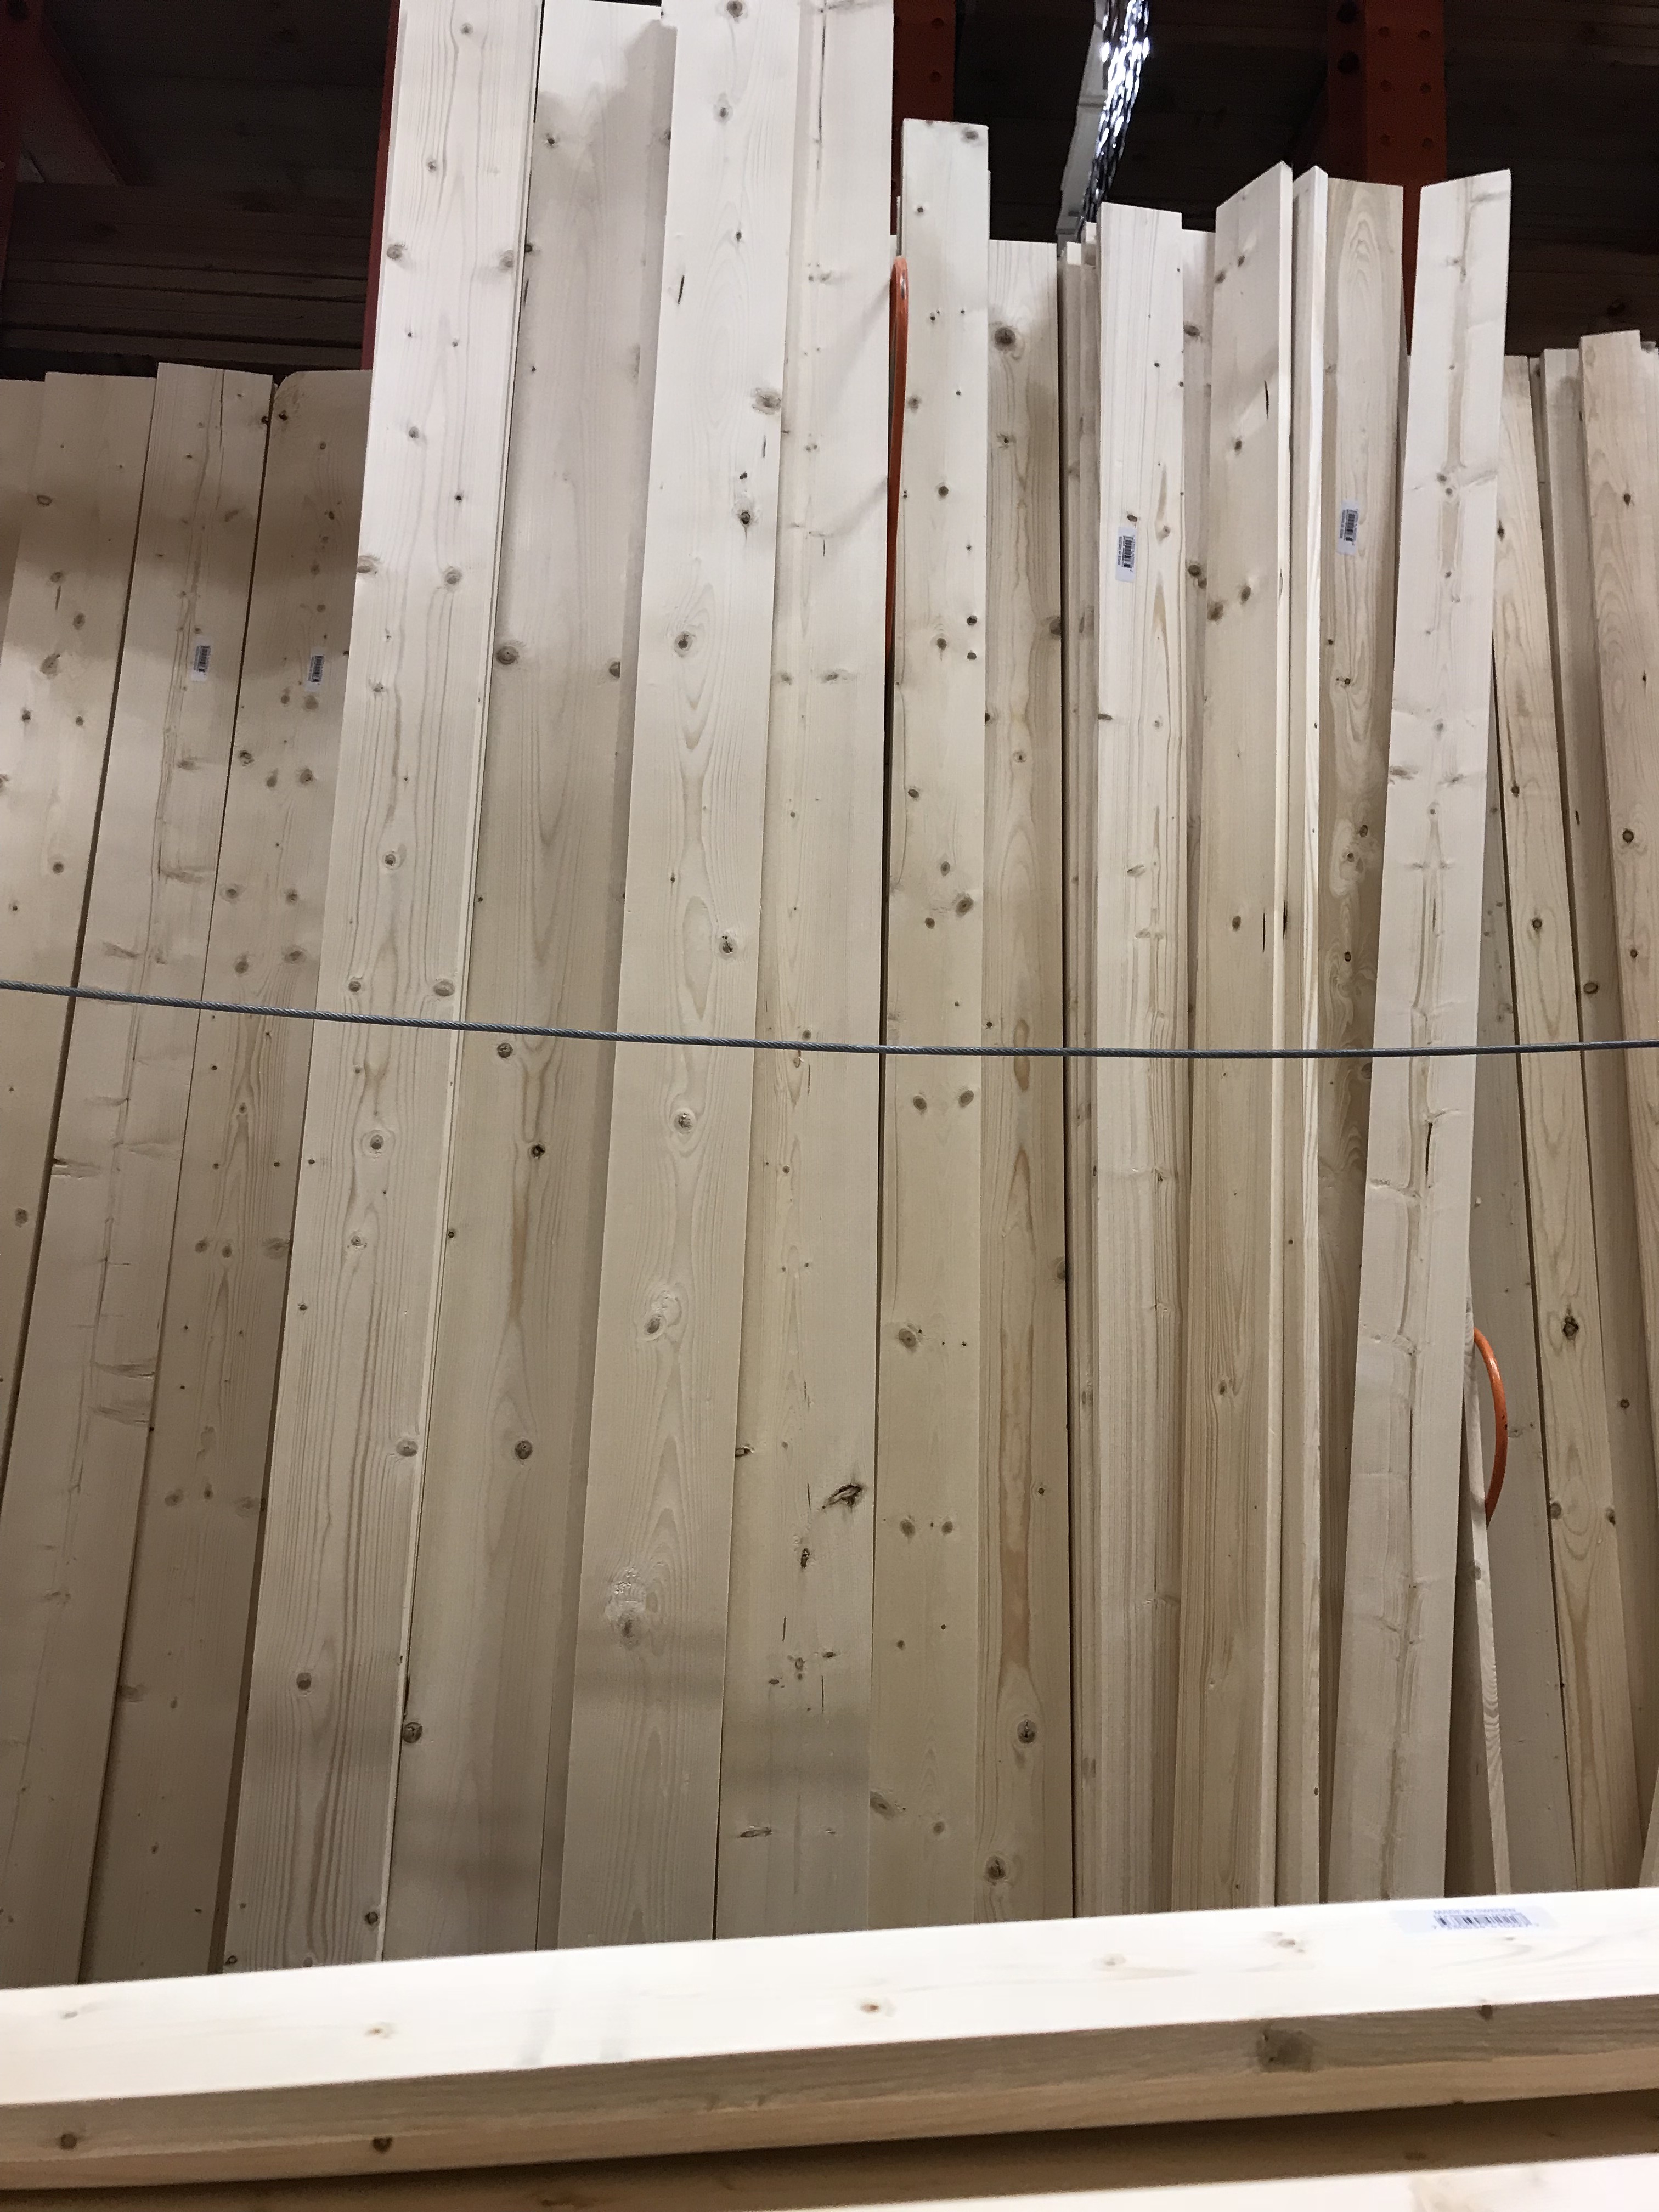
- Board & Batten one wall – I put board and batten on the same wall as the wallpaper. It’s the main wall that guests see when they enter the guest room, so I wanted to really make it stand out. To make the board and batten, I used plain ole common board from home depot. I didn’t mind the knots as they’d be covered with primer and paint. In retrospect however, I think I would’ve used some ripped down mdf to prevent some of the gaps that I ended up having to fill due to having slightly warped boards. The mdf would’ve also given me a smoother, more paintable surface. Oh well, live and learn I suppose. 🙂

- New headboard – I found a headboard from Wayfair that I absolutely love. I’m pretty much obsessed with tufted headboards with nailhead trim (one in every bedroom now), so it’s no surprise that I was naturally drawn to the same style.


- New bedding – The bedding was actually the hardest part of the room decisions for me so far, which is crazy! With the bed up against the feature wall that has the bold wallpaper and the board and batten, it was really difficult to figure out what kind of pattern/texture/color to choose to keep the room from becoming too busy, but I also didn’t want it to be super boring. I’m not sure I love the bedding I chose, so I’m not going to share it just yet – it’ll likely change at least 3 more times before the final reveal. 🙂
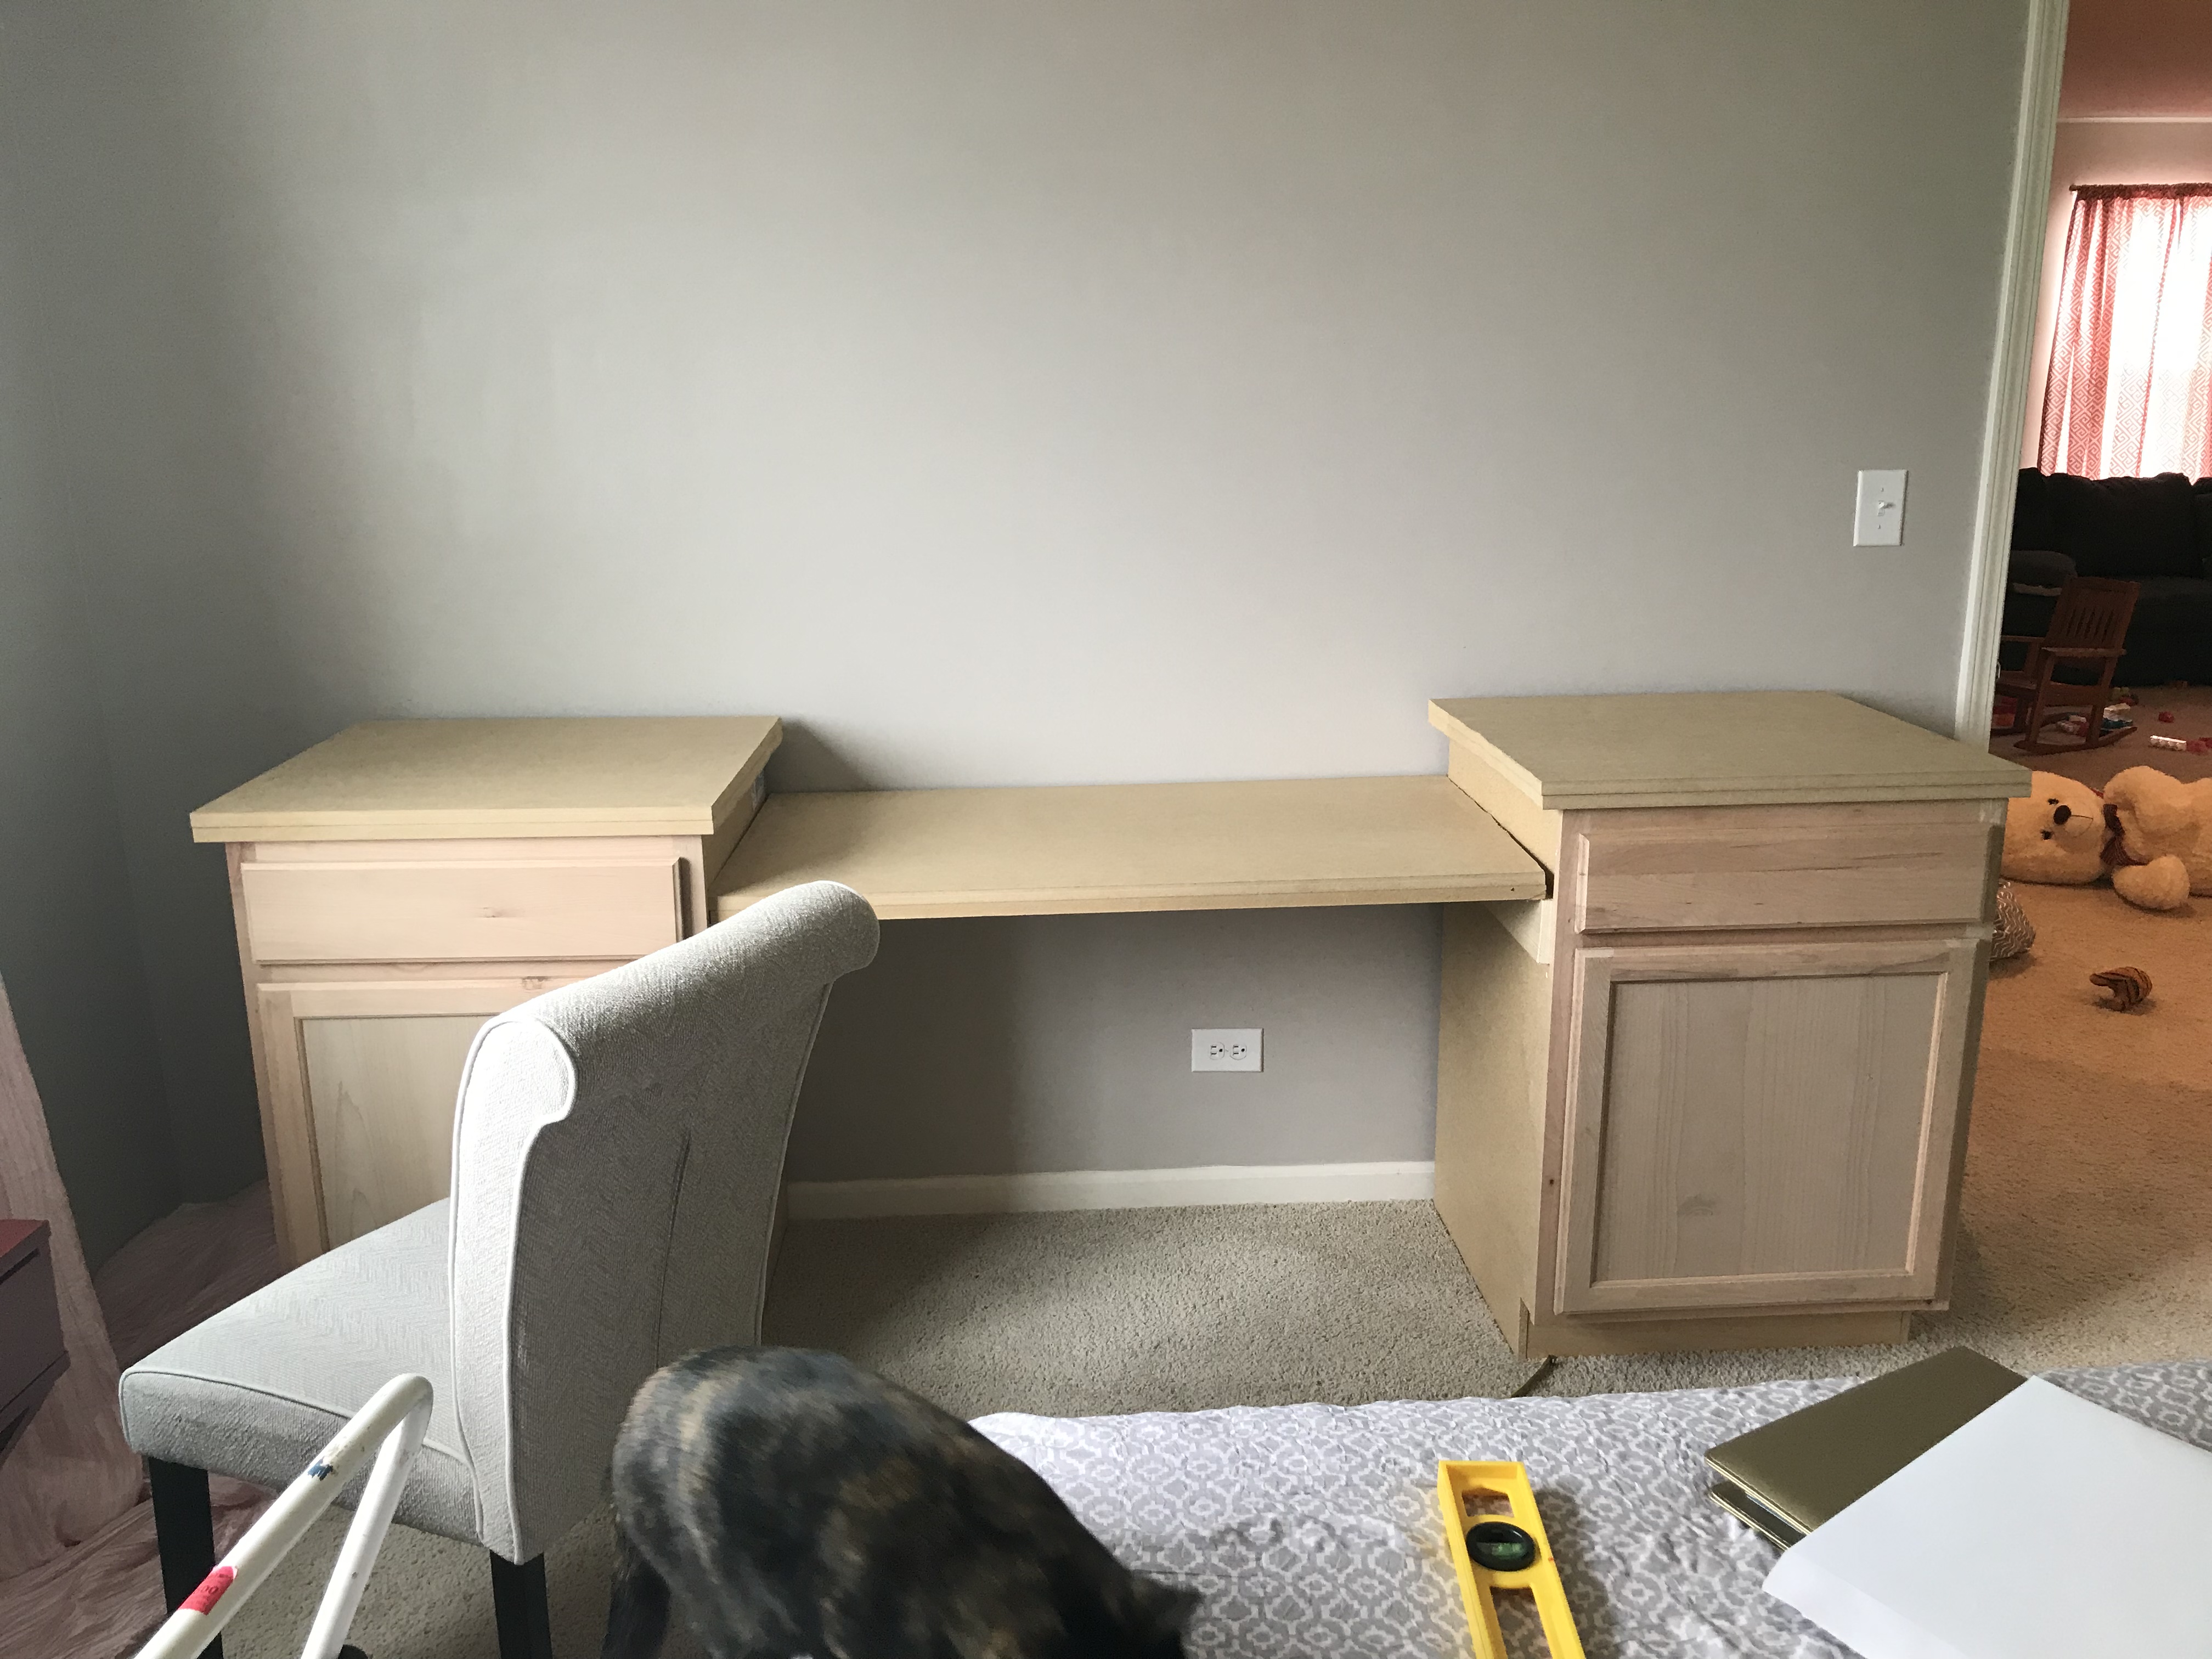
- “Built-In” desk/cabinets – I have the cabinets in place in the room along with the counter tops that I put on. I also created a desk with the counter top between the two cabinets. The cabinets aren’t painted and I haven’t trimmed any of it out yet or added the top portion of the built-in, but that’s the plan for the next week. For my week 5 update, I’m hoping to show you the full built-in.

The Board & Batten/Wallpaper Process
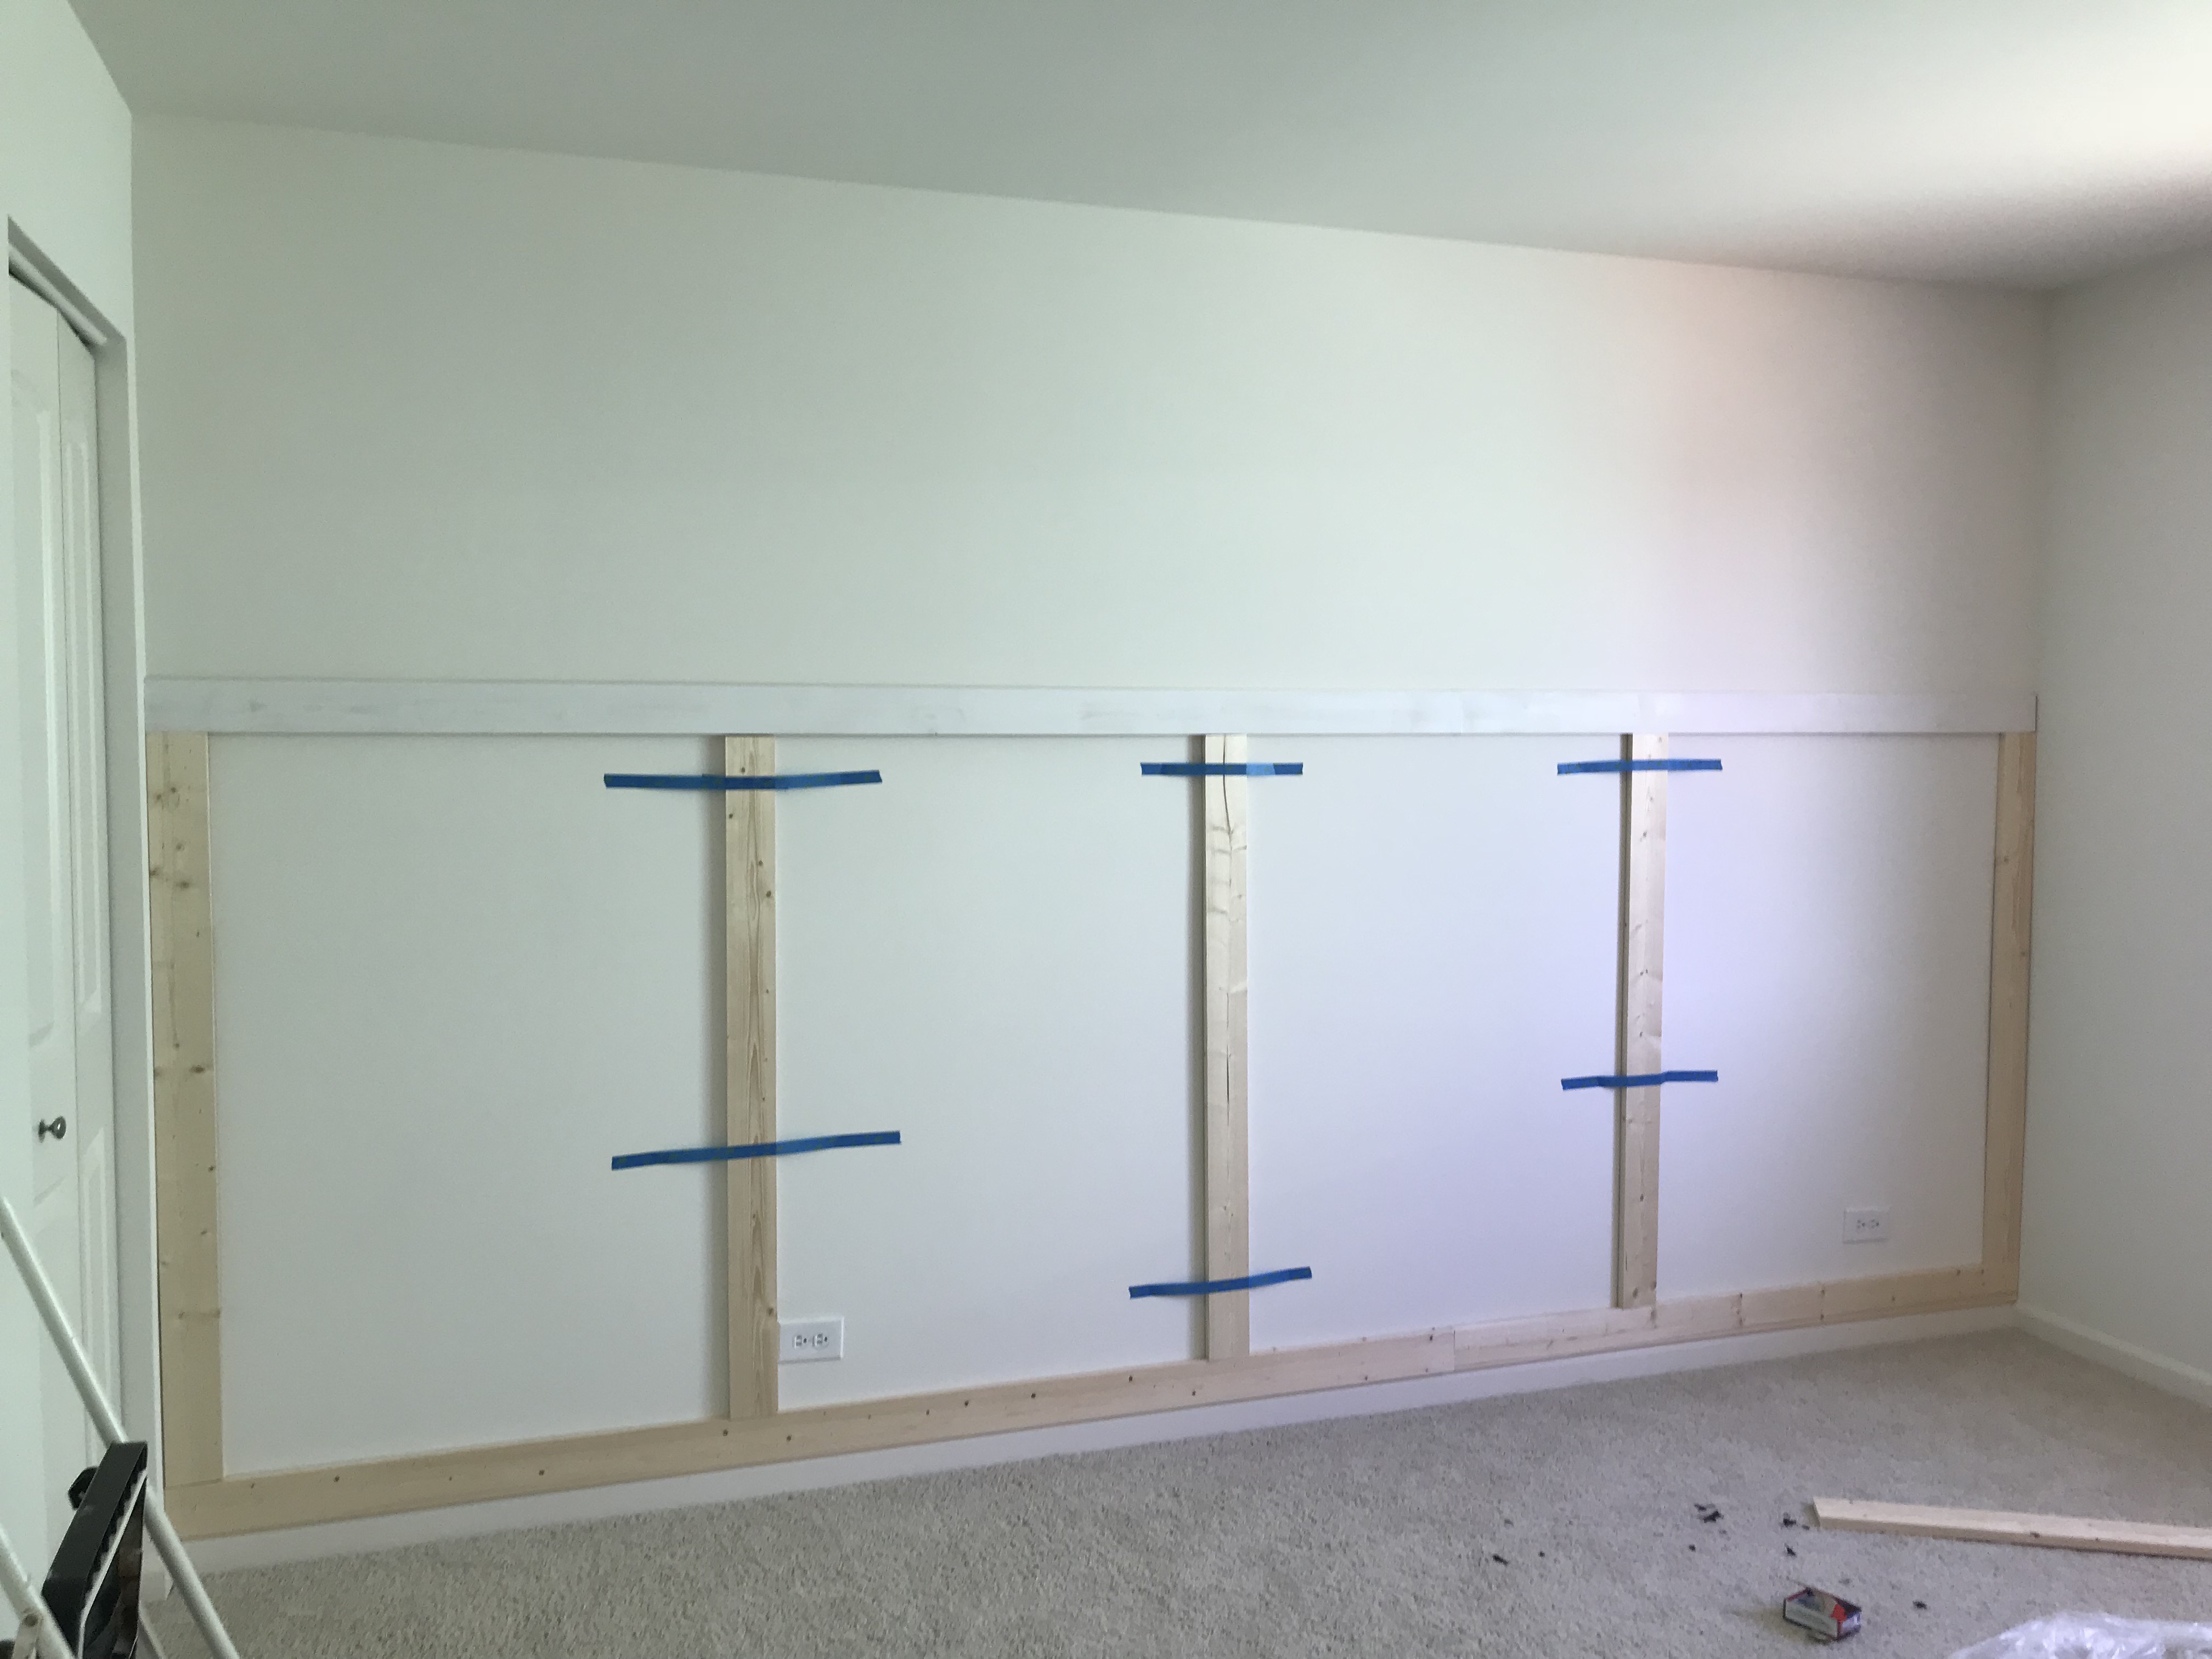
Before I could do much else in the room, I obviously had to start with the feature wall, which consists of board & batten and wallpaper. To start, I placed the horizontal boards on the wall. These were the easier ones for sure. All I had to do was make sure my boards were cut to the exact size, then use my level to make sure I was nailing them on straight. Note: Rather than glue to adhere the boards to the wall, I used my brad nailer. This way, if I decide I want to take it down later, the boards can be removed with minimal damage to the drywall.
Once I had the horizontal boards in place, I measured and cut my boards that would be applied vertically. Getting the spacing right was a little tricky because let’s face it, math is hard. What’s even harder is lumber math. You see, when a board is supposed to be a 1″ x 4″, it’s actually not. Online you’ll see the “actual dimensions” for this same board as .75″ x 3.5″. However, when you bust out your trusty tape measure, you’ll find that the width is actually slightly smaller still – usually about 3.375″. While this doesn’t seem like a big difference, when you’re trying to get EXACT spacing for board and batten or any type of wainscoting, every little bit that isn’t accounted for will totally ruin your project. Can you tell I’ve lived through this a few times? 😉 Anyway, before I nailed the vertical boards in place, I taped them up just to be sure they were actually in the right spot.
Also, if you’re wondering why one board is white already, I was testing my primer to be sure it was going to give me the coverage I was hoping for. Good news – it did! 🙂

After getting the board and batten nailed in place, I started on the wallpaper. Peel & Stick wallpaper is very different than traditional wallpaper. It’s not as thick so you have to a little bit more careful with it. I would describe it’s texture as being a mix between gift wrap and crafting vinyl. It actually went on the wall really easily and while it adhered with no problems at all, it was also easy to peel back off and reposition as needed without compromising the stickiness. As you can see by the picture below, I got a little overeager while trimming the excess and cut a bit into the wall coverage. This ended up being totally ok though because I was planning on putting trim around the entire room, so the trim just covered it right up!

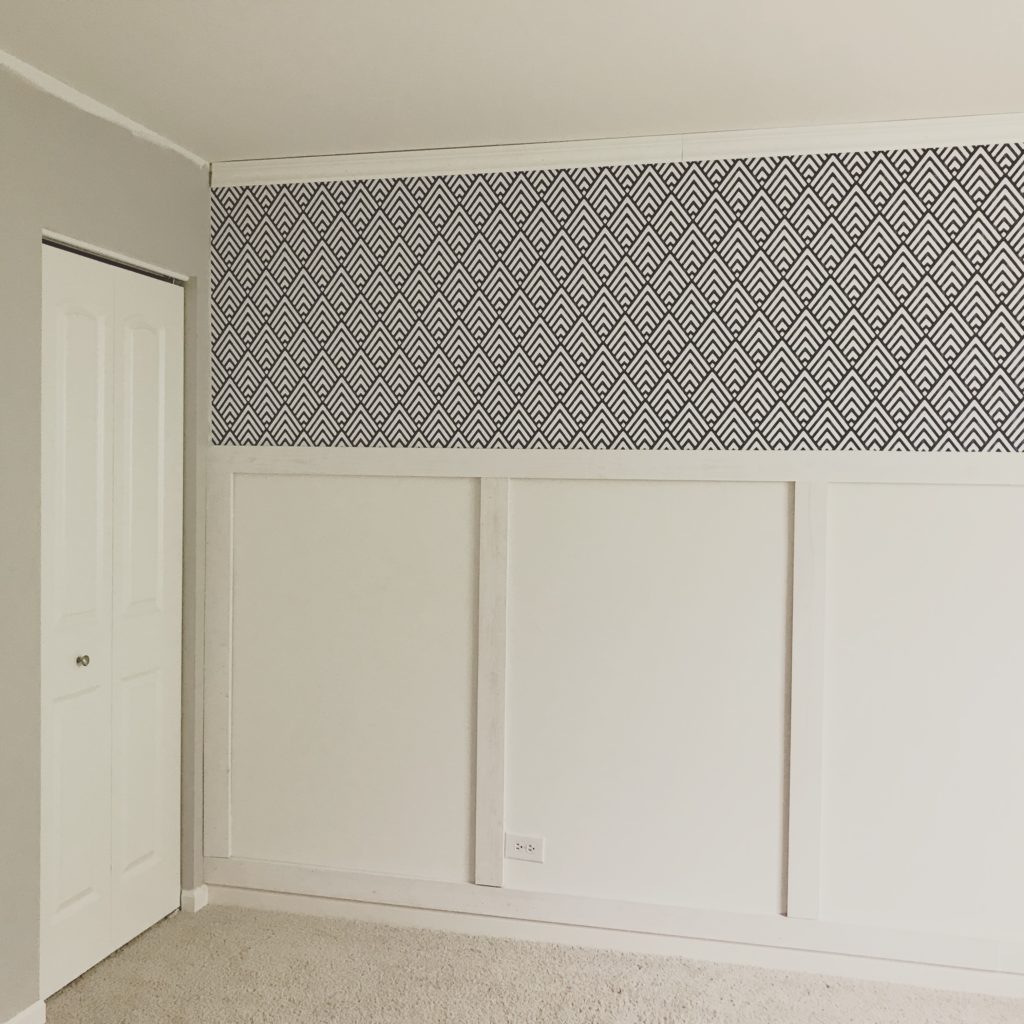
And here is the feature wall in the guest room with all the hard stuff done. I still need to caulk around the trim and fill in gaps, but other than that, it’s pretty much done!

And here’s a sneak peak of the lights and mirror that finish out the wall! (please excuse the terrible lighting!)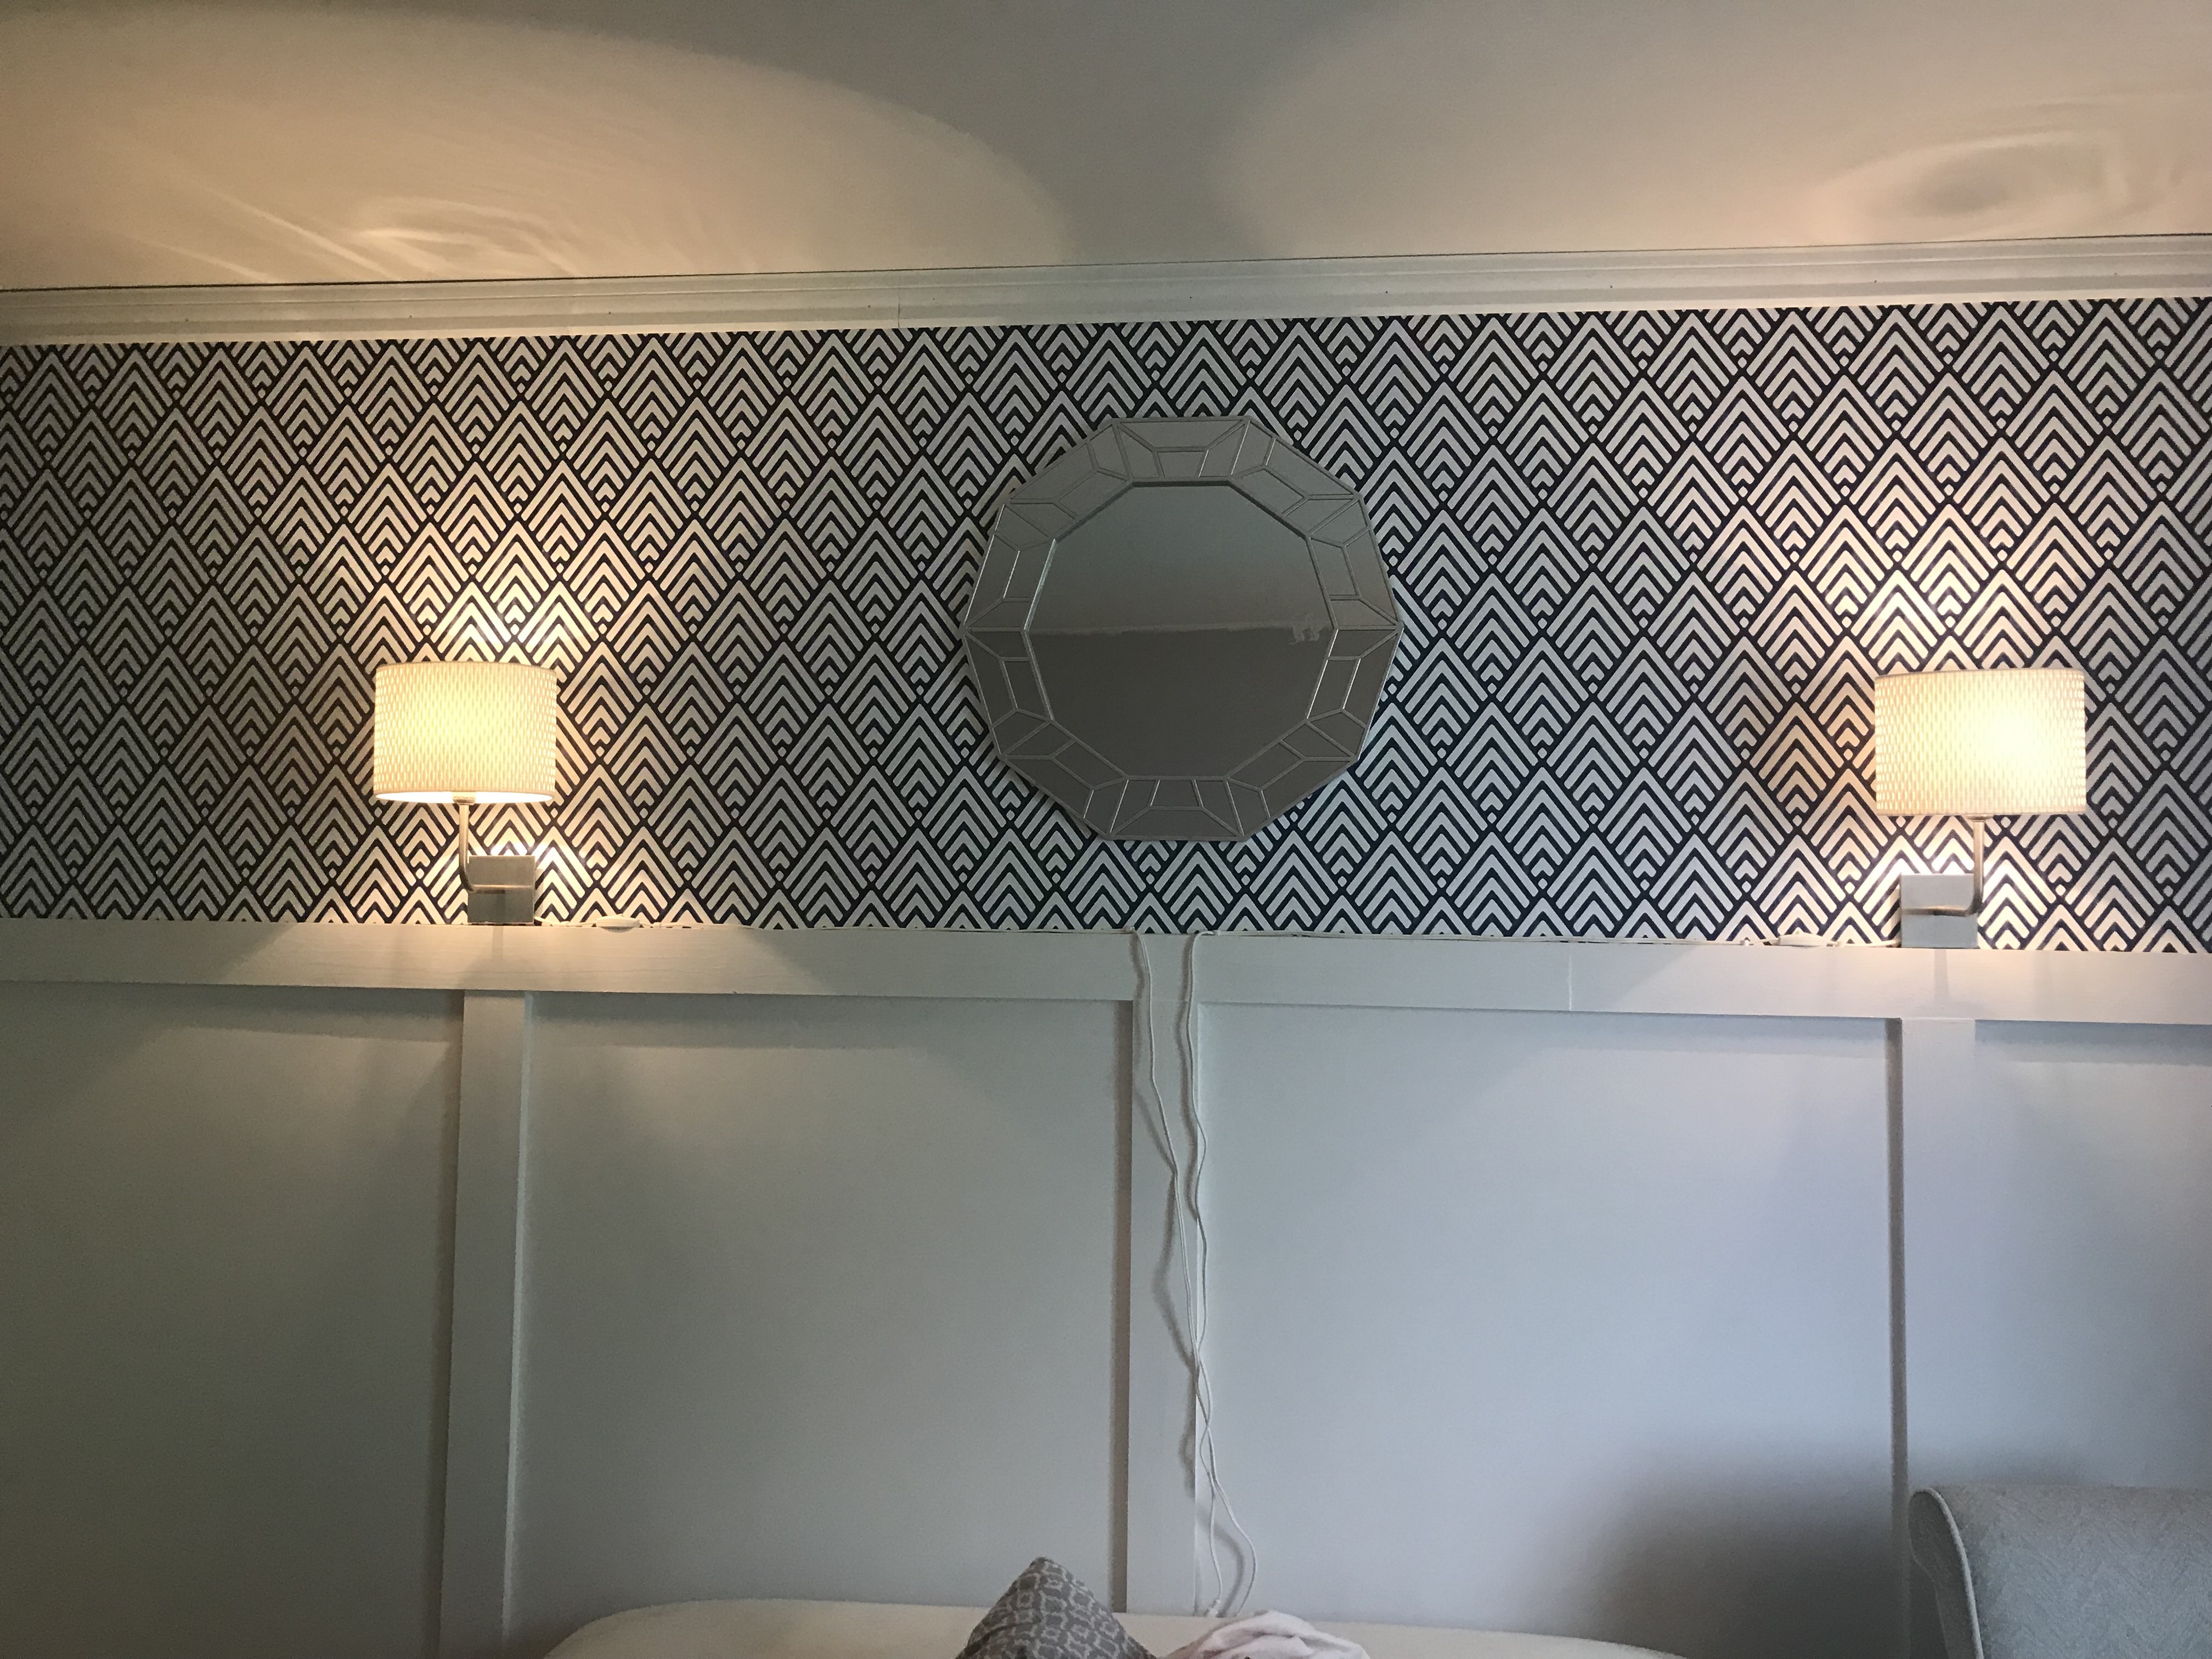

So that’s it for now! Be sure to follow along with me on Instagram to see the behind-the-scenes of my room makeover and all the projects I’ve got going on along the way!
Also, be sure to follow along with all of the participants of the One Room Challenge by following along on Instagram or the One Room Challenge website!