Easy DIY Faux Marble Console Table
*This post contains affiliate links, which means that if you click on one of the product links, I’ll receive a small commission to help keep this site running.
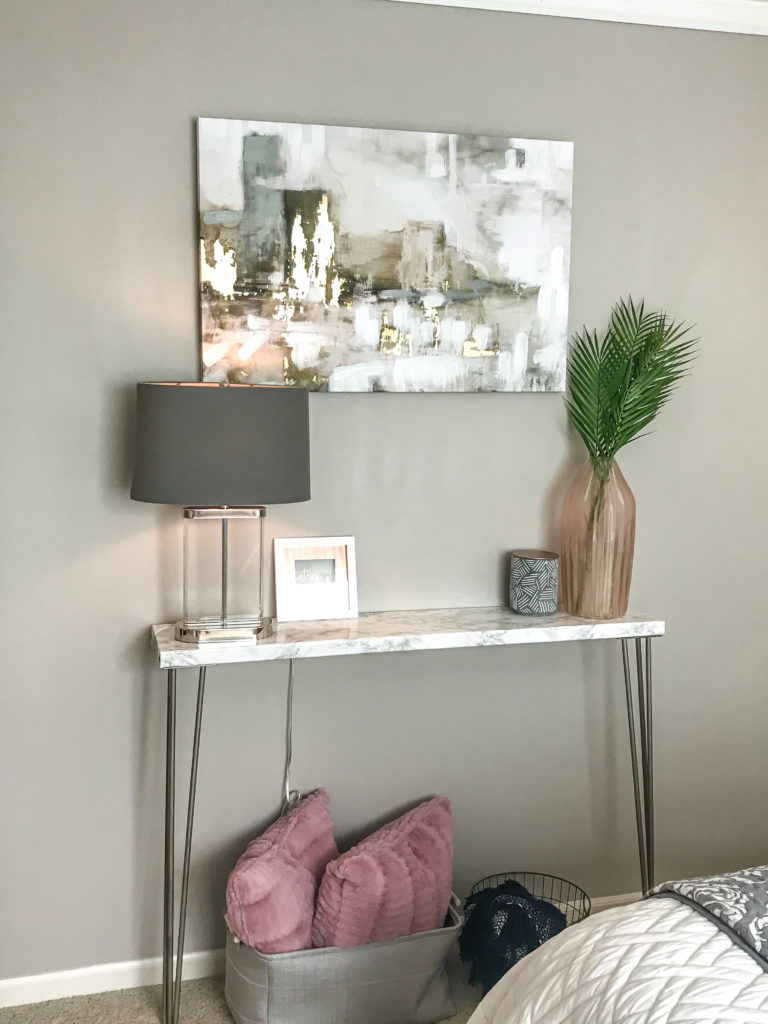
Luxe pieces don’t have to cost an arm and a leg, which is why when I was working on my guest room/office for the One Room Challenge, I knew I wanted to make a faux marble console table. Here’s the thing – I LOVE marble. However, I hate the price tag that comes with it! So to keep things as cost-effective as possible, I used marble contact paper on a few different surfaces in the guest room, one of which just happened to be this console table!
This project was so simple and quick, that I knew I had to share it with you all! I’m sharing the instructions I used to make the console table that fit my space, but of course because this project is so simple, you can easily alter the dimensions to ensure it fits your specific needs.
Shopping List
- 4′ piece of 2″ x 10″ wood
- (2) 28″ hairpin legs
- Wood screws
- Faux Marble Contact Paper
- 2 L-brackets (corner braces)
Complete Instructions
- Wrap wood piece with marble contact paper. For the ends, you’ll wrap them just like you would a gift with wrapping paper. Of course if you want to take your time and ensure you don’t see any seams or lines you can certainly make some small cuts to get the paper to line up and be seamless, but it looks just fine without that level of precision. Be sure to smooth out any bubbles to ensure you get a nice, even surface. No special tools are needed for this – a credit card will work. And, to make sure the contact paper adheres to the underside of the board, painters tape can be used to secure the edge of the paper to the wood.

- Attach the hairpin legs to the underside of the board using wood screws. If you don’t like the look of hairpin legs or just don’t want to wait to order them, you can use legs that can be easily found at Home Depot or Lowe’s.

- Lean the table on the wall and hold up your small L-brackets (officially called a corner brace) to mark where you’ll attach them to the wall and the table. I used the same wood screws that I used in the last step to attach the L-bracket to the board and a drywall anchor and screw to attach to the wall.

Ta-Da! That’s it! It’s really that simple. Just a few supplies and 20 minutes is all you need to create this super easy, faux marble console table!
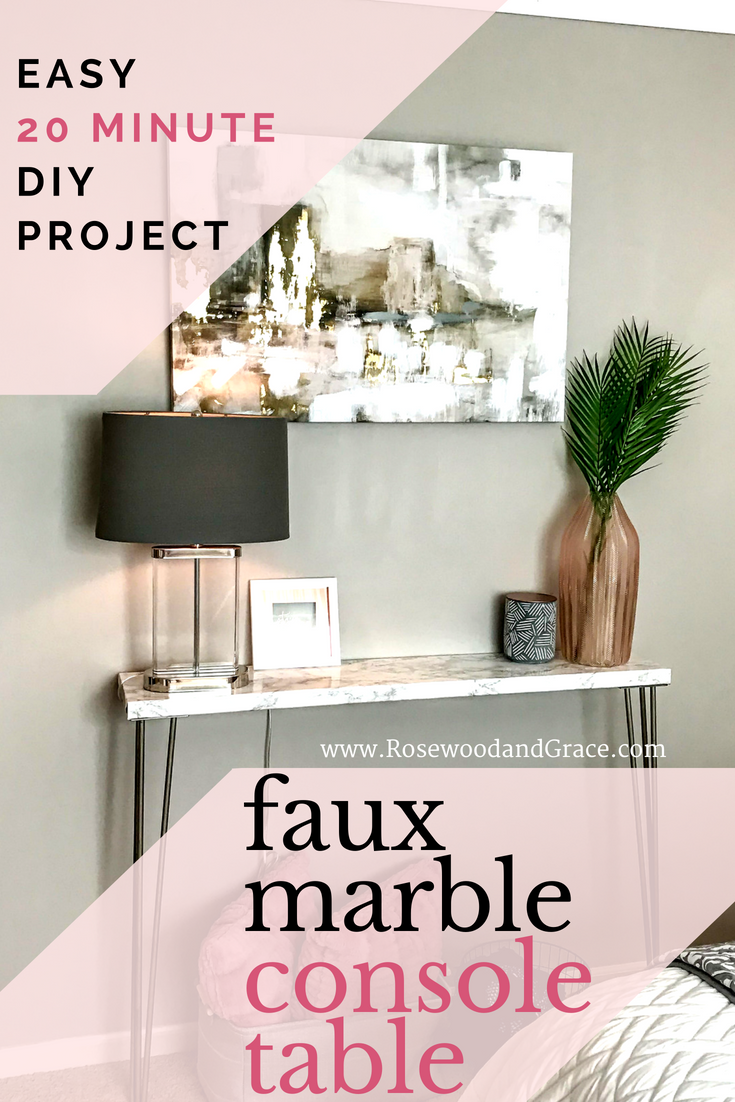
PIN ME!
This is so easy, quick and looks very good, indeed 🙂 Is contact paper like a fablon kind of plastic sheet or is it paper that sticks to surfaces? I’m wondering about practical side like cleaning/wiping. P.S. I love the painting on that wall 🙂 Thanks for sharing Trisha!
Thanks so much Kasia! This contact paper feels like a cross between vinyl and plastic and it has an adhesive side that sticks to most hard, dry surfaces. It cleans up very easily too! So far, there have been only a few minor spills (mostly coffee) and it cleans up super easy with just a damp cloth!